Apr 9, 2026
My annual visit to the tulip fields
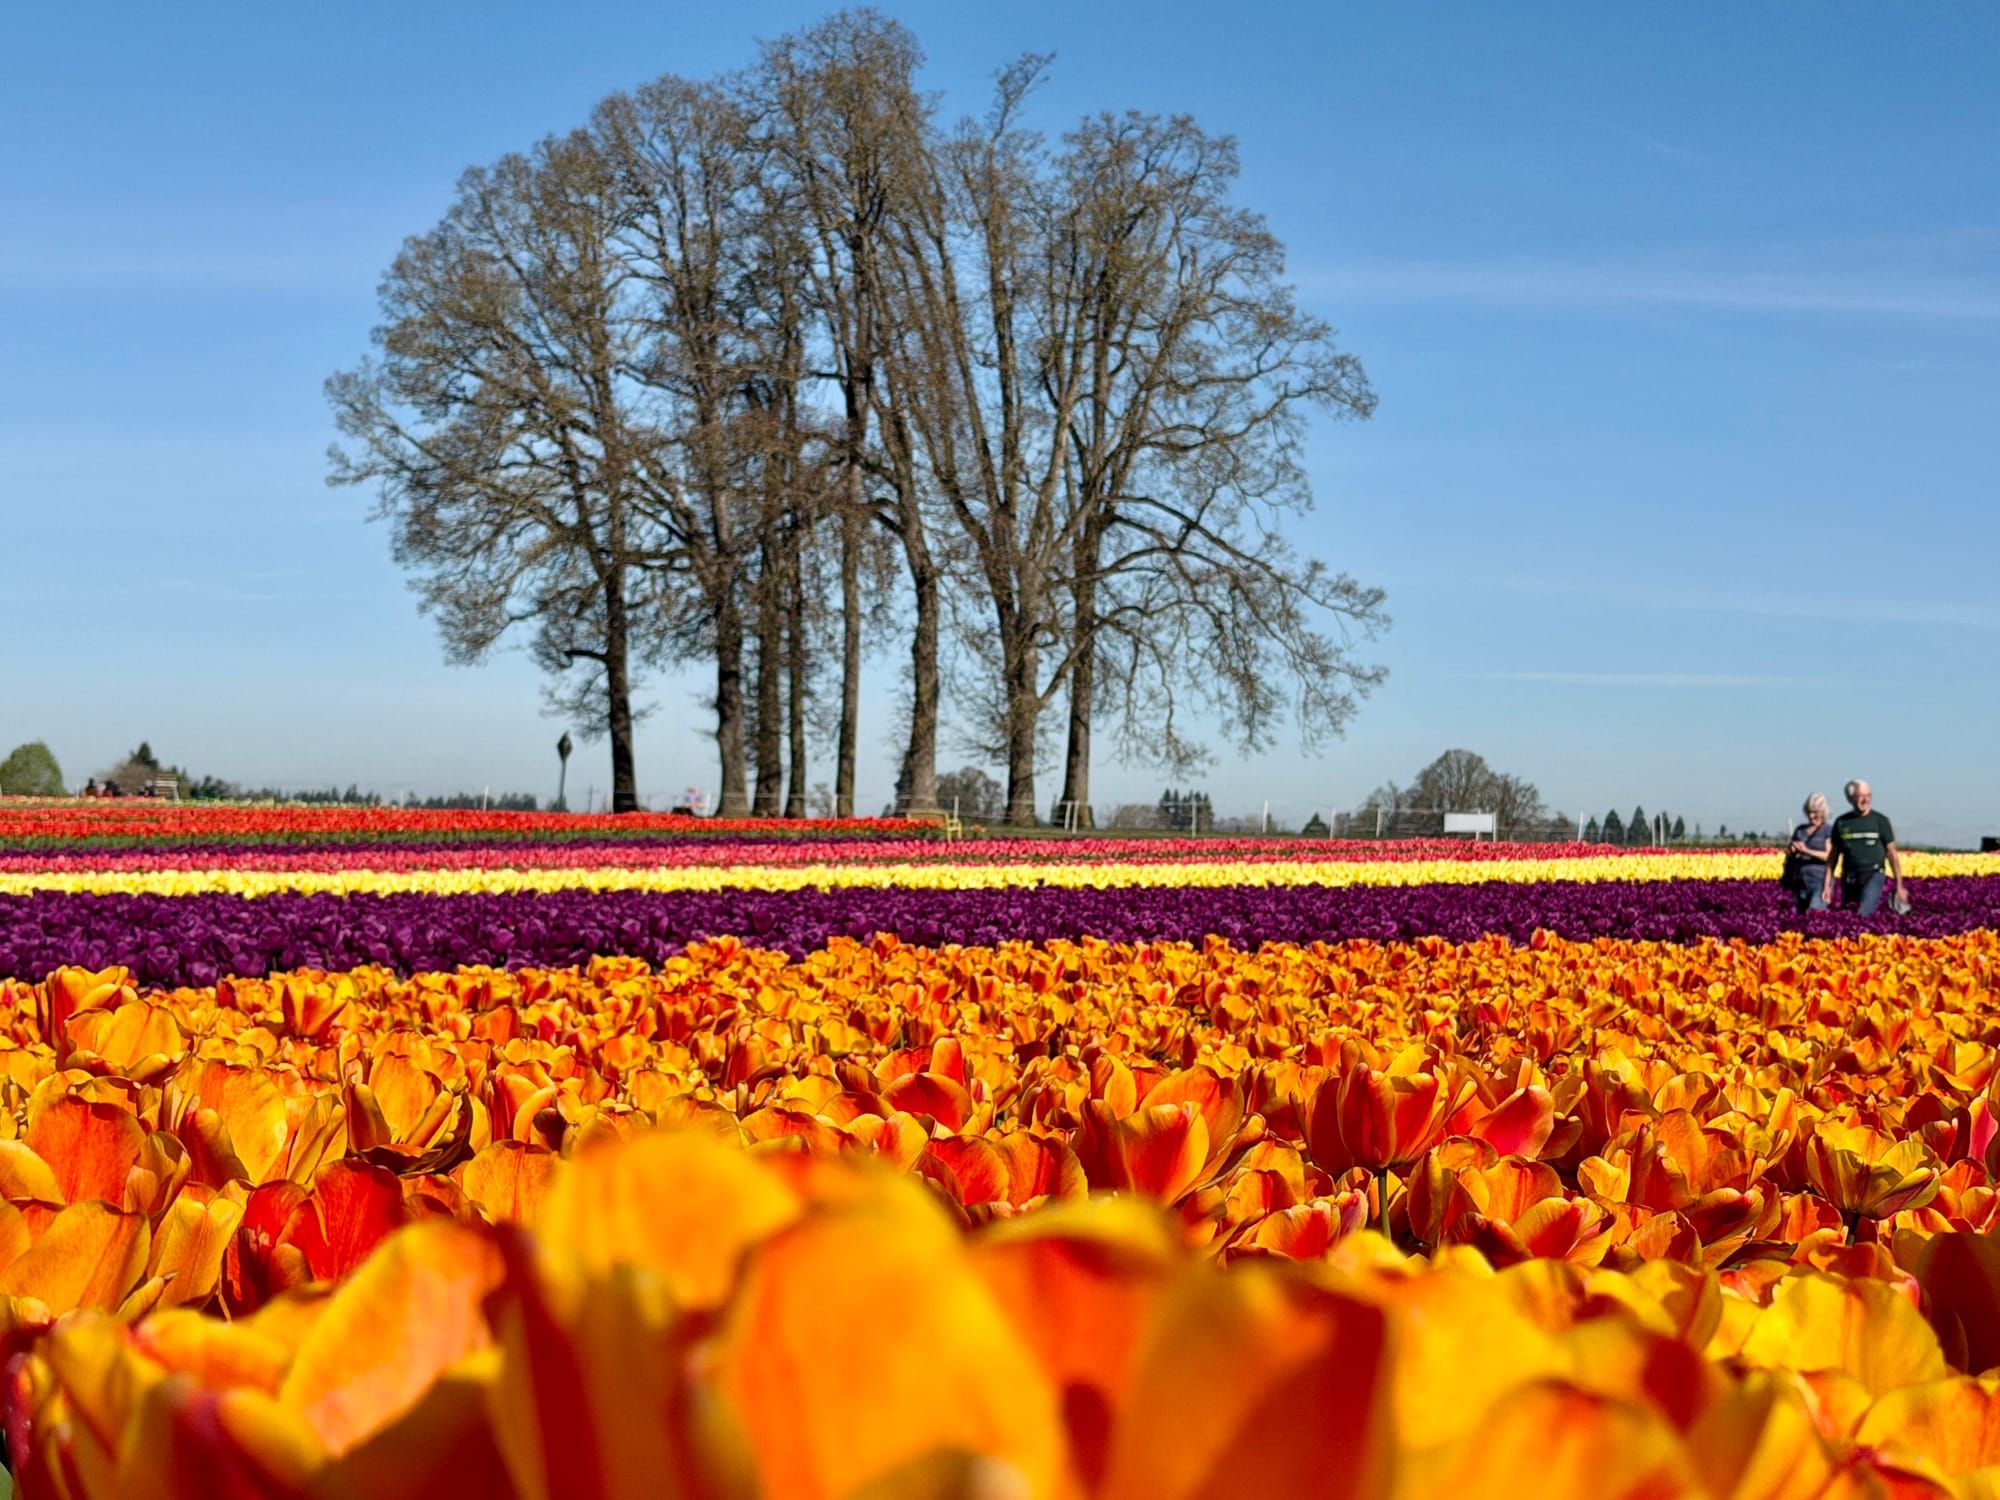
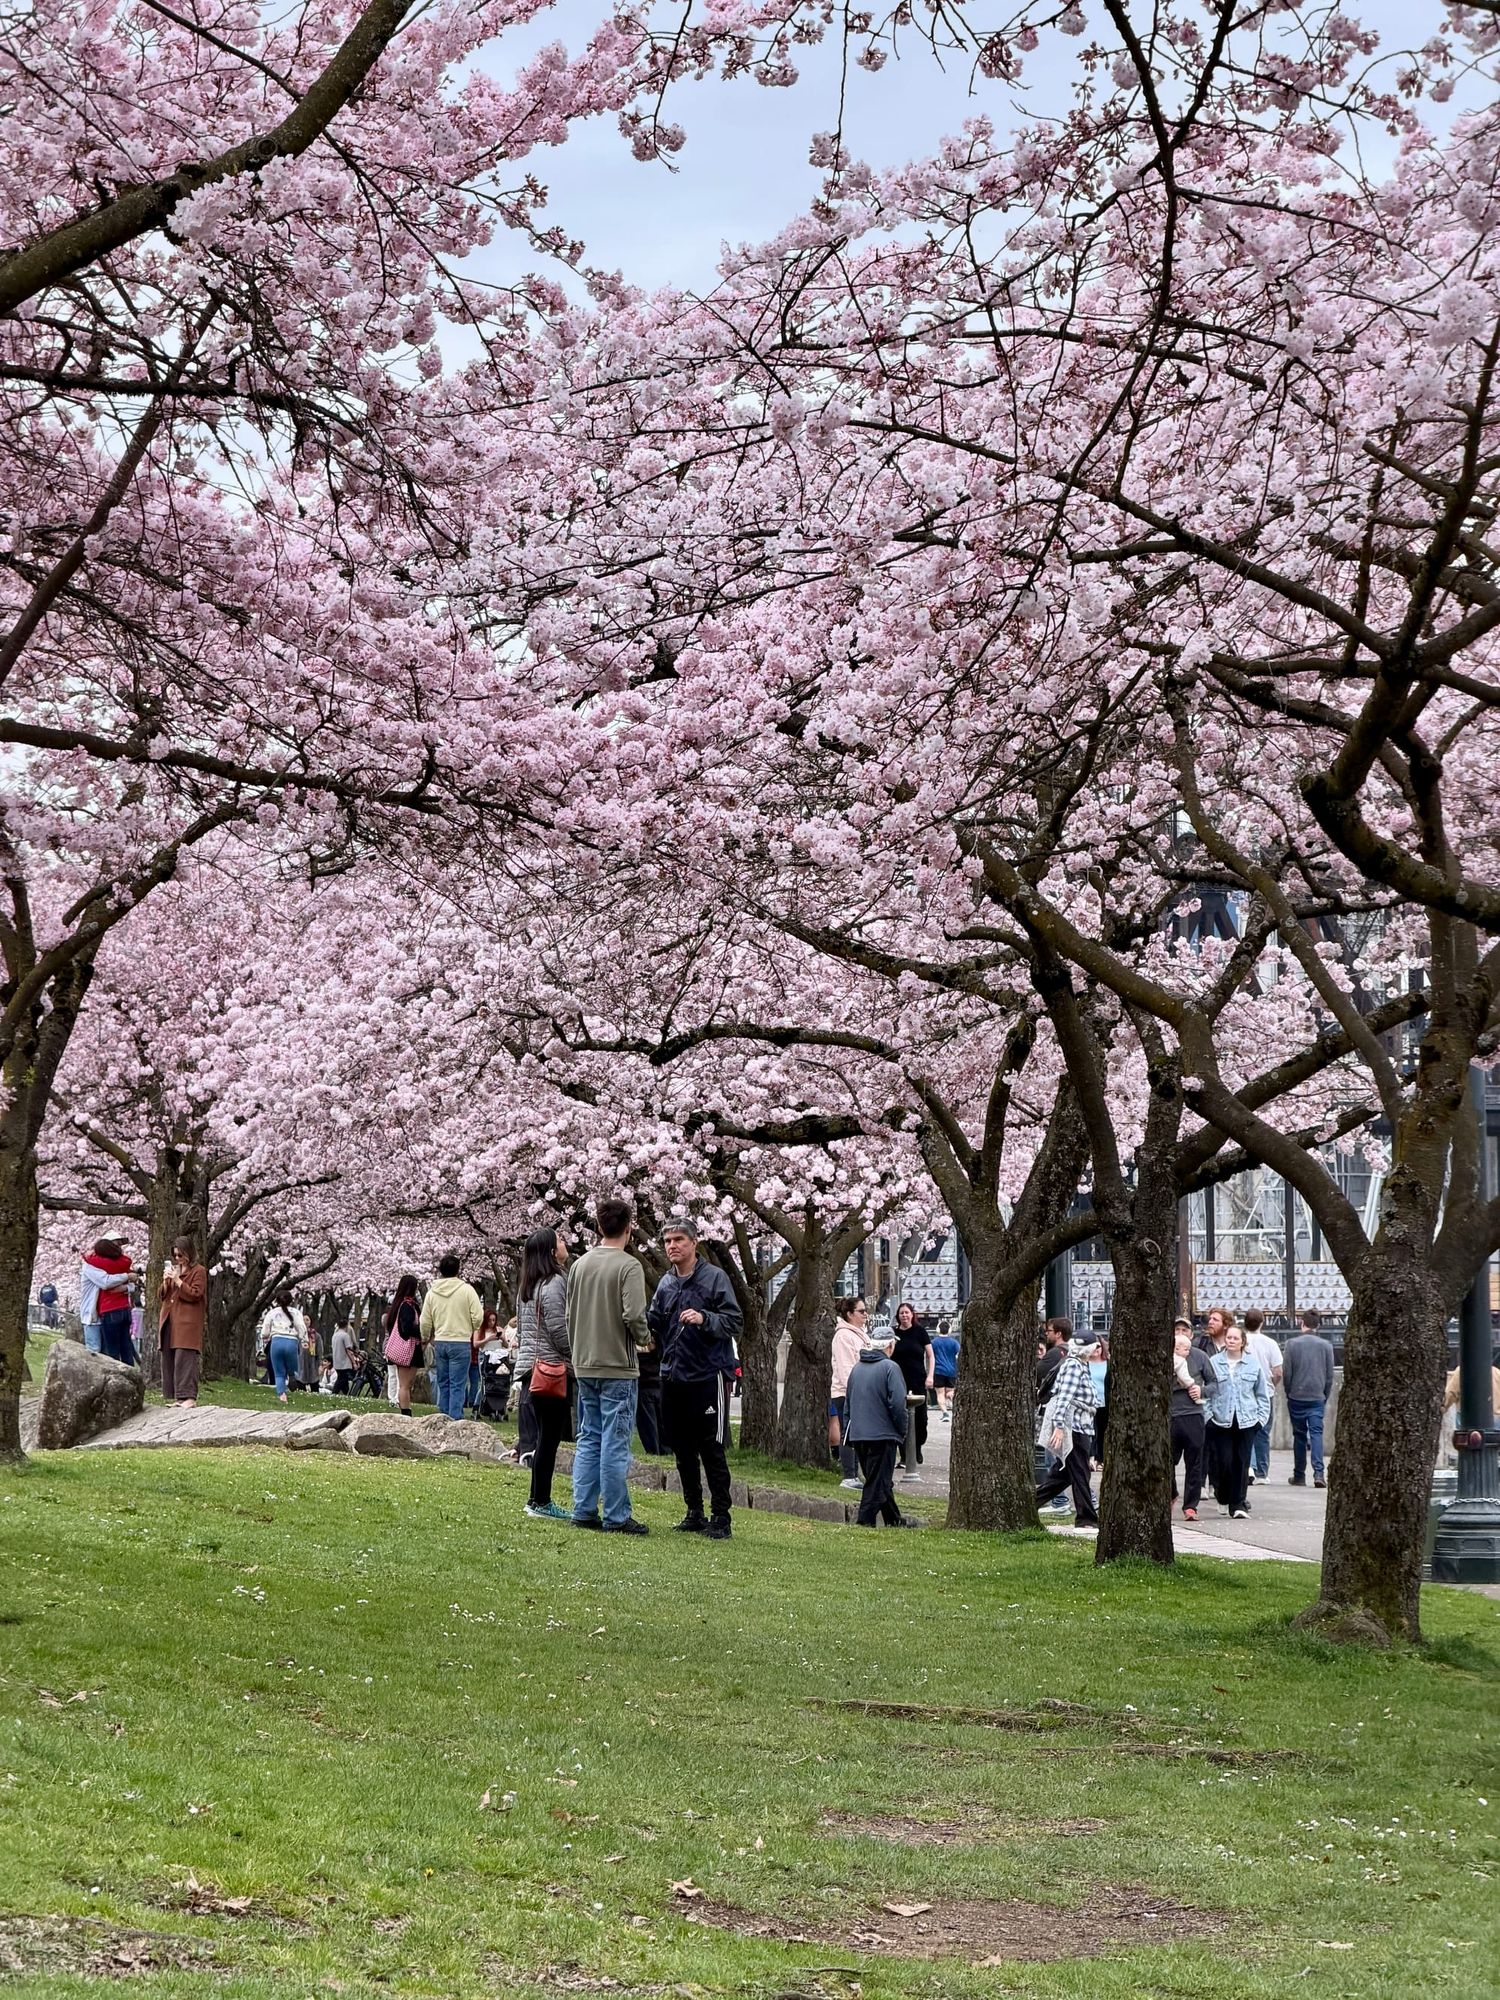
Every Spring I watch the local weather for weeks, waiting until the Woodburn Tulip Farm is nearing peak bloom that also happens to fall on a sunny day…
Notes on woodworking, homelabs, EVs, and whatever else holds my attention this month.
Every Spring I watch the local weather for weeks, waiting until the Woodburn Tulip Farm is nearing peak bloom that also happens to fall on a sunny day…


Last week, I was doing regular maintenance tasks on my home file server, a Synology running its own Linux-style OS. I tend to put off updates for…


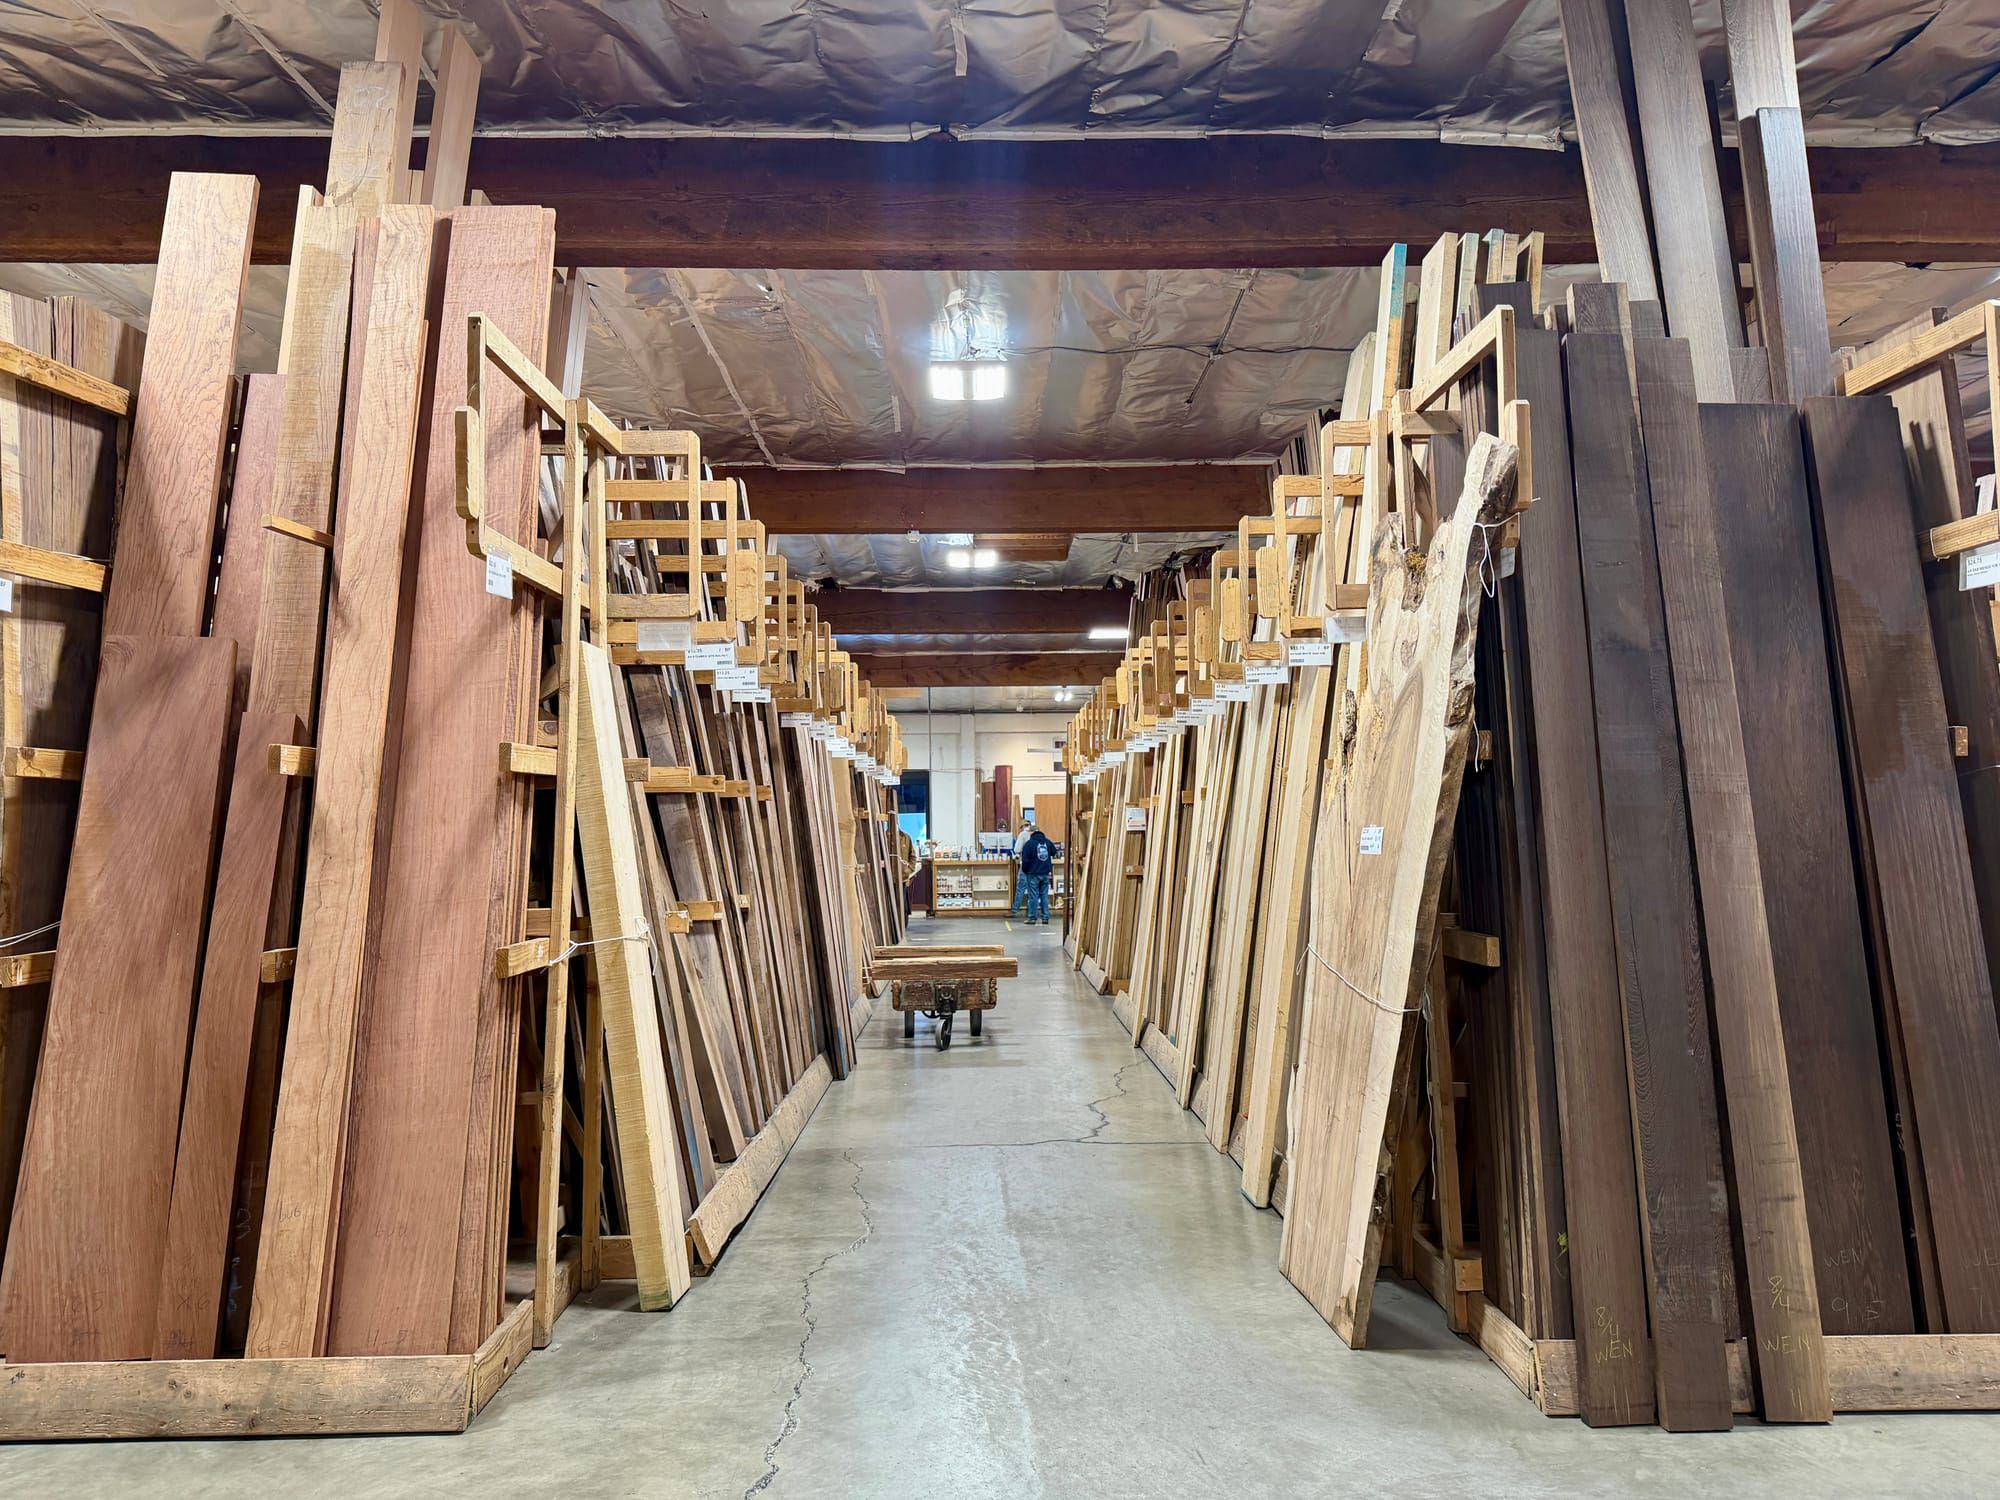
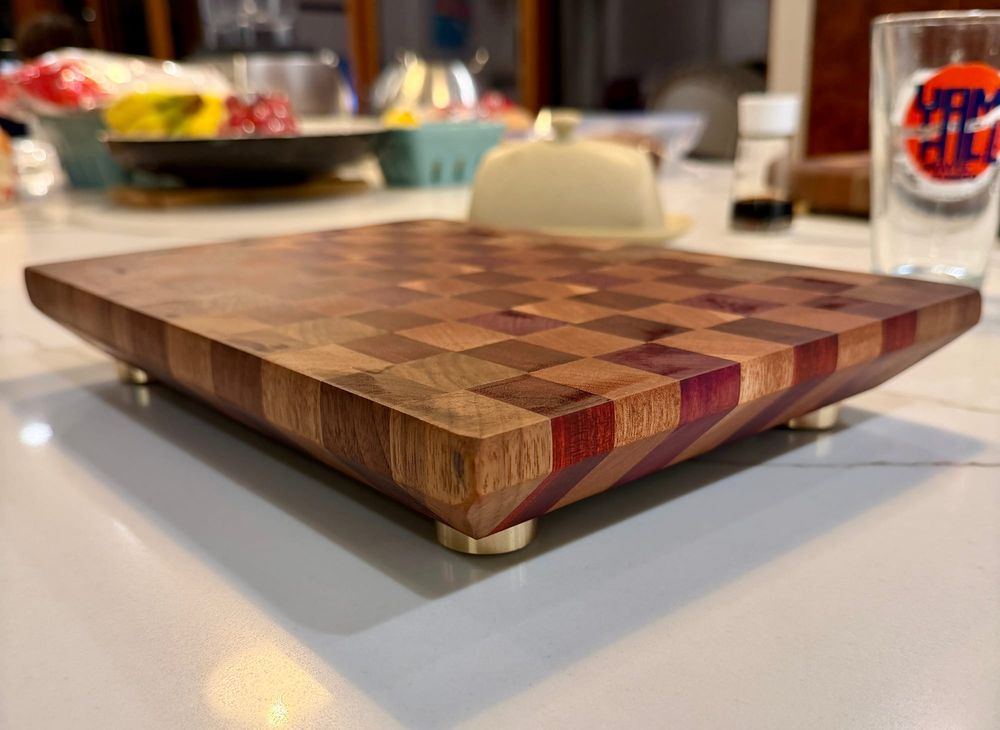
I've been a homeowner for about 20 years, and in that time I picked up a handful of DIY skills, but my work was always sloppy…