Building a modern outdoor sofa

My woodworking shop is coming together nicely and one benefit of having everything in the right place is that it makes completing new projects faster and easier.
Last week, I decided to tackle I project I've been thinking about since January, which was when I first watched a YouTube build video and immediately ordered a set of cushions from Wayfair. It's a riff on a high-end outdoor sofa from West Elm that goes for over $5,000, the kind you might see in a fancy hotel's pool area. The real sofas look fairly simple and easy to build and since it's easy to find good cushions elsewhere, I followed the Modern Builds plans to replicate it.
A lot of prep
I thought about building this sofa in a nicer wood than builder grade pine, but good cedar boards at this size were going to run me about $300-400 and I wanted to try building it first with the cheap stuff. If I loved the project, I could always redo it later on with different woods.
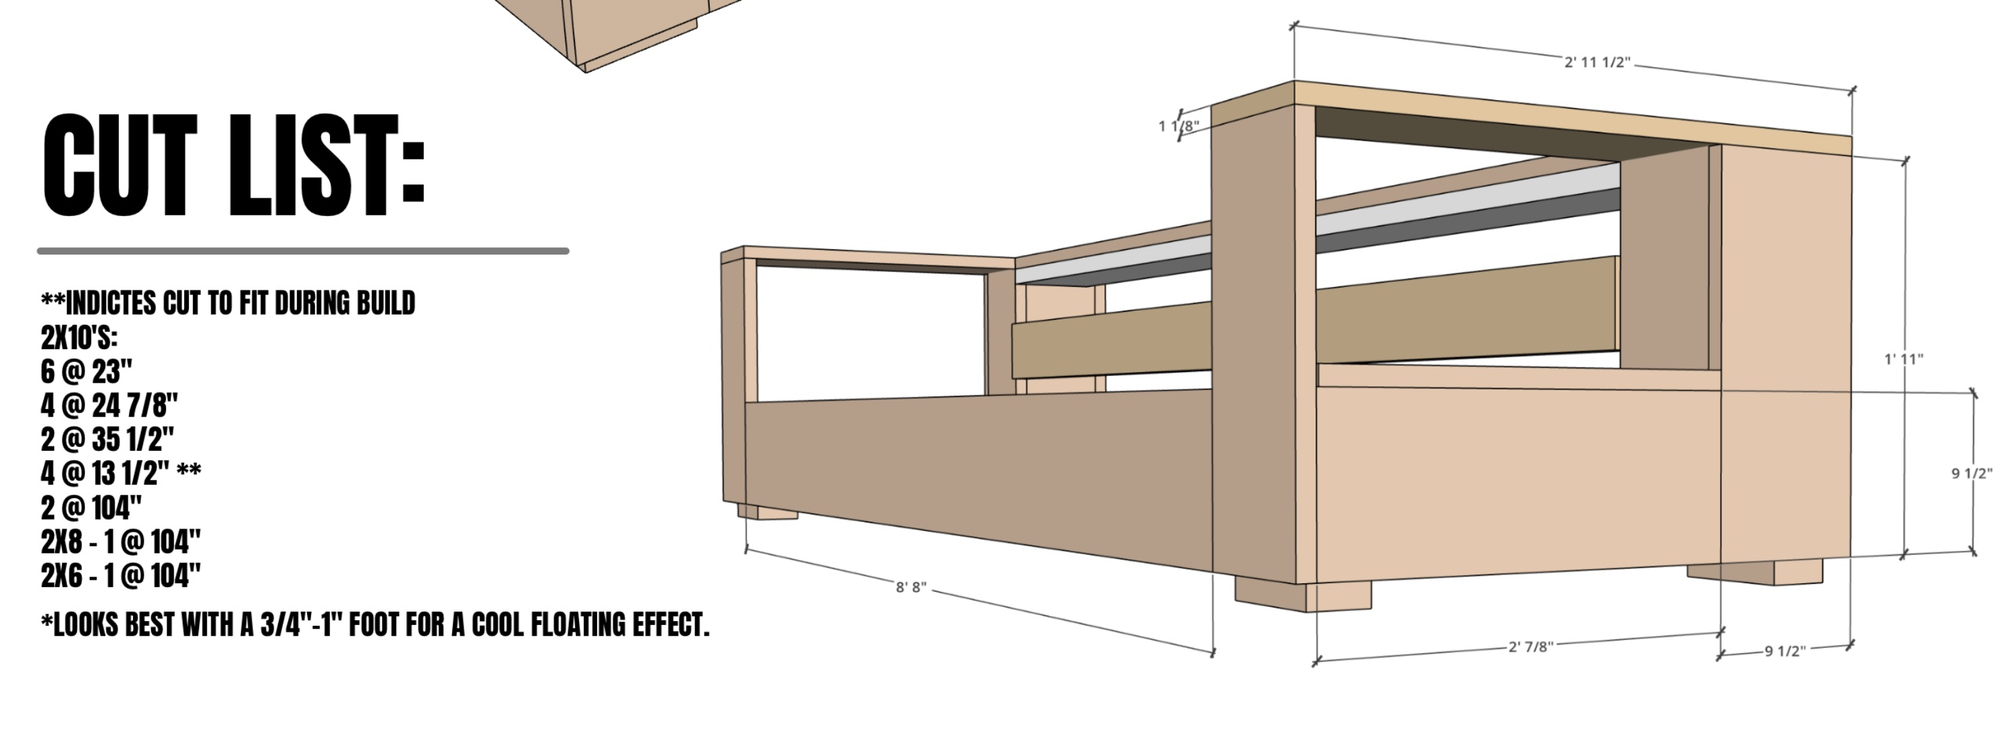
I went to my local lumberyard and picked out eight 2x10 pine boards that were straight and free of defects, along with a 2x8 and 2x6. The one page PDF of free plans is pretty low on detail and undercounts the amount of lumber you need (it says you only need two long boards, you need four). Luckily, I bought a bunch of extra boards so I was covered.
In total, the cost of all the wood I got was just about $100. The cushions were about $250, so it was a pretty affordable project considering the size of this overall beast.
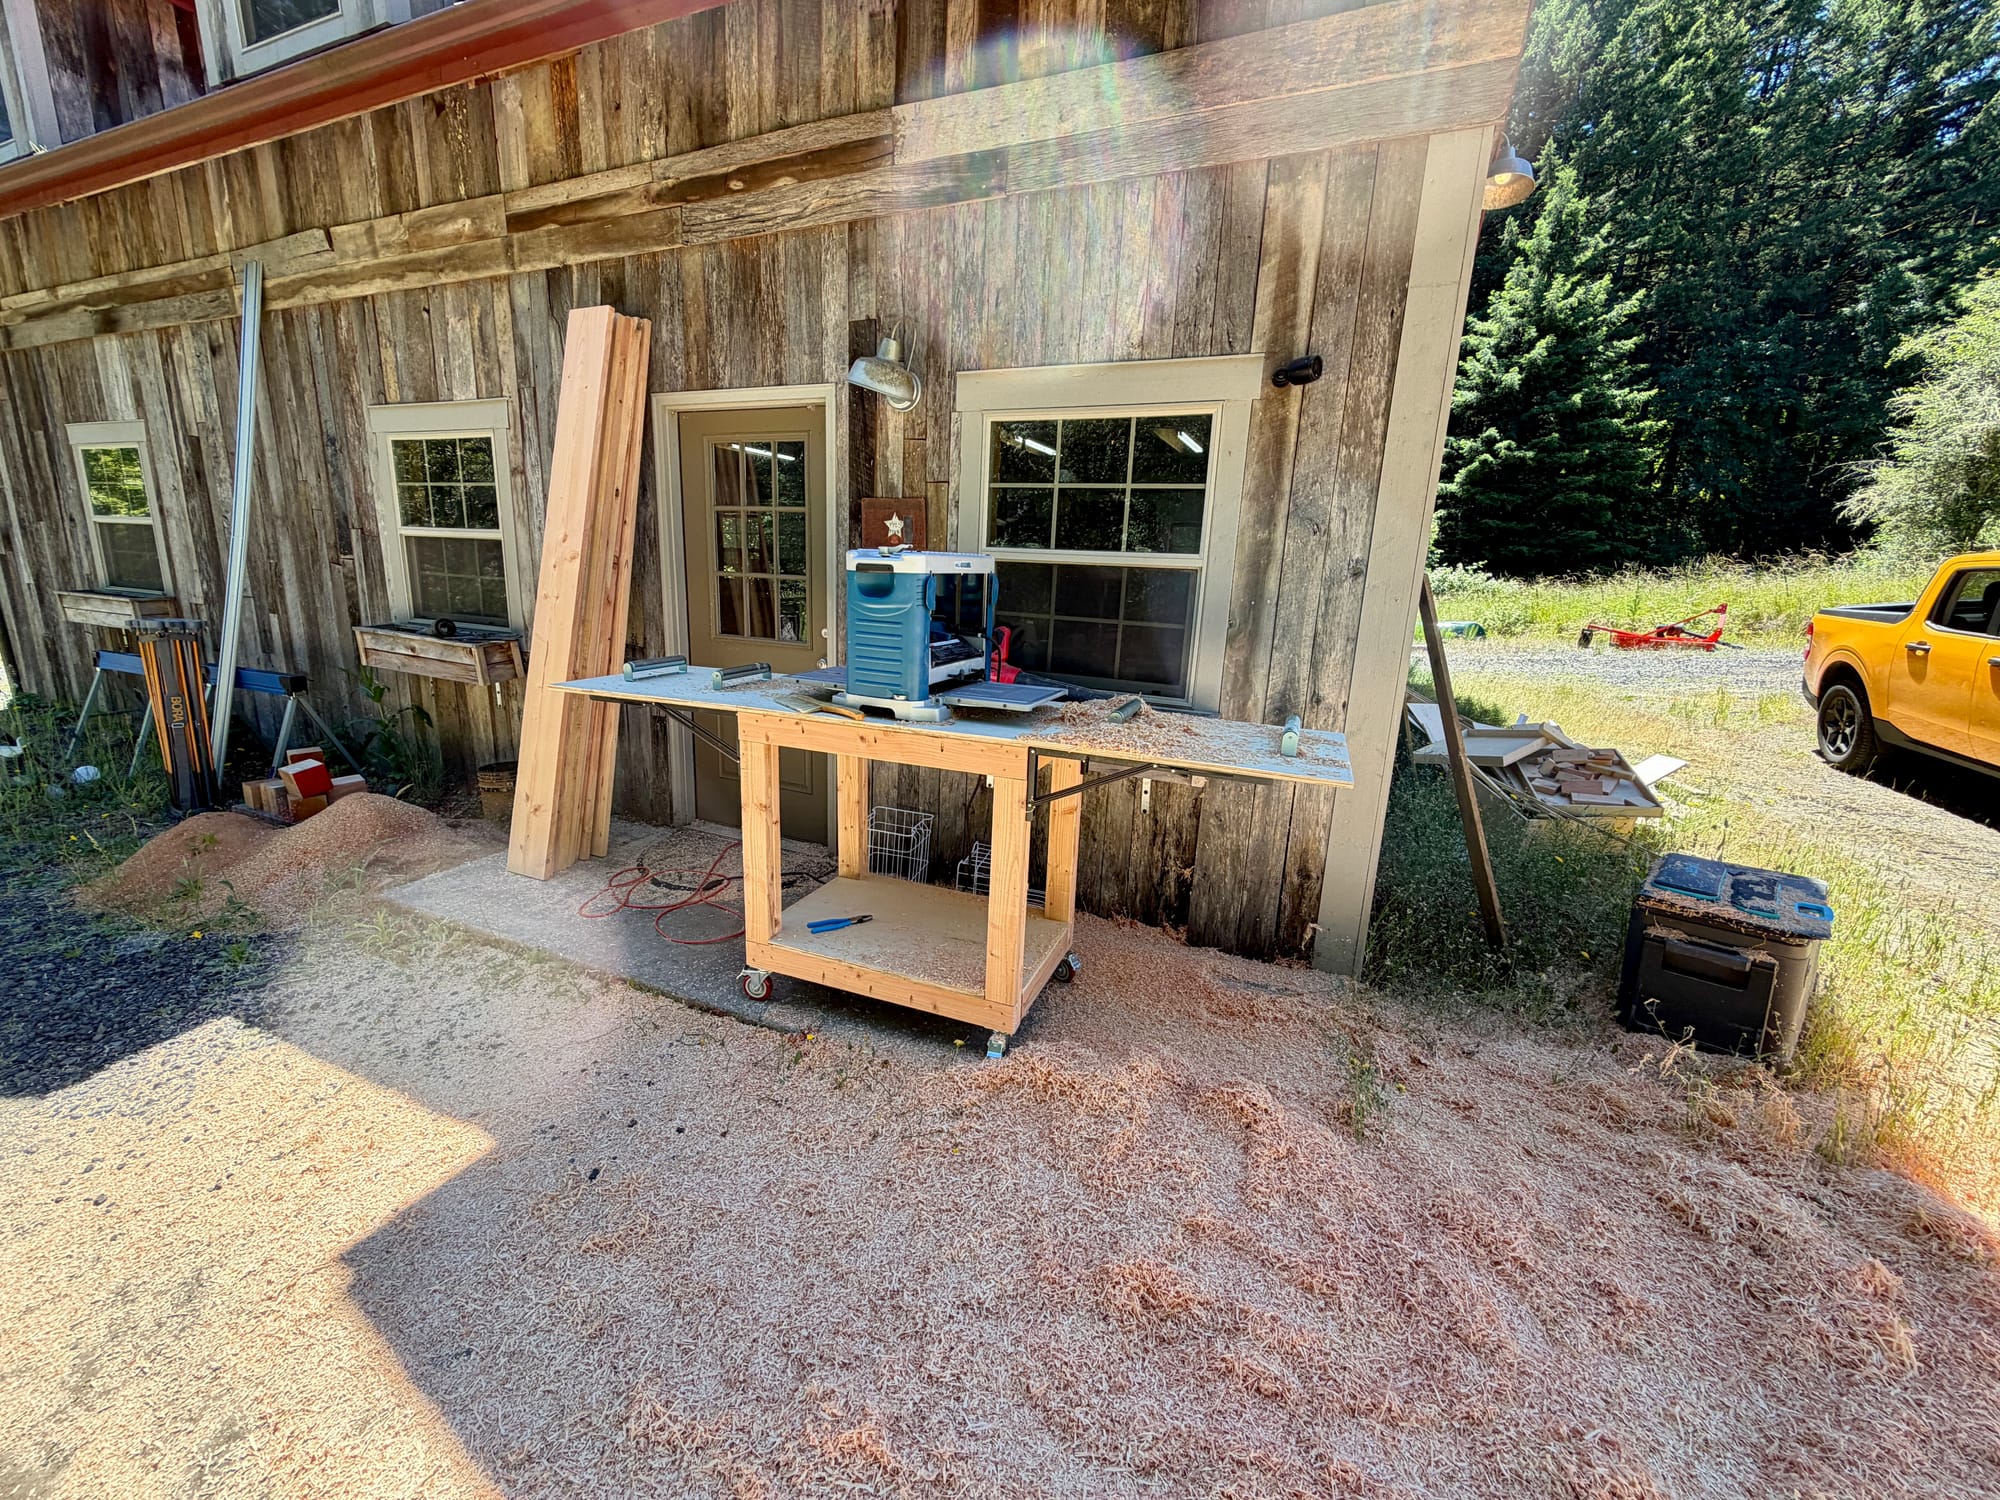
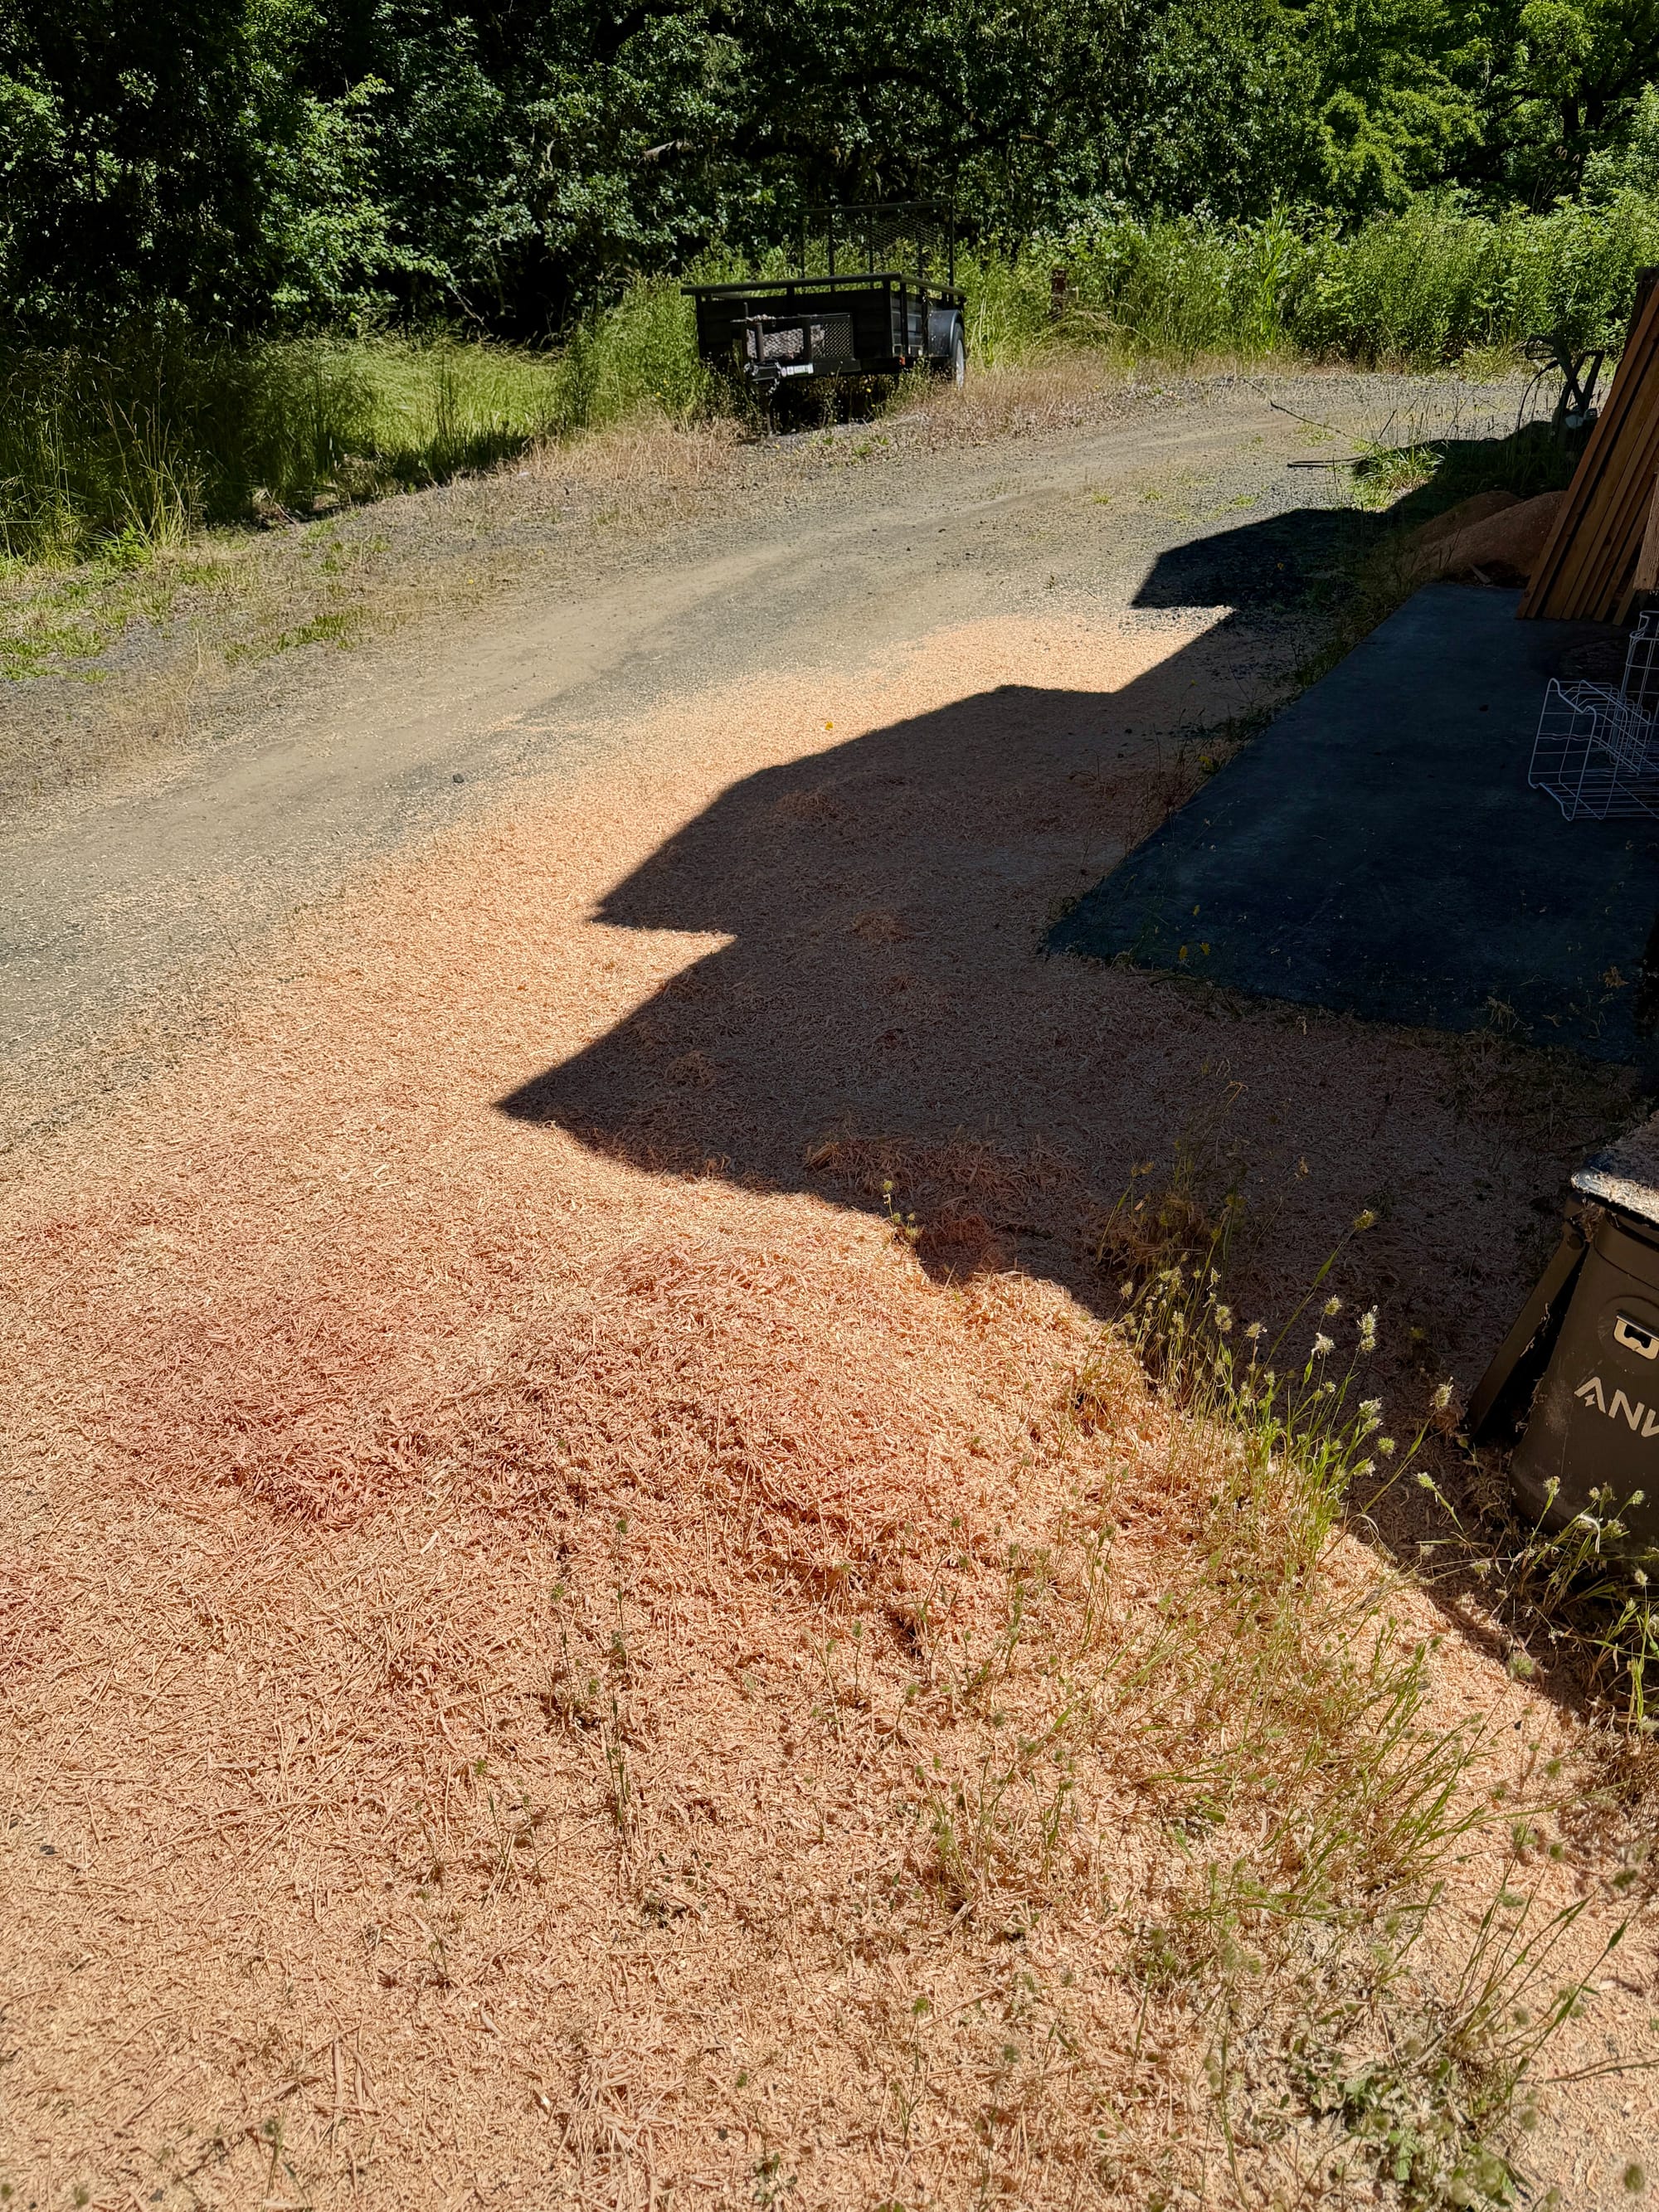
I ended up changing the sofa to one less set of cushions, so 26" narrower than the plans describe. The hardest part of the process was taking builder-grade pine and milling it down on a planer from 1 1/2" thick to 1 1/8" thick. Doing that for so many boards took several hours and produced a crap-ton of chunky sawdust.
Assembly time
But once milled down, the wood looked great. If built this again, I'd likely also cut the sides perfectly square on my table saw, taking the roughly 9 1/2" wide boards down to 9" total width.
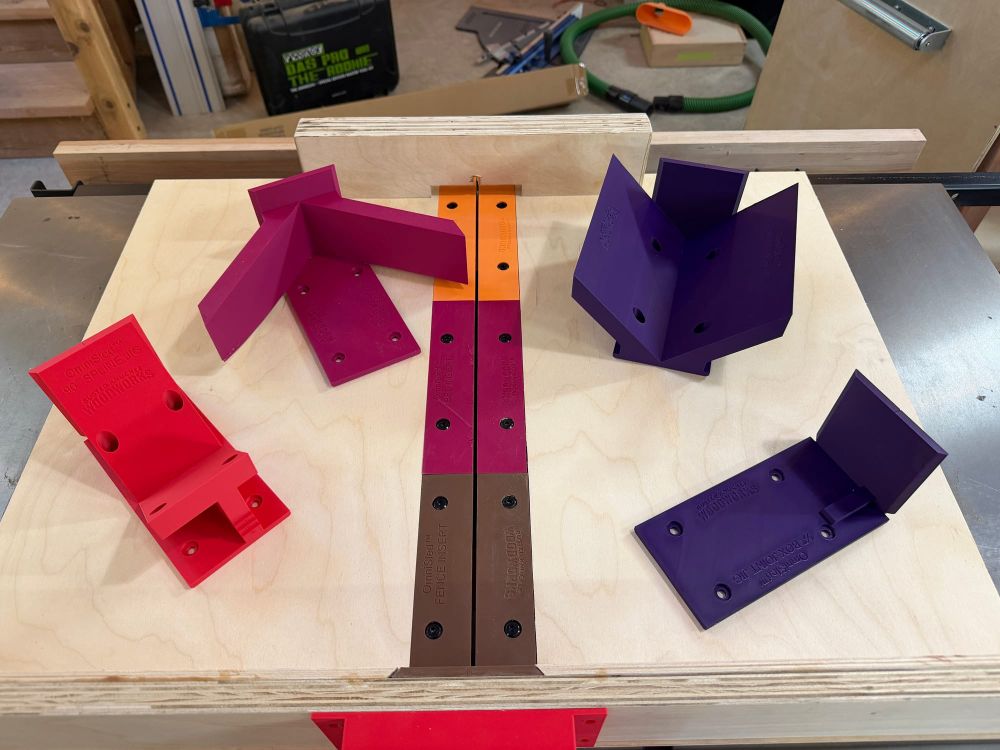
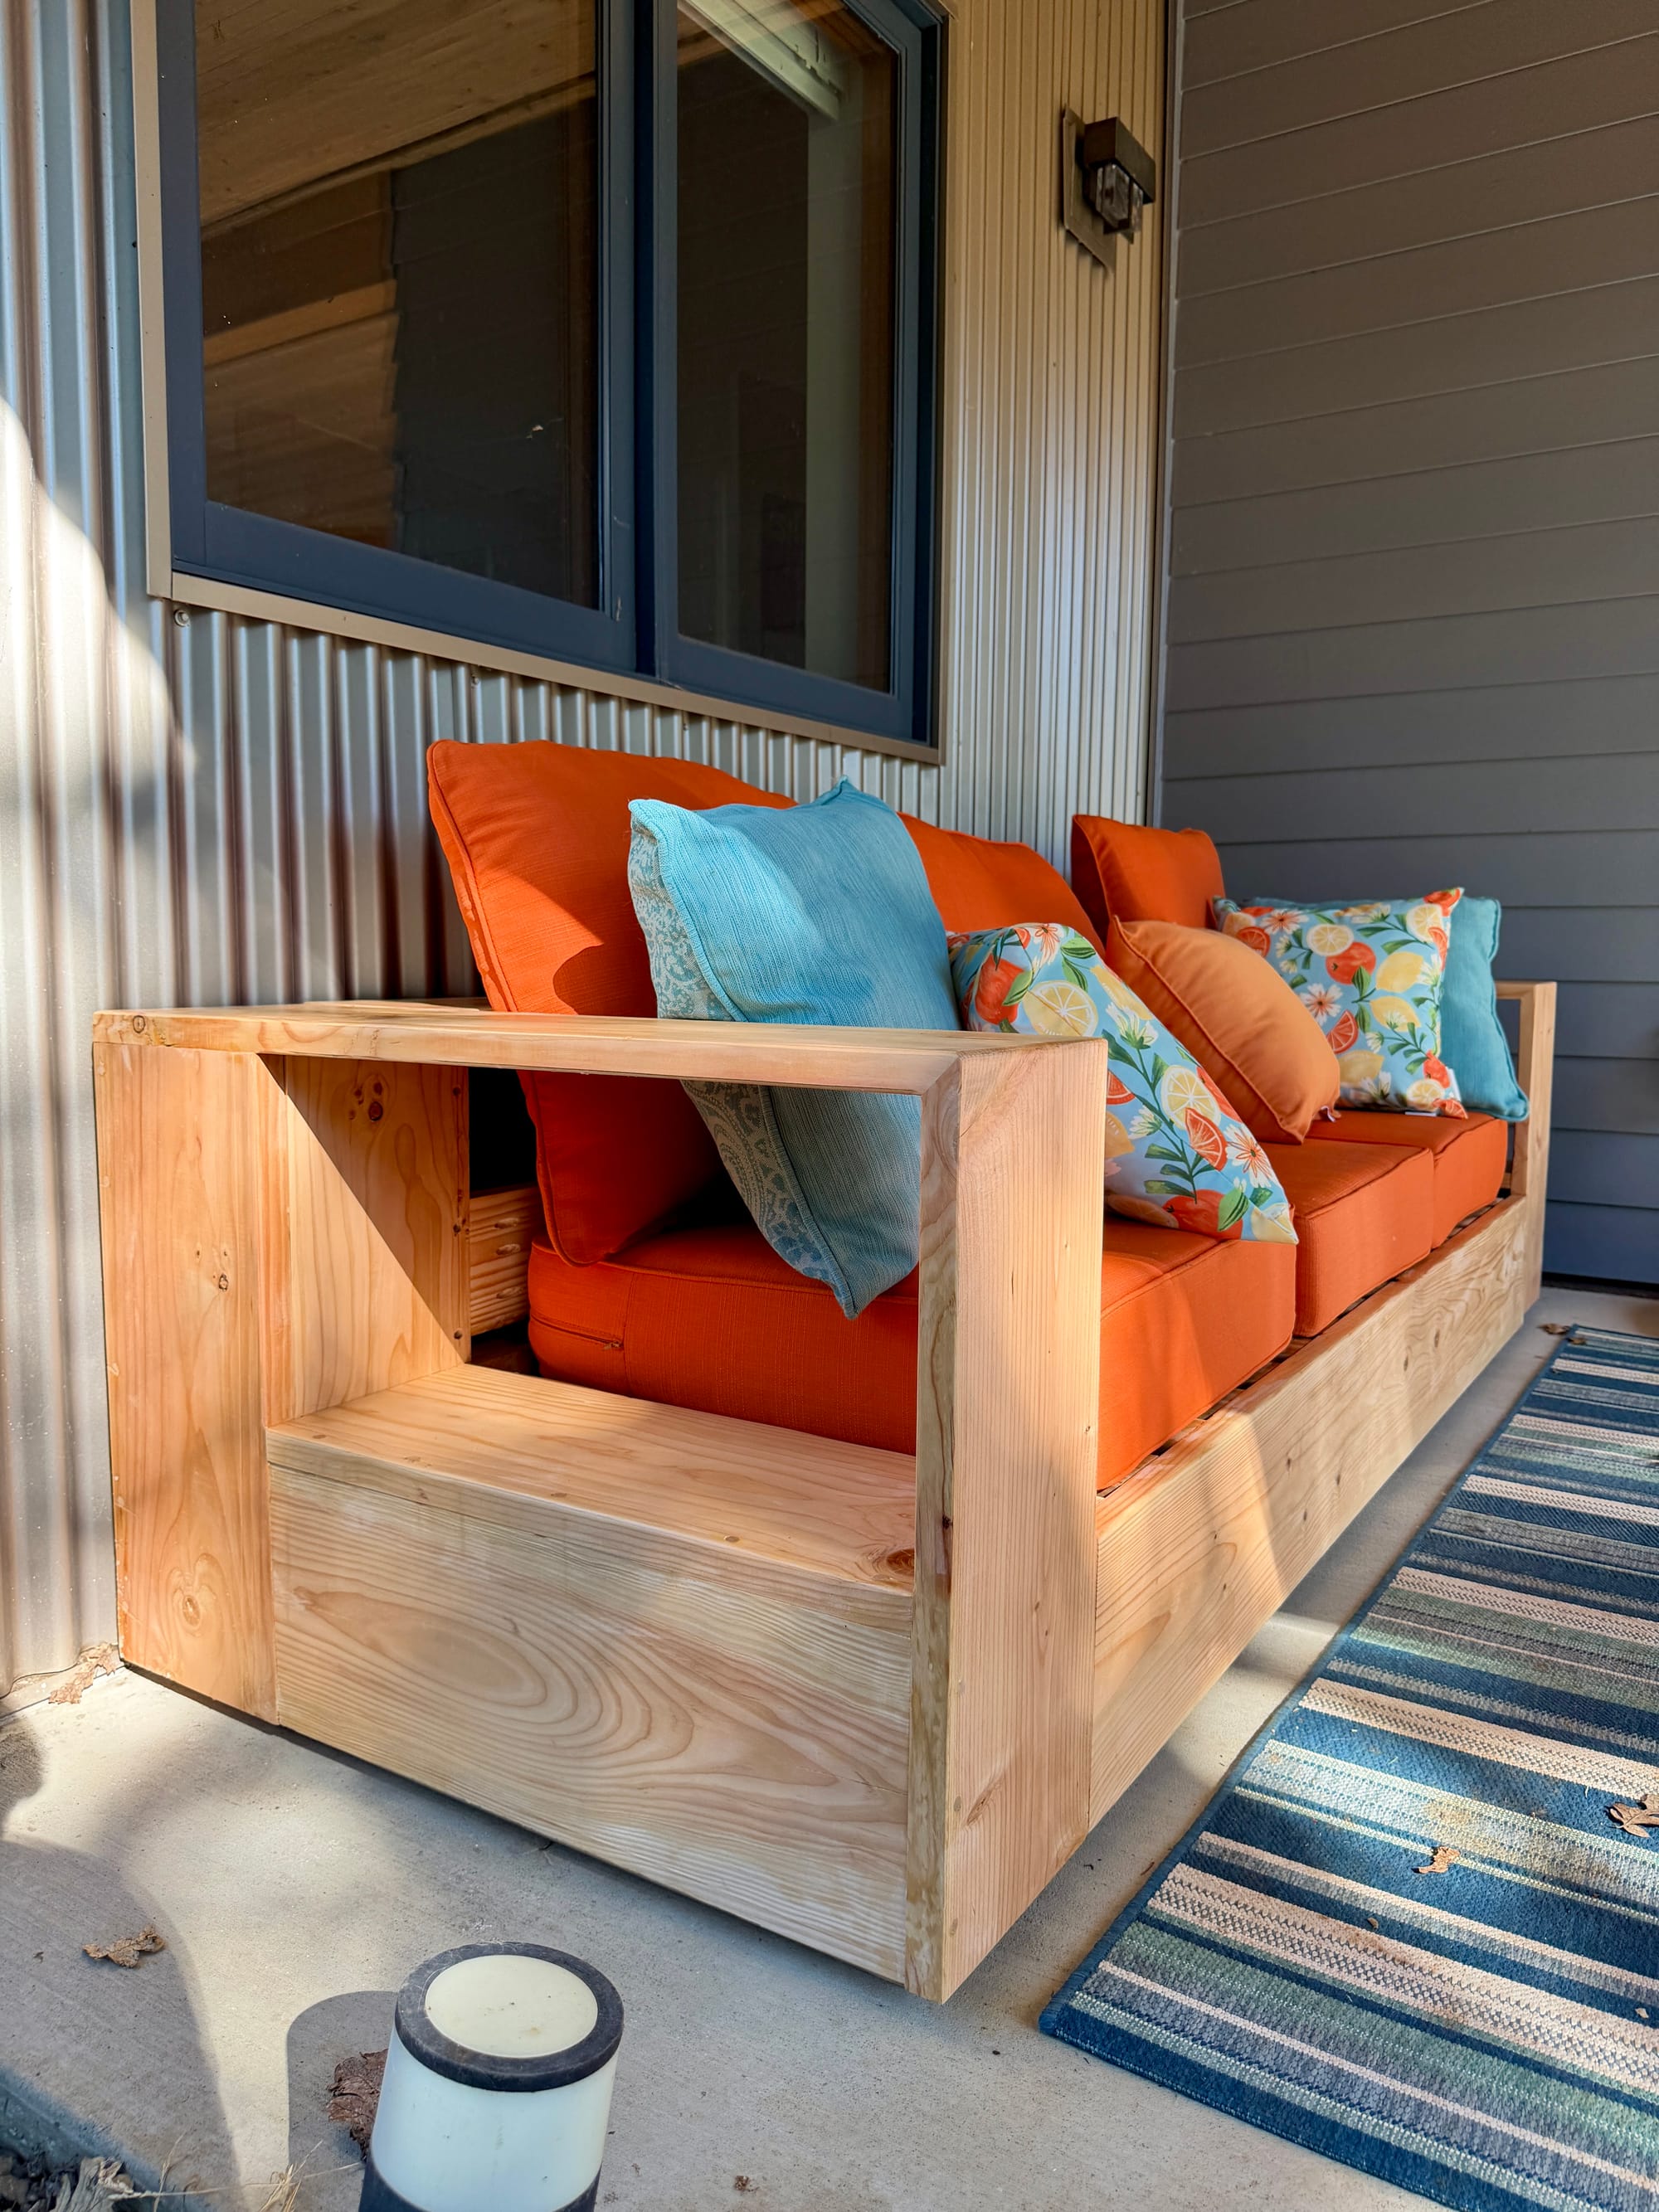
My new miter station made it easy to make perfectly repeatable cuts so I cut everything I needed in a few minutes and started building. One key change I made was how I didn't like the butt-joint where the fronts of the arms meet the top of the arms. Even the expensive West Elm models join their wood this way.
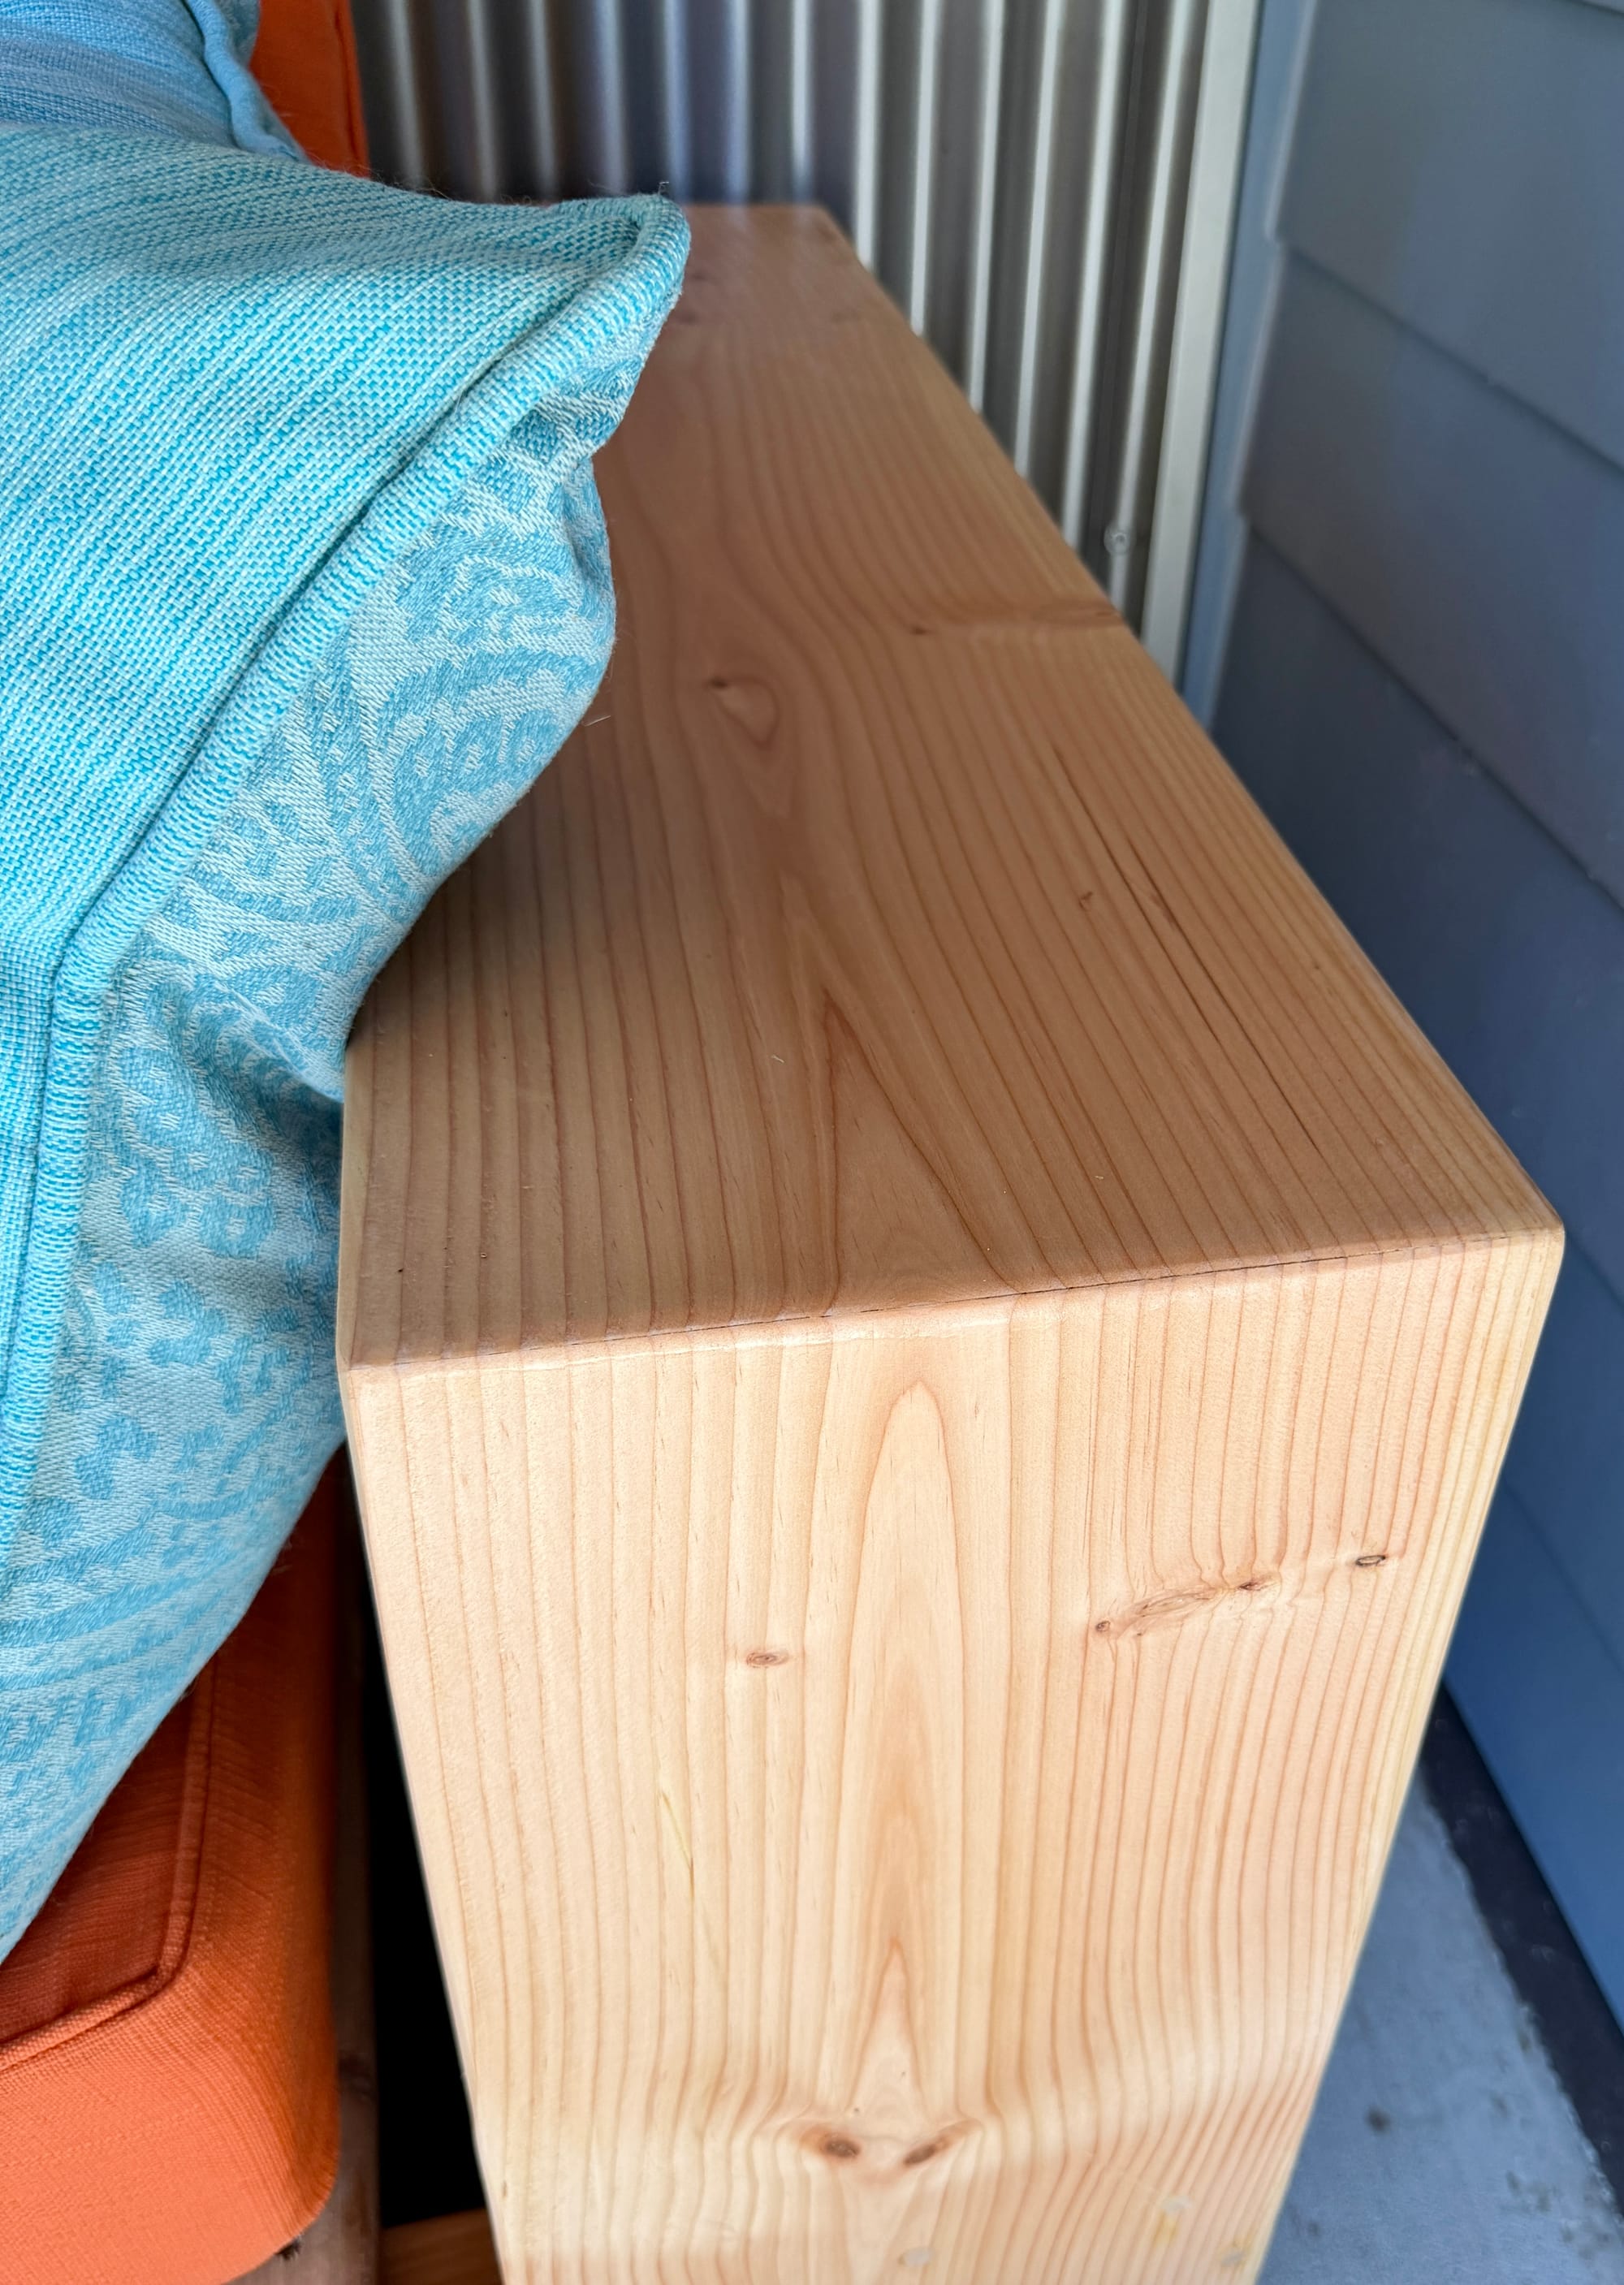
So instead, I tweaked the build plans slightly so I could make them meet on a 45º miter with Festool Dominos hidden inside for the glue-up. I even grain-matched the "waterfall" joint to make it look extra-fancy. This looks better than two pieces of wood slamming together at 90º but also shows off that it all came from a single long piece of lumber.
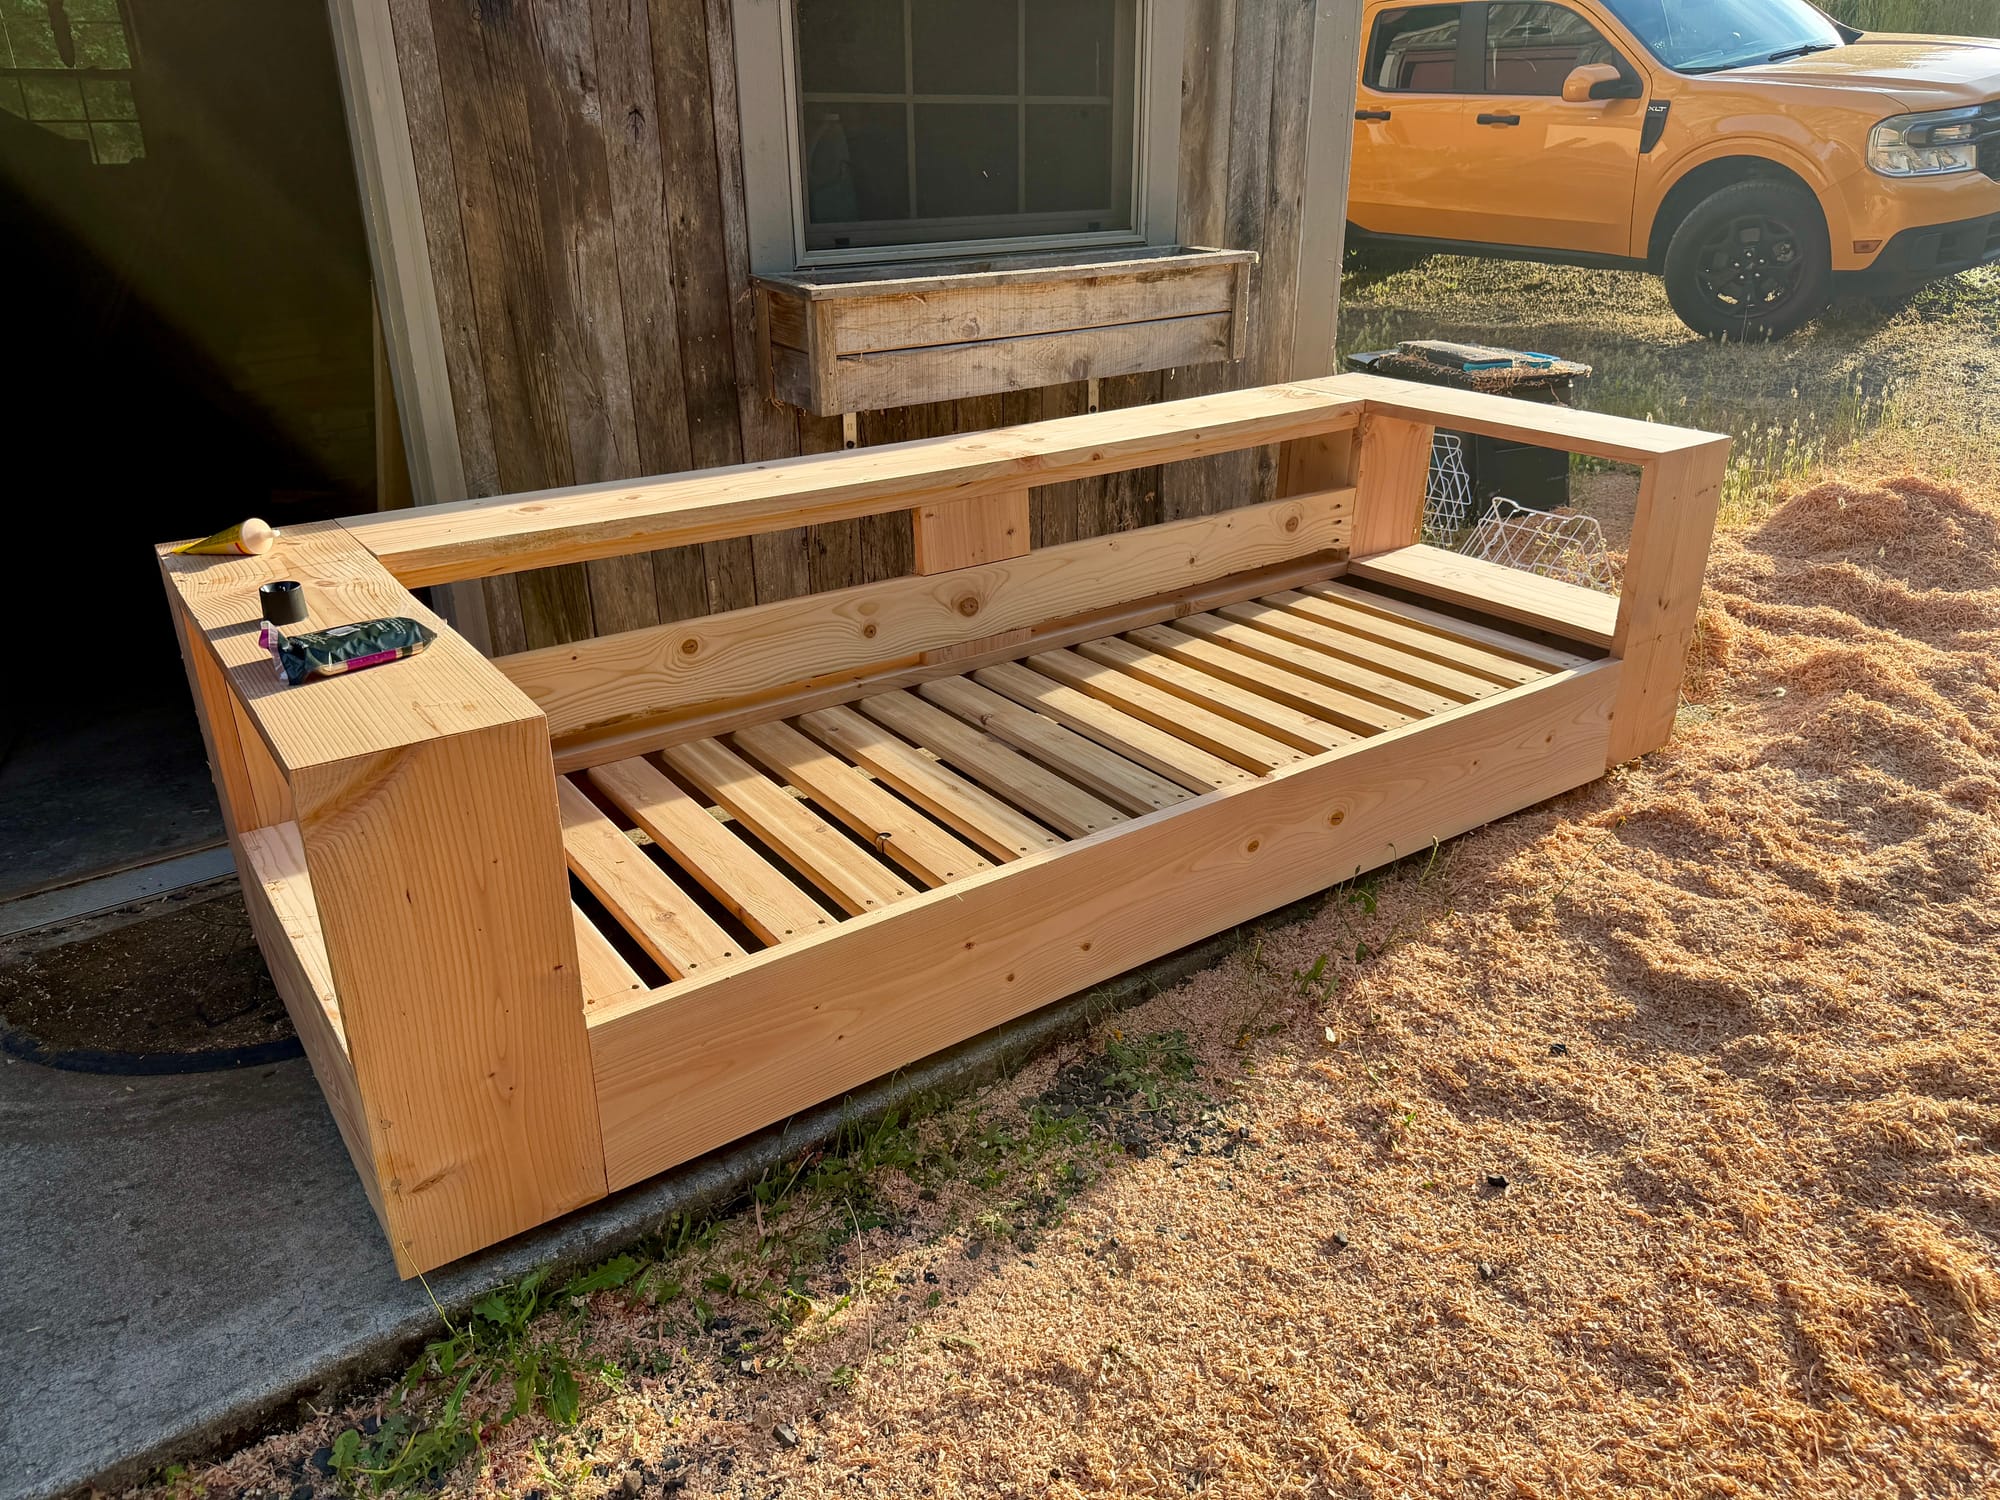
I started this build on a Friday, and by Monday the sofa was fully built and I spent a day sanding it up to 220 so it was ready for finish. Tuesday morning, I put two coats of oil-based spar urethane varnish on it, then got a friend to help me move it from the barn to our front porch area. It weighed over 100lbs, so it was no easy task.
Before/After
When we moved into our house, we had this weird patio area off to the side of the front door and it was oddly large and not easy to know what to put there. During early COVID times, I found a cheap plastic rattan outdoor sectional from AliExpress and it sat there for the last six years looking like this, but I knew it was never quite the right fit (and the cushions were thin and abysmal for comfort).
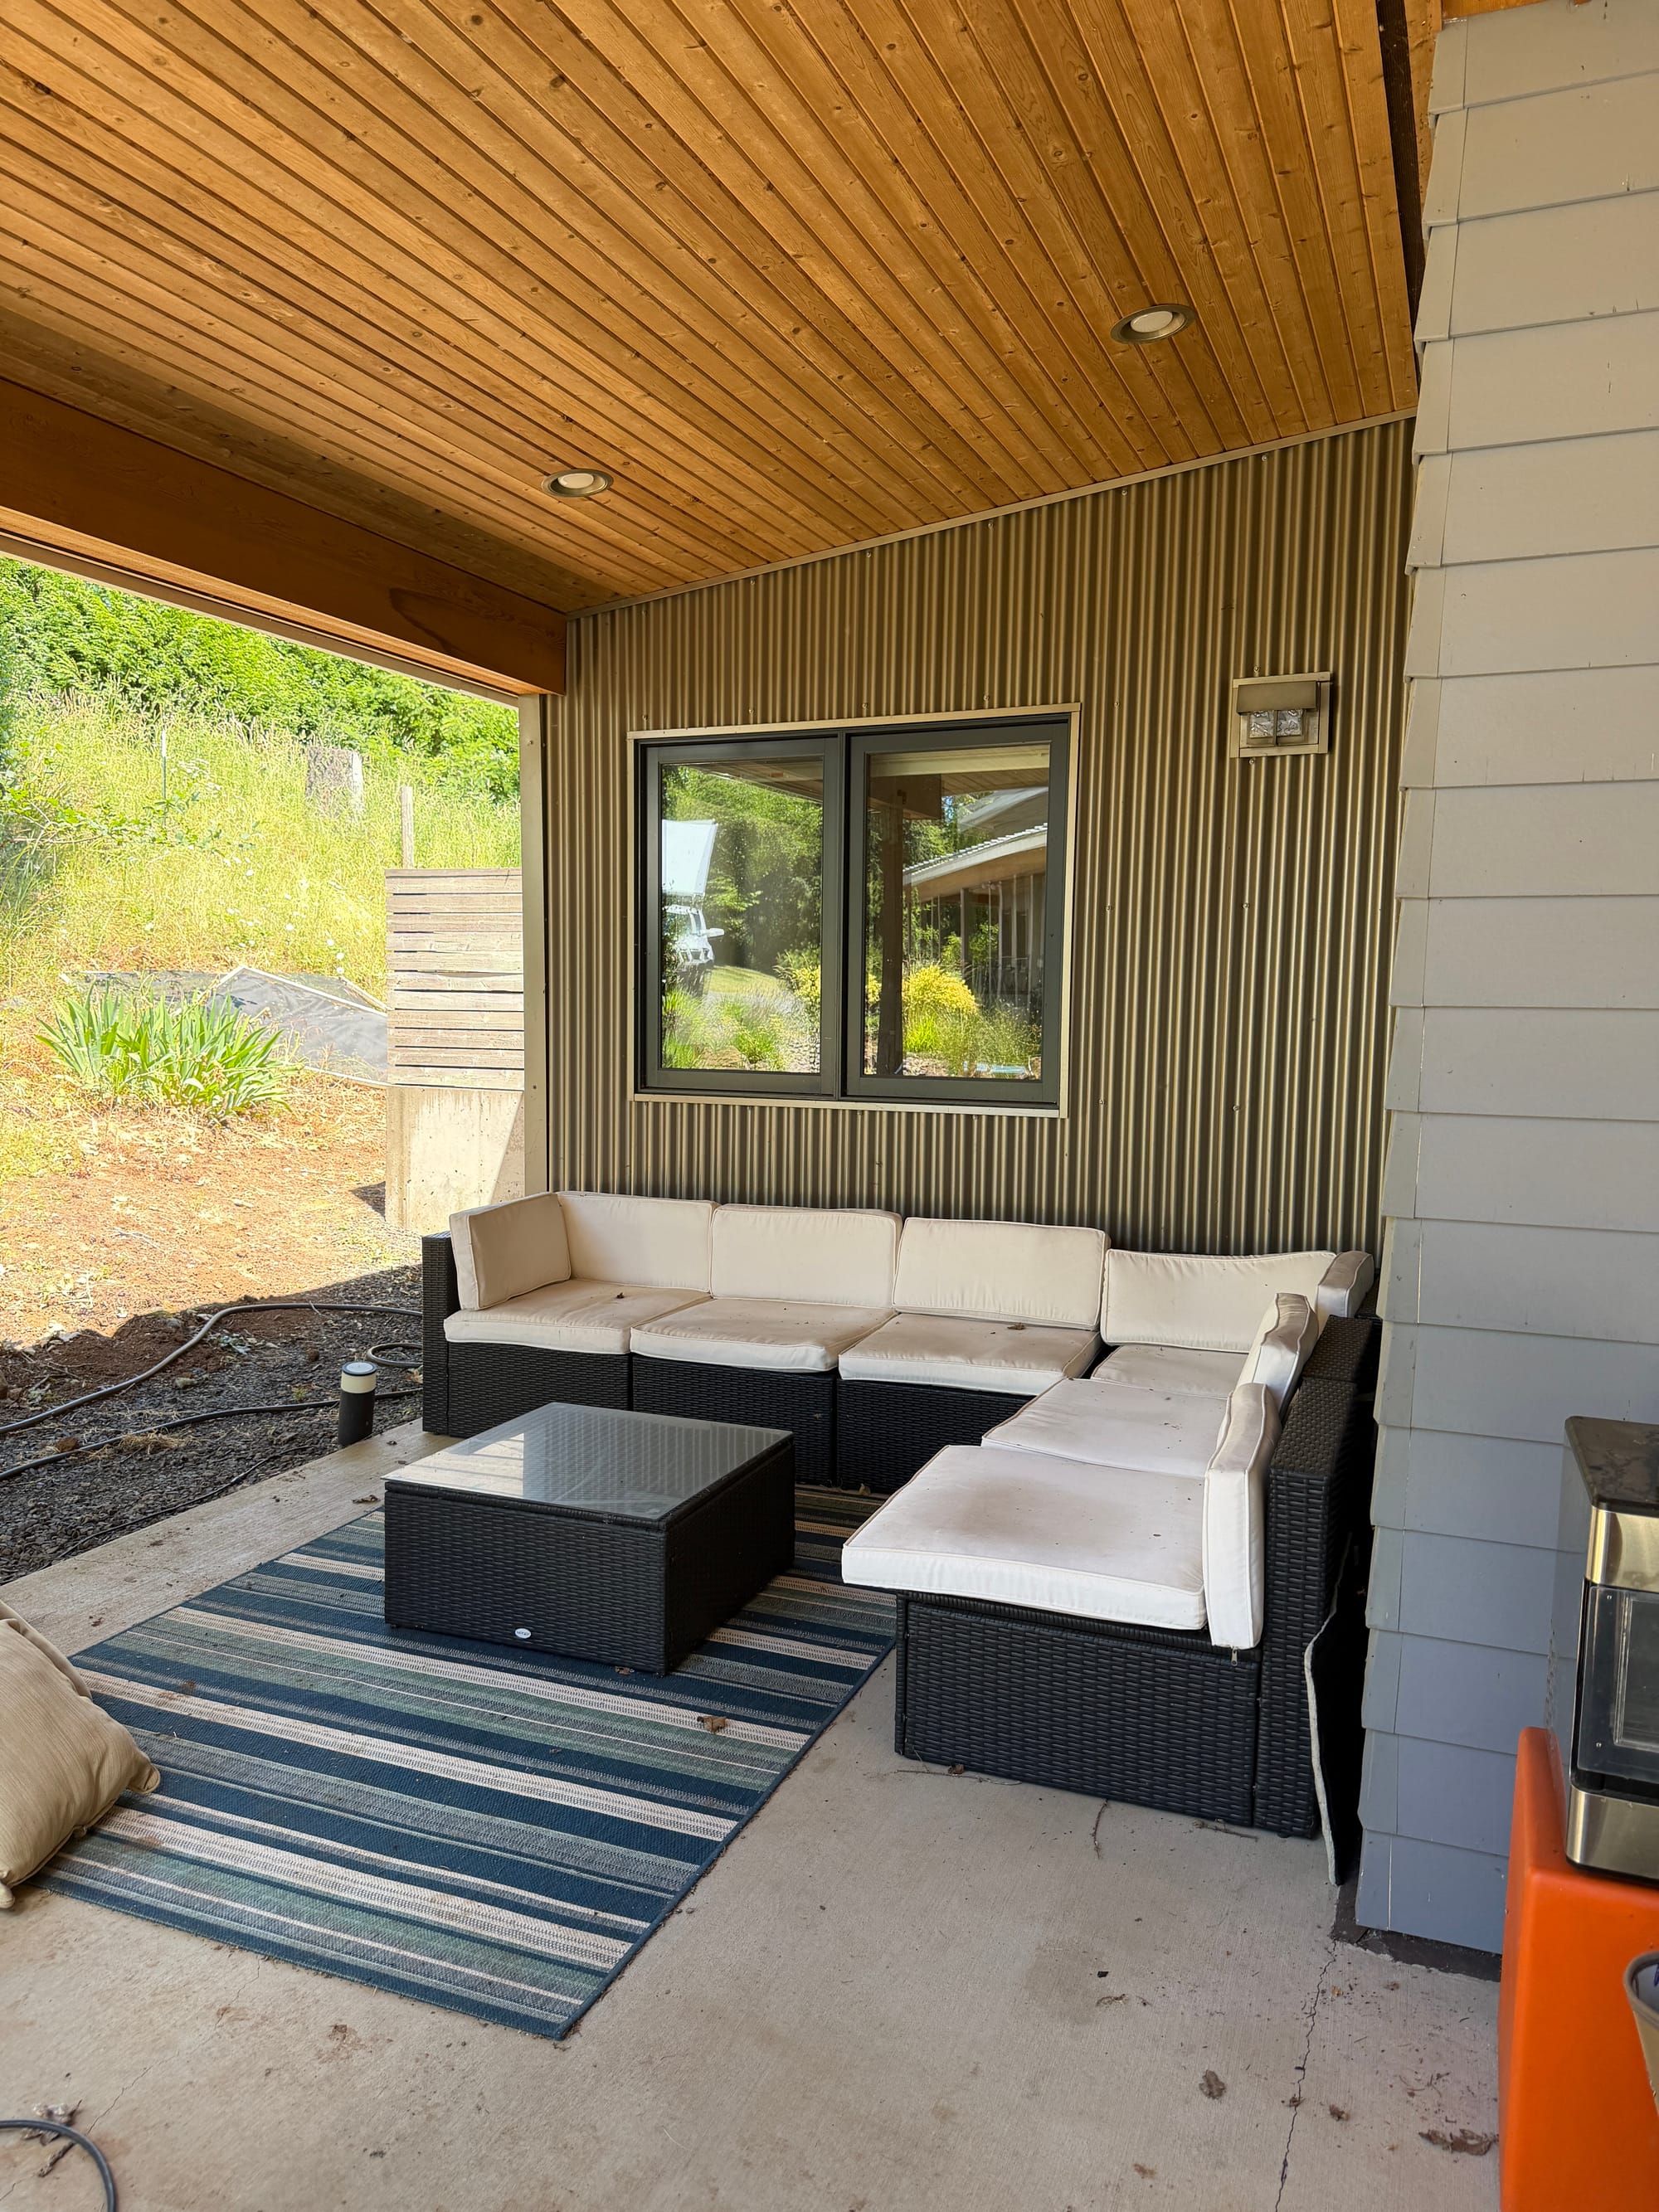
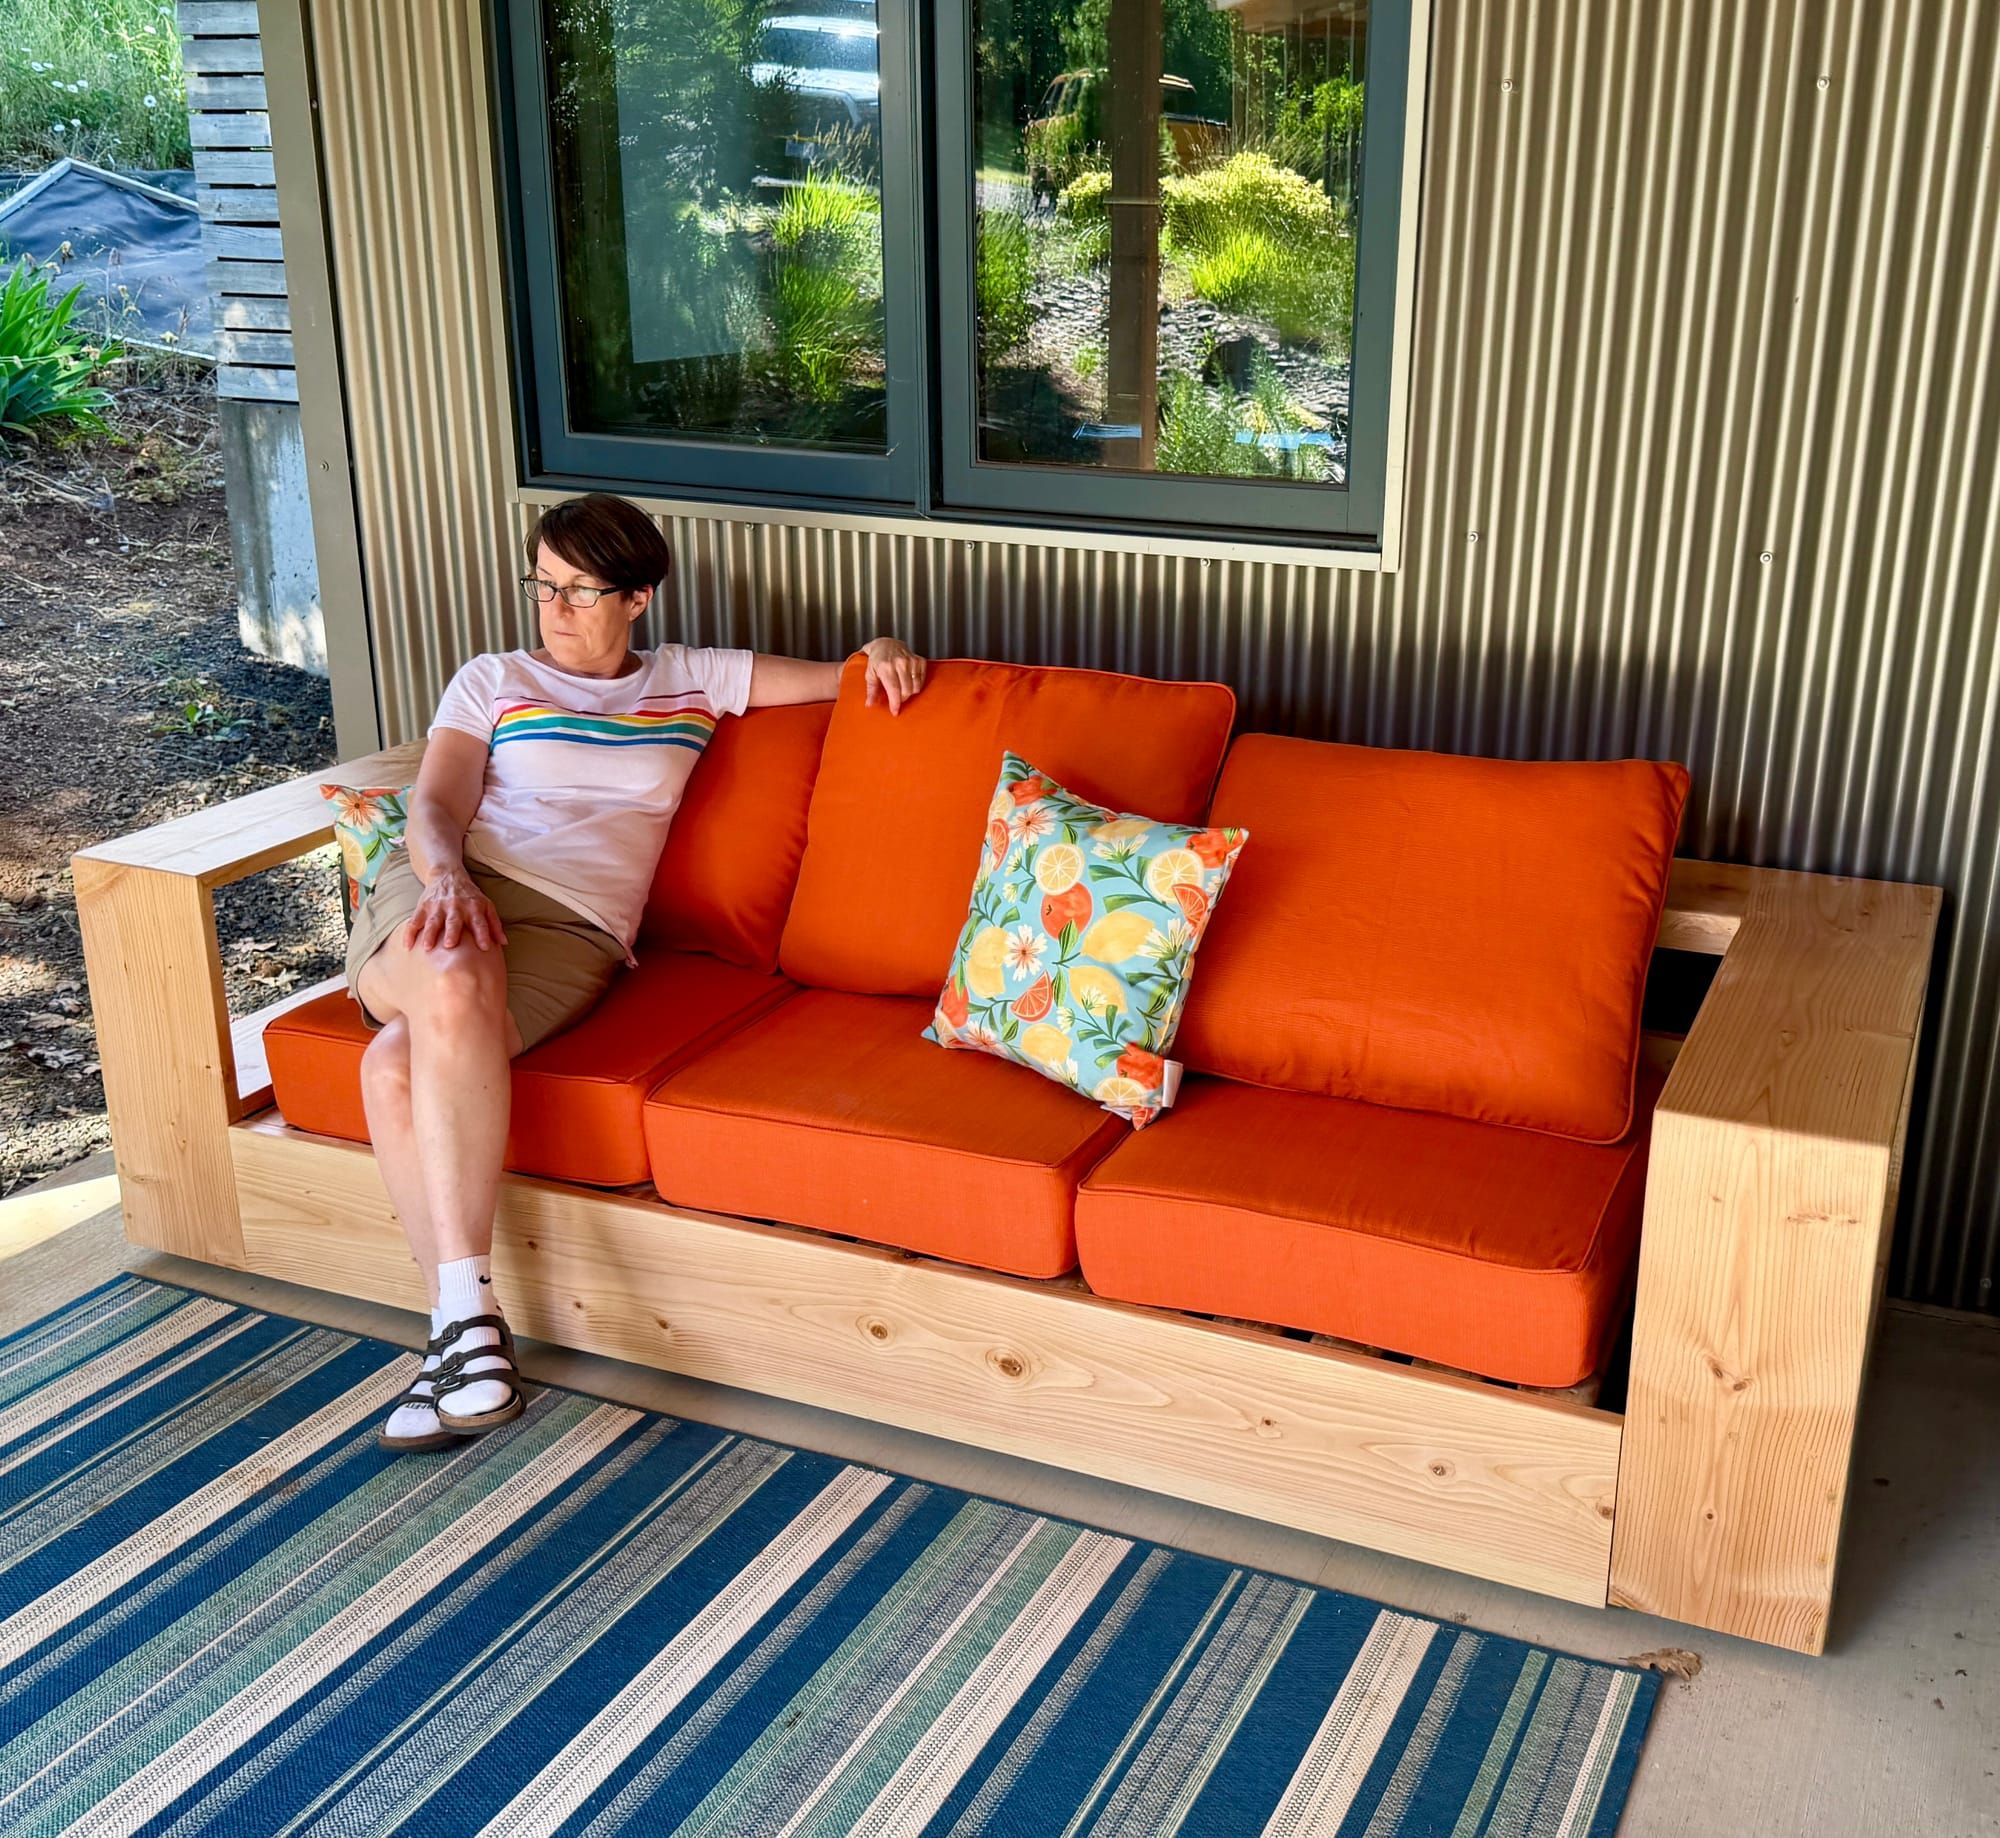
I knew a modern, chunky sofa with bright fabric would really pop there and here it is once we put it in place.
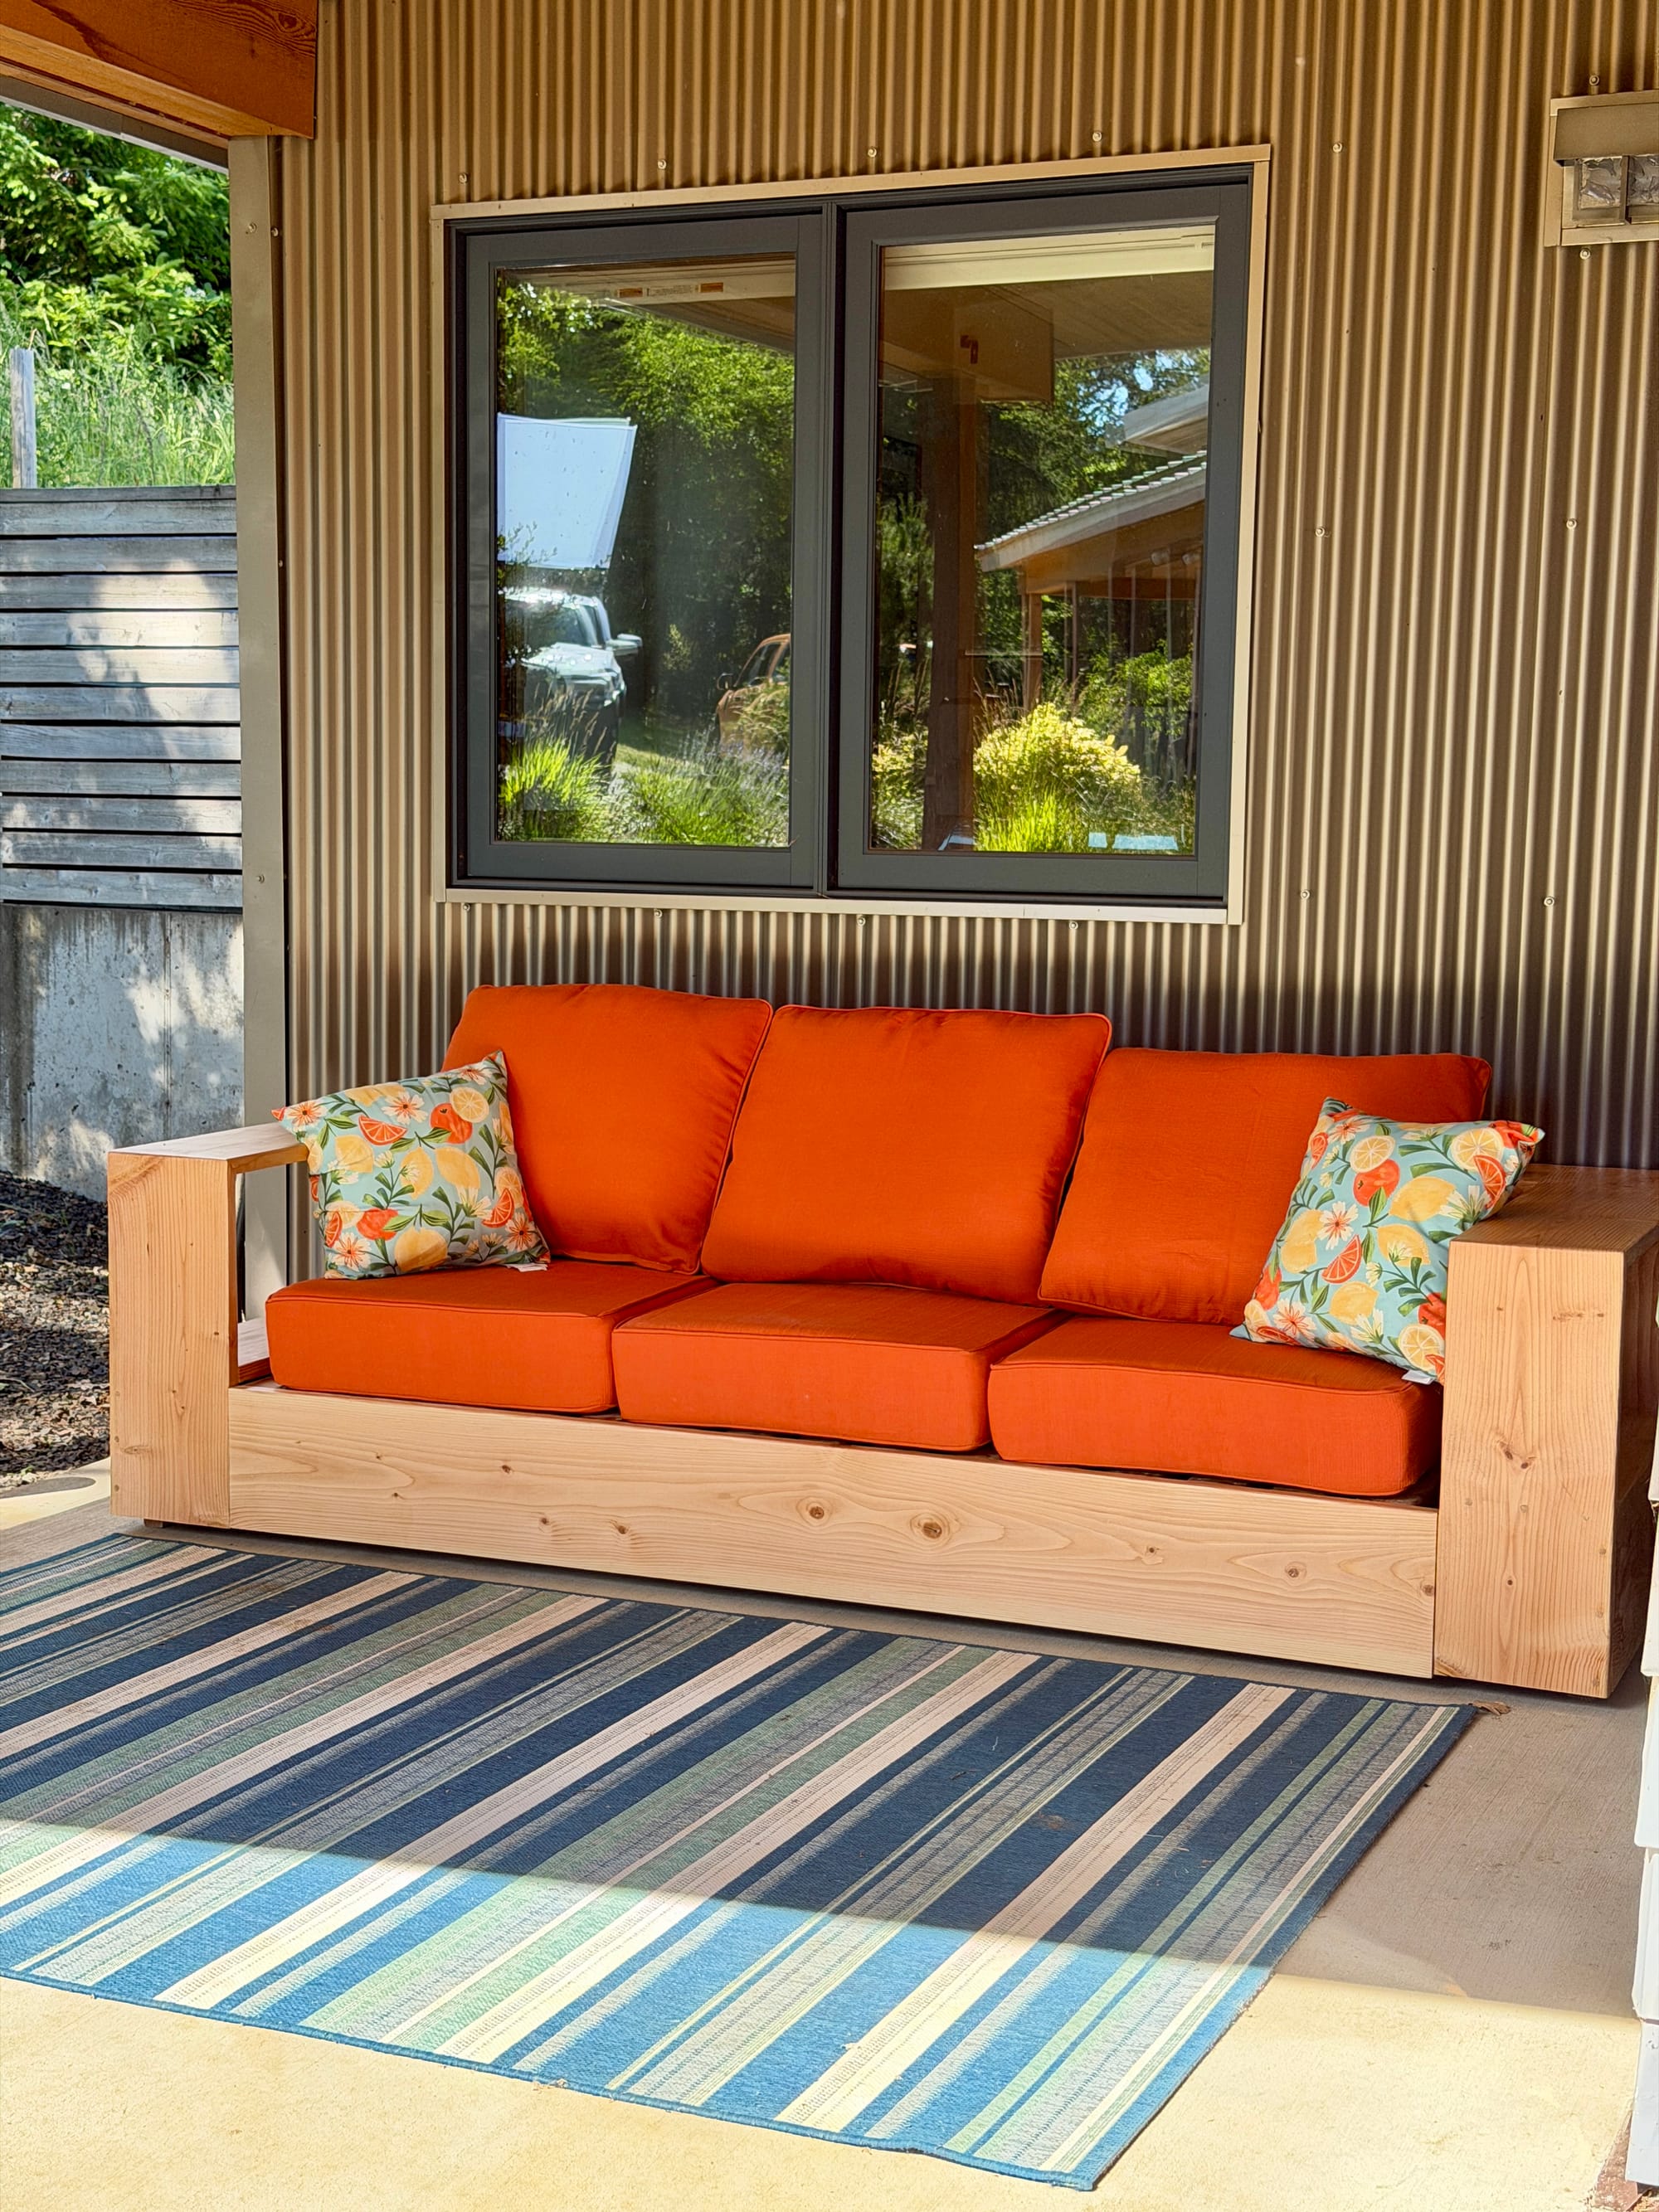
This sofa all came together quickly and I love how it looks and feels. The 5" thick cushions are crazy comfortable to sit on. The only thing missing now is a coffee table and my next project is building a Nelson Bench out of birch hardwood this week to put out there.
If I were to build this again, I'd probably spring for the more expensive but outdoor-friendly cedar wood and I'd do a better job on the sanding and finishing (I see flaws everywhere, but no one else does). I also think the "floating" look of it would be better if I set the riser boards on the bottom to be 1 1/2" away from the frame instead of the 3/4" the plans suggest. The sofa would look better with more of a shadow reveal, and I might reattach the feet to make that happen soon.
Overall, I'd say this is a great beginner-friendly build that almost anyone could do if you approach each step carefully and measure twice before you cut once. The hardest part would be learning to use a planer, but the one I got on sale at Harbor Freight last year was under $400 and did a good, albeit messy, job. I learned how to use planers in my intro to woodworking class over the winter.
Watch the video yourself and if this is something you want to tackle for your own house, I bet you can actually do it.