How to make your own Fusion drive
I've got a previous generation iMac, the first that came with a 256Gb SSD drive as an option, and I also had a 2Tb hard drive added to it, for longer term storage of things like photos, music, and movies that didn't fit on the first drive. It has worked well since I bought it a couple summers ago, the OS and applications reside on the SSD and are lightning fast, totally worth the expense of adding SSD as an option, while archived stuff and media still work well on the larger hard drive.
The downside to this setup was that it required lots of hacks to do things like symlink home folders to the larger drive and I had to tell every app to store data in a custom location on the bigger hard drive (apps always defaulted to storage on the SSD). It was a pain to manage and when my storage needs exceeded the 256Gb+2Tb capacity, I recently bought a new iMac featuring a 3Tb Fusion drive.
Last Fall, the newest iMac debuted with a Fusion drive, based on a combination SSD/HD setup that puts most frequently used files on the SSD to speed up operations while automatically moving larger files and seldom used files to the hard drive. It "cloaks" the two disks into appearing as a single disk, making file management among your apps and OS much easier.
As I recently found out, if you have the dual SSD/HD setup in a mac, you can also create a Fusion drive, combining the two. I found loads of conflicting information about this online but wanted to write up what worked for me.

1. This will require erasing your drives eventually, so it works best when you're setting things up from scratch or when you're ready to start over. Be sure to backup all your old data to external disks before proceeding. I suggest Carbon Copy Cloner to backup both existing drives in your iMac to a single external large drive.
2. Download the OS X Recovery tool and install it onto a USB key. This lets you boot to a USB thumb drive and run a minimal set of tools like disk utility and the terminal, both necessary for the operation. You must do this on the machine you intend to turn into a Fusion drive.
3. Boot up your mac with the option key held down to boot to your recovery drive. Select the orange USB drive option and it should say "Recovery Disk" on it.
4. Follow the instructions here at cnet. It starts with making new single partitions on each drive, both your SSD and your hard drive. Then you close Disk Utility and go to the menu bar to run Terminal. Do the set of commands listed at cnet. My commands to create the combined drive used disk0 and disk1s2.
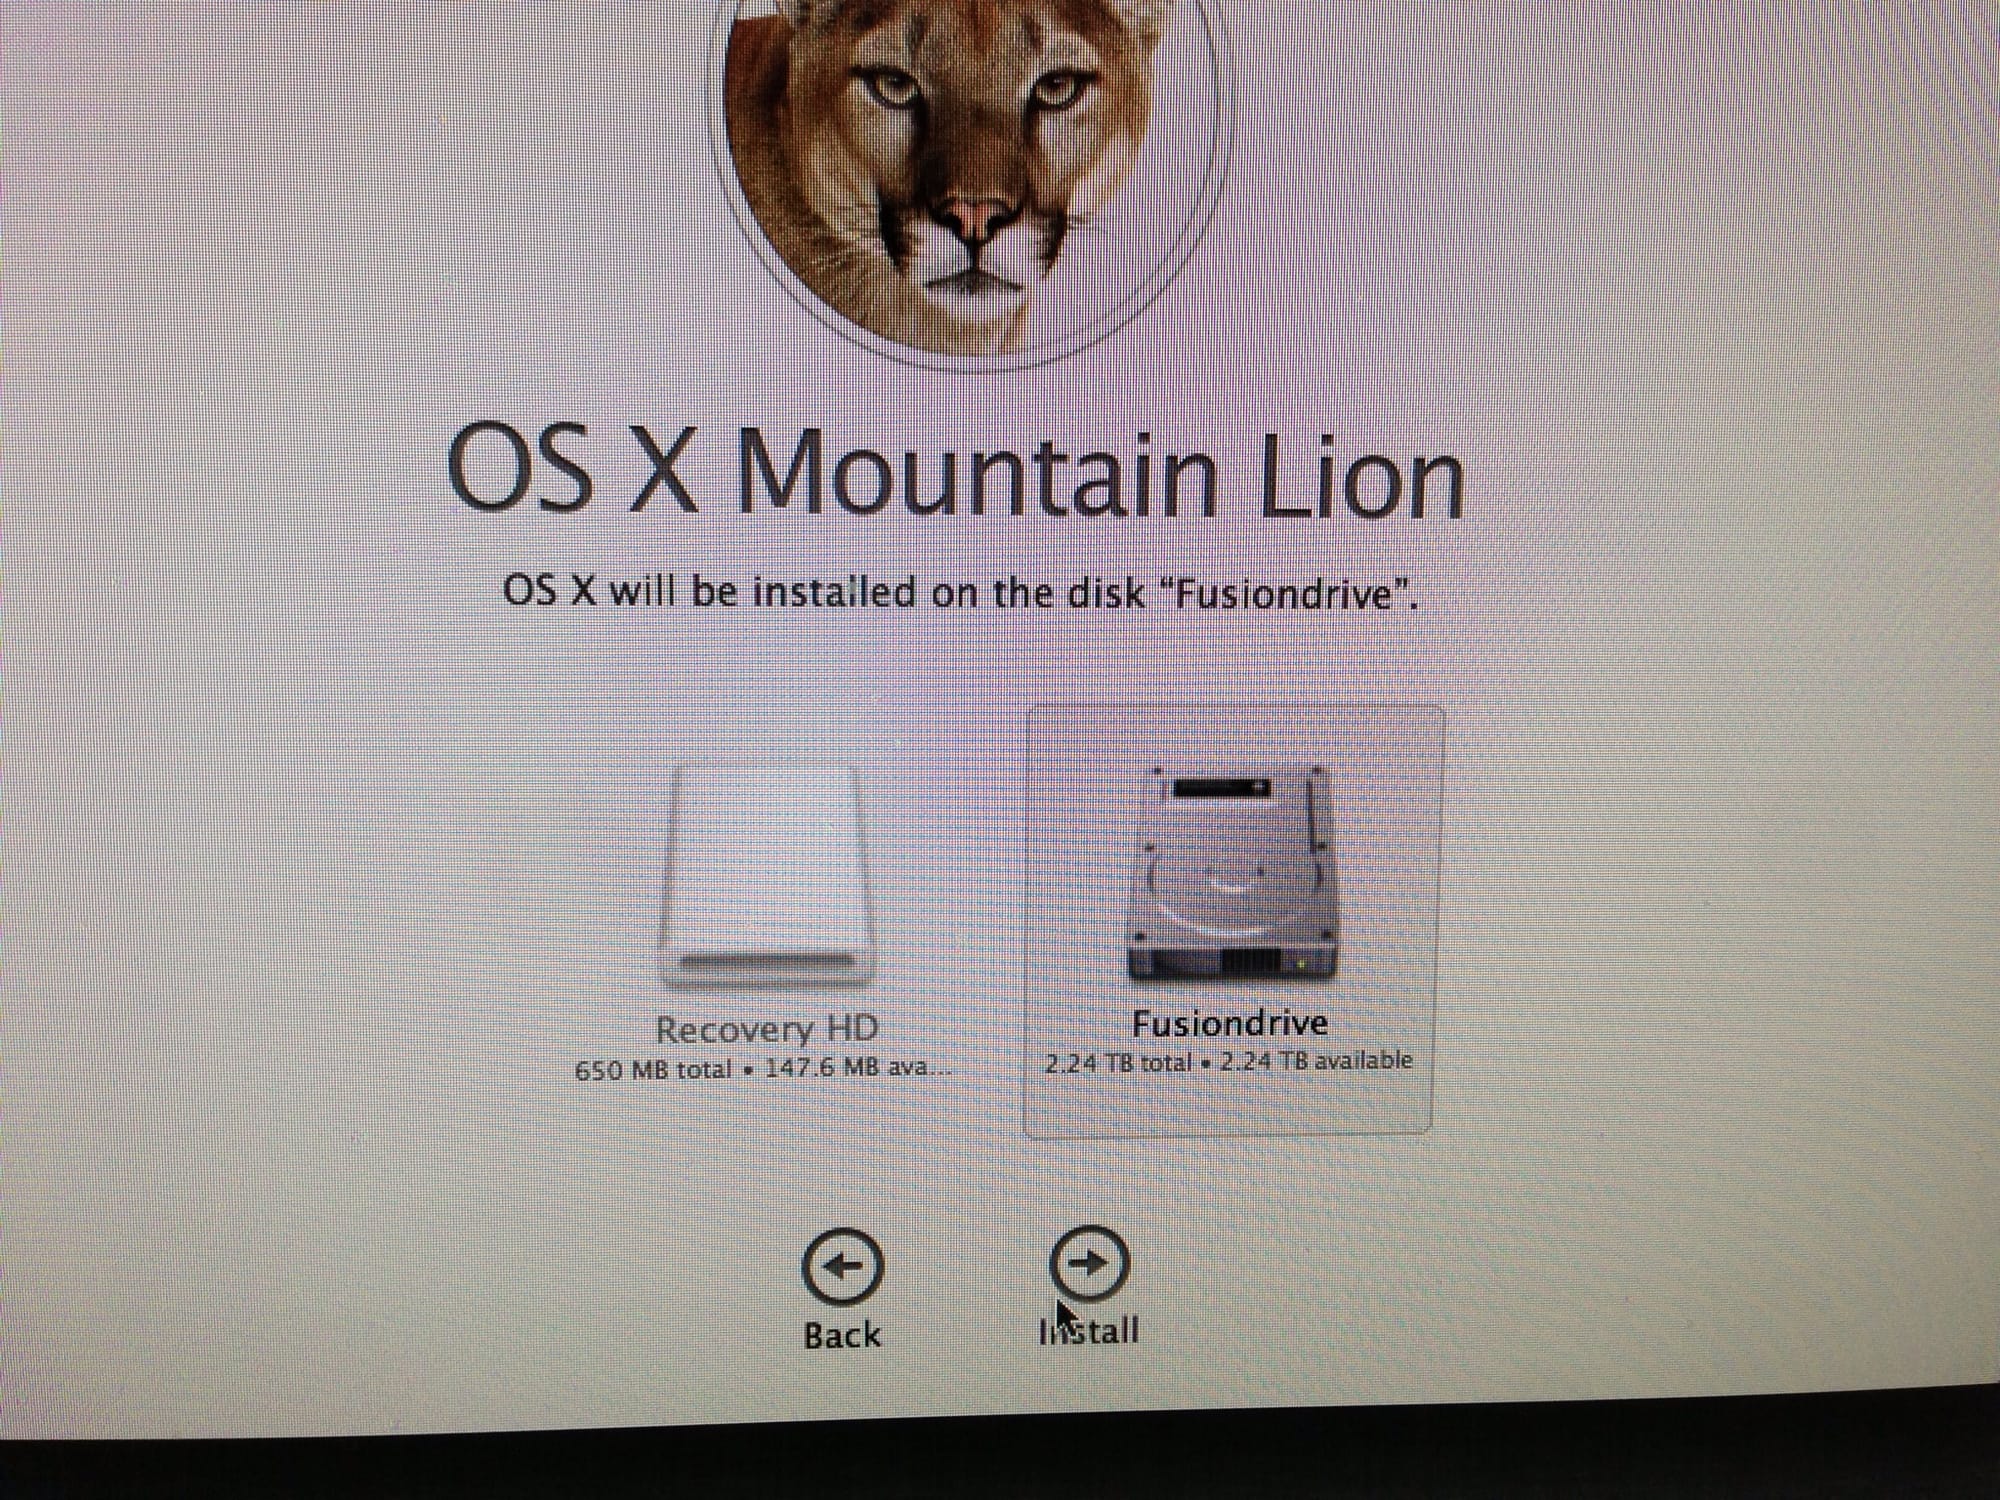
5. When complete, quit Terminal and the main utilities menu will pop up again. You can double-check your work by seeing only one physical disk in the Disk Utility app, and when you're done simply run the "Reinstall OS X" option and let it do its thing.
Subscribe to get new posts in your inbox


