How to make end-grain cutting boards

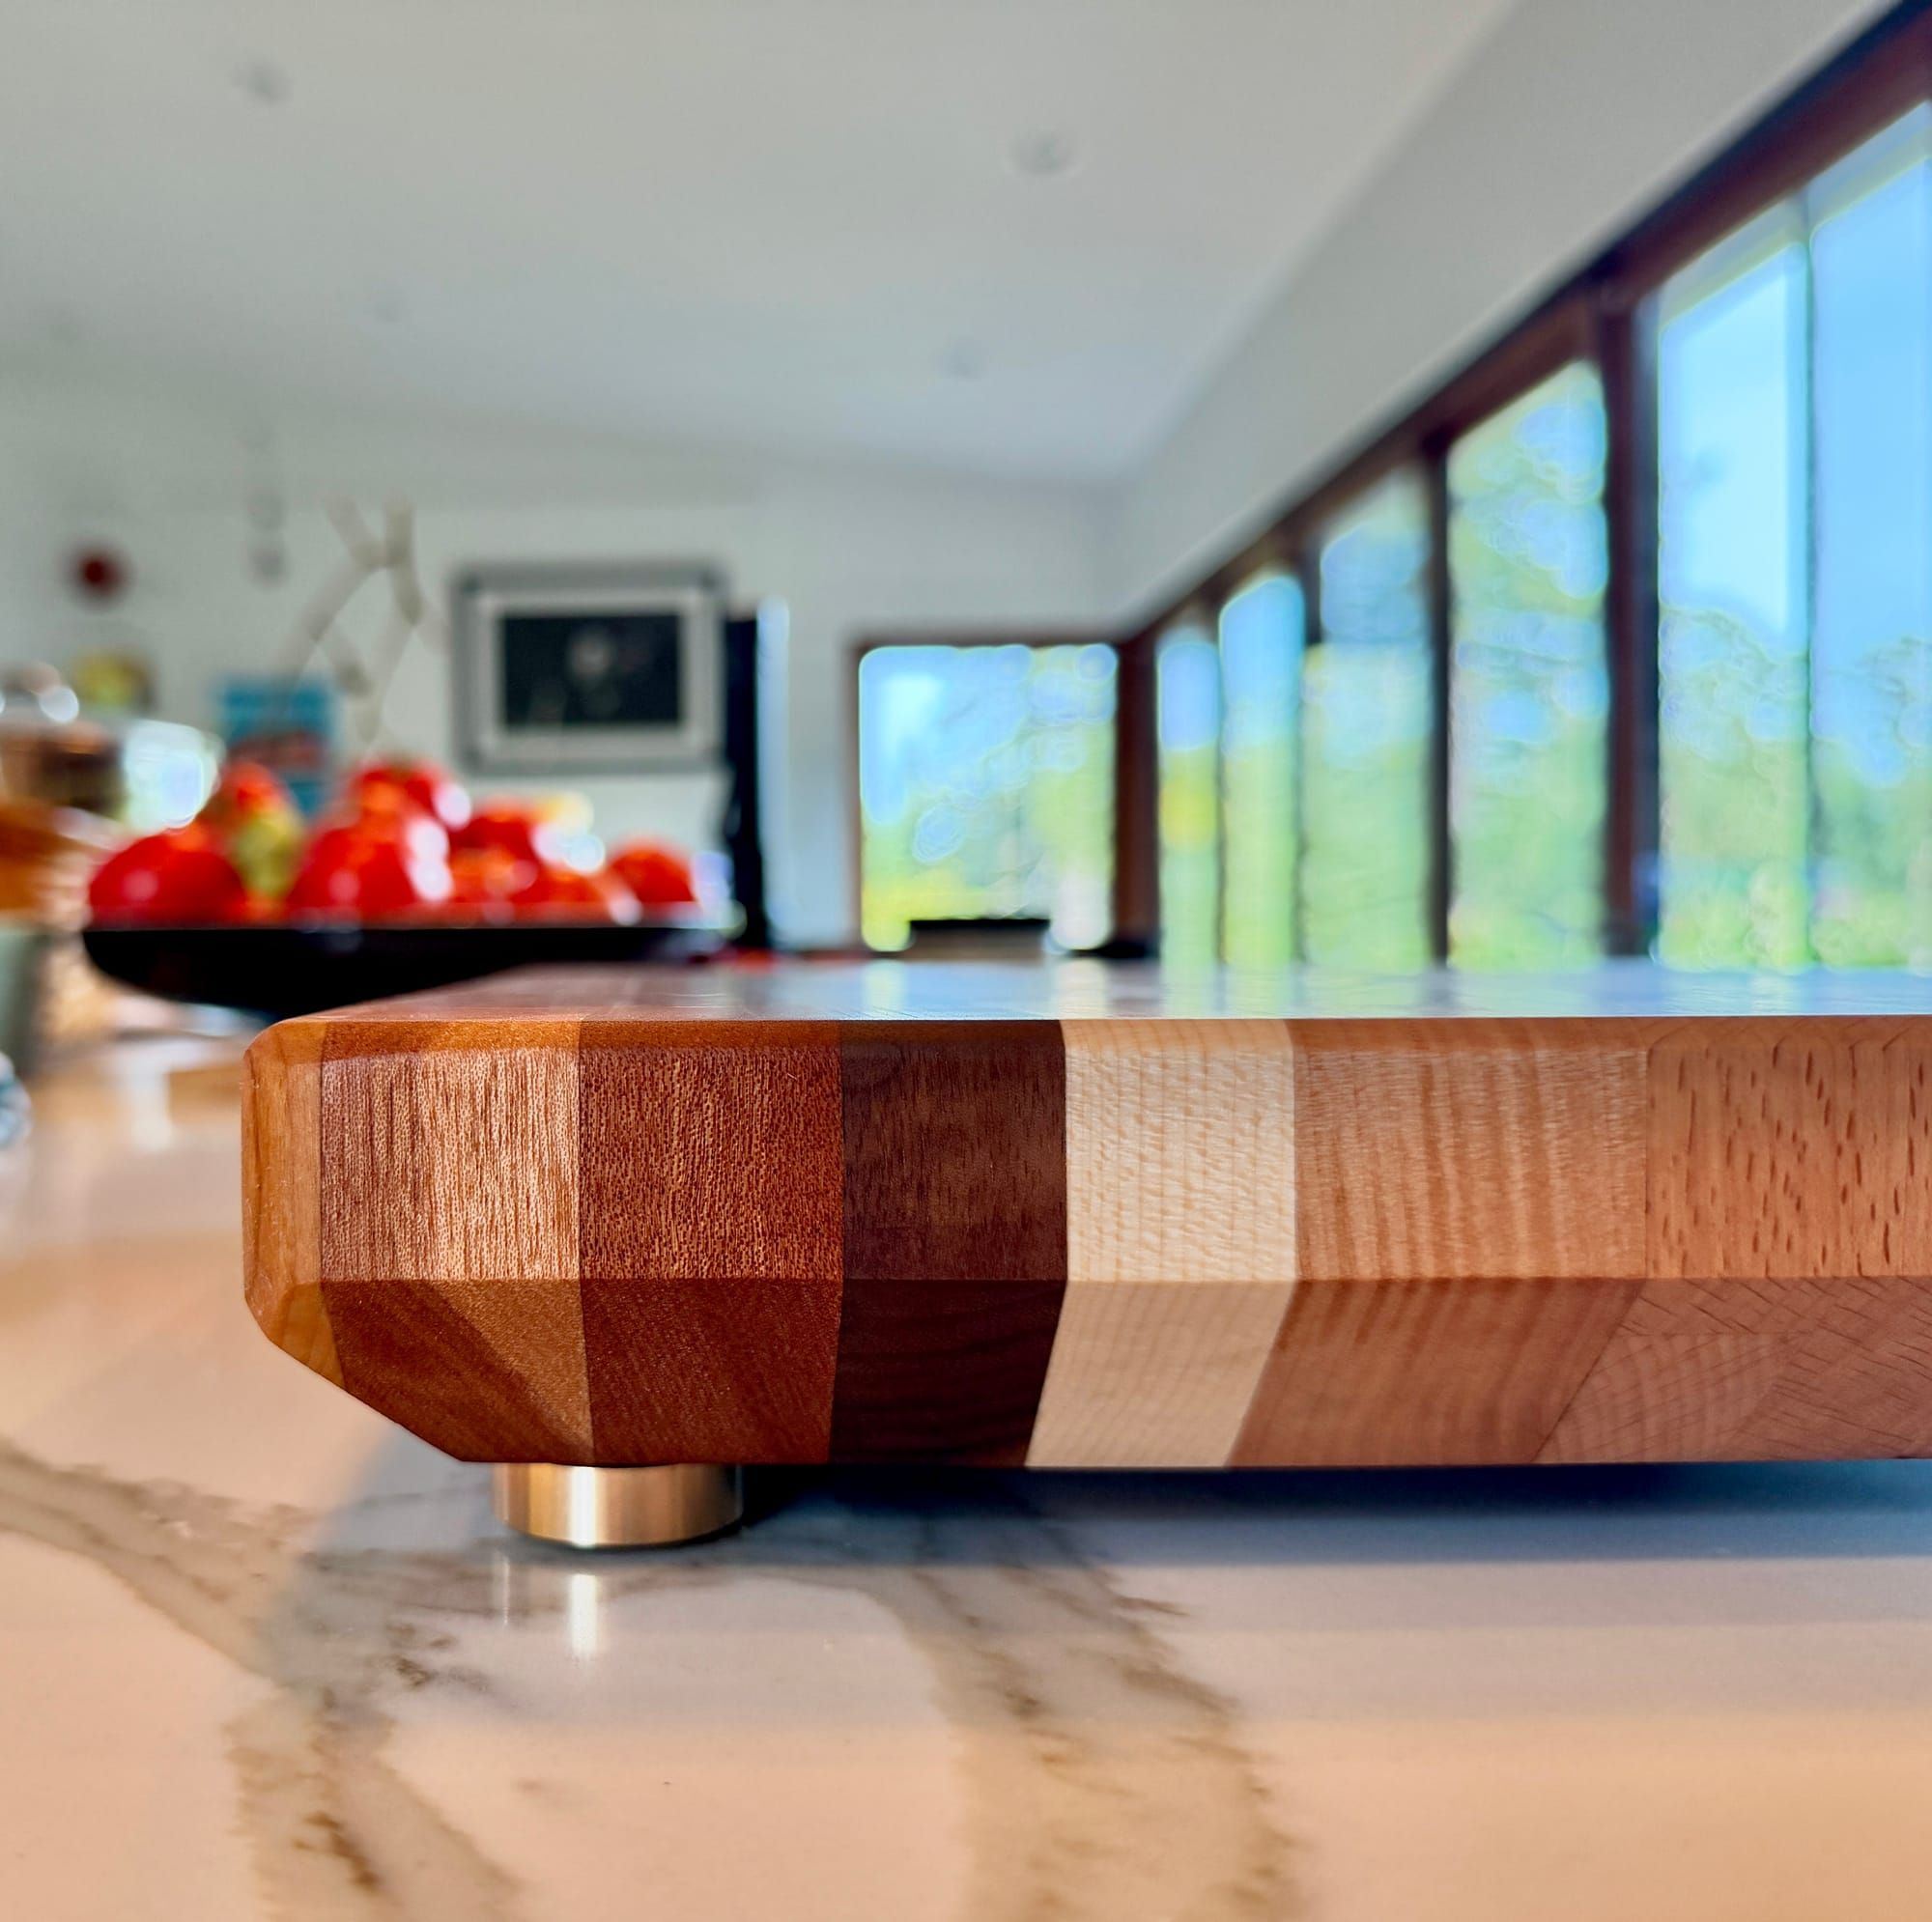
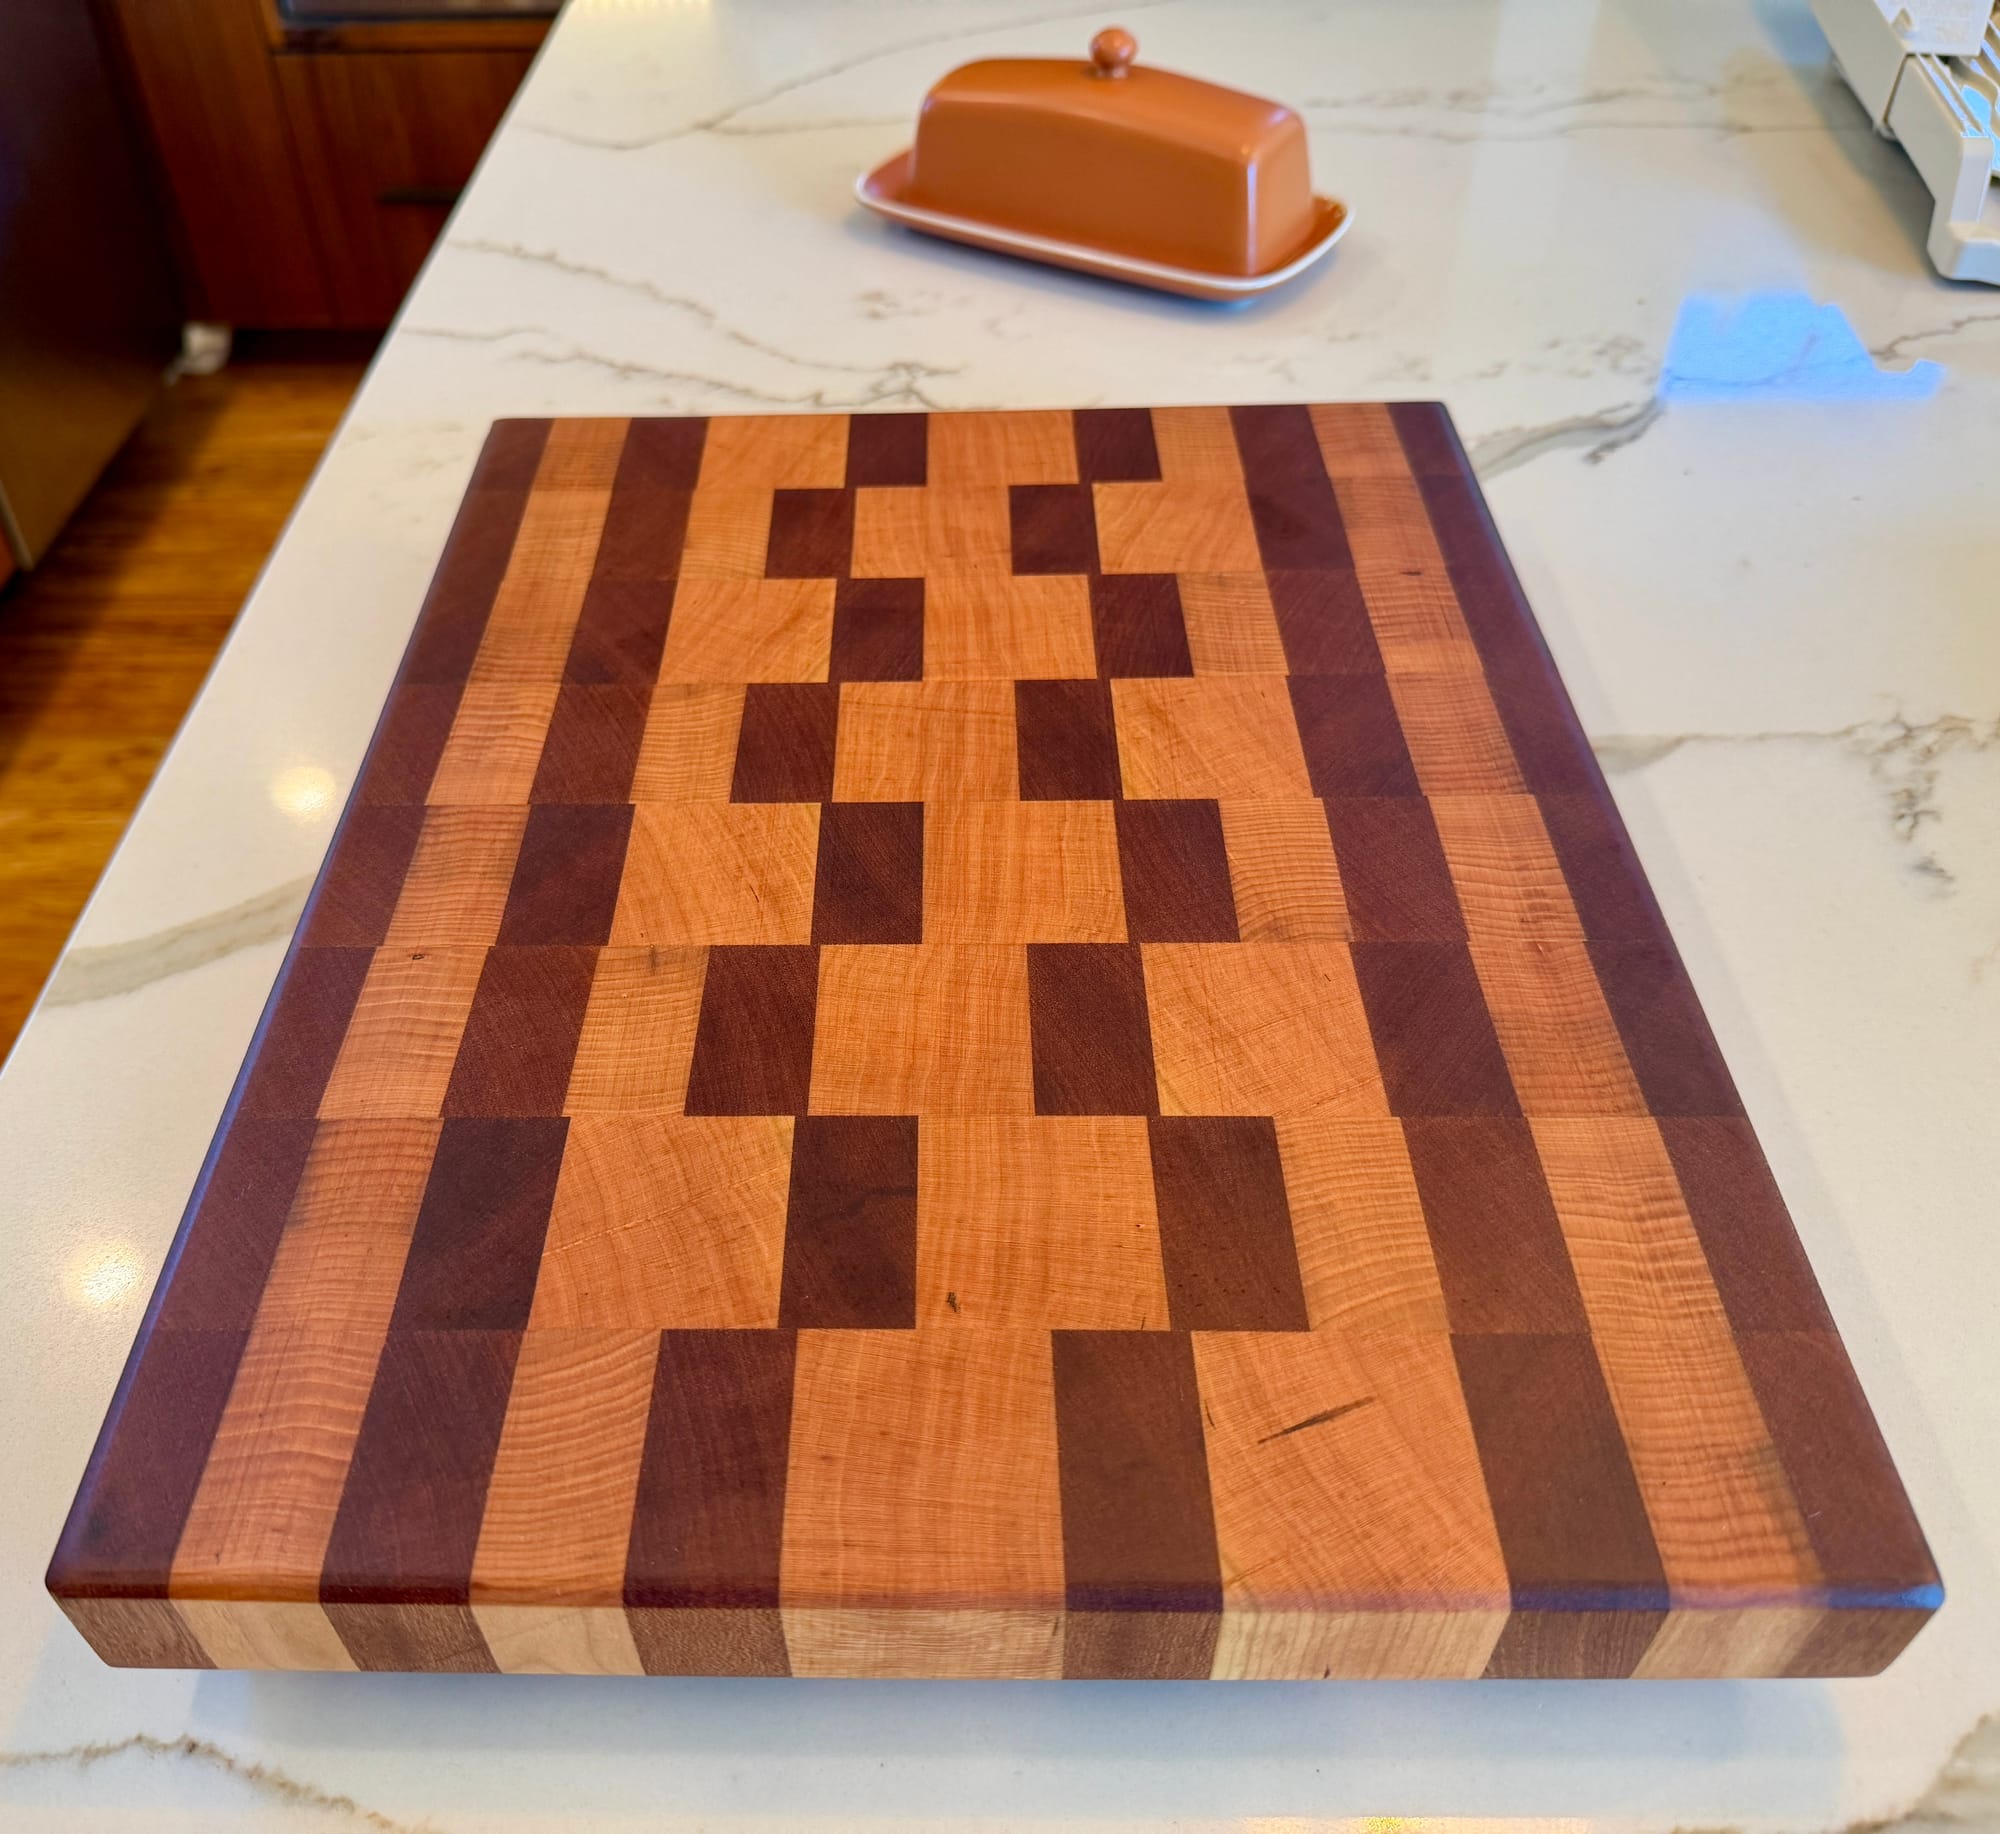
Last week I finished up a cutting board, made as a gift for a friend who just got married. I posted photos on social media and a few people asked how I did it. So here's a high-level view of the process on a new board I made this week.
Ideally, if you want to build your own cutting boards, the best way to learn is by searching YouTube for cutting board tutorials, and watching a few of them. I describe my process here but I'm skimming over details you'd see better explained in most YouTube tutorials.
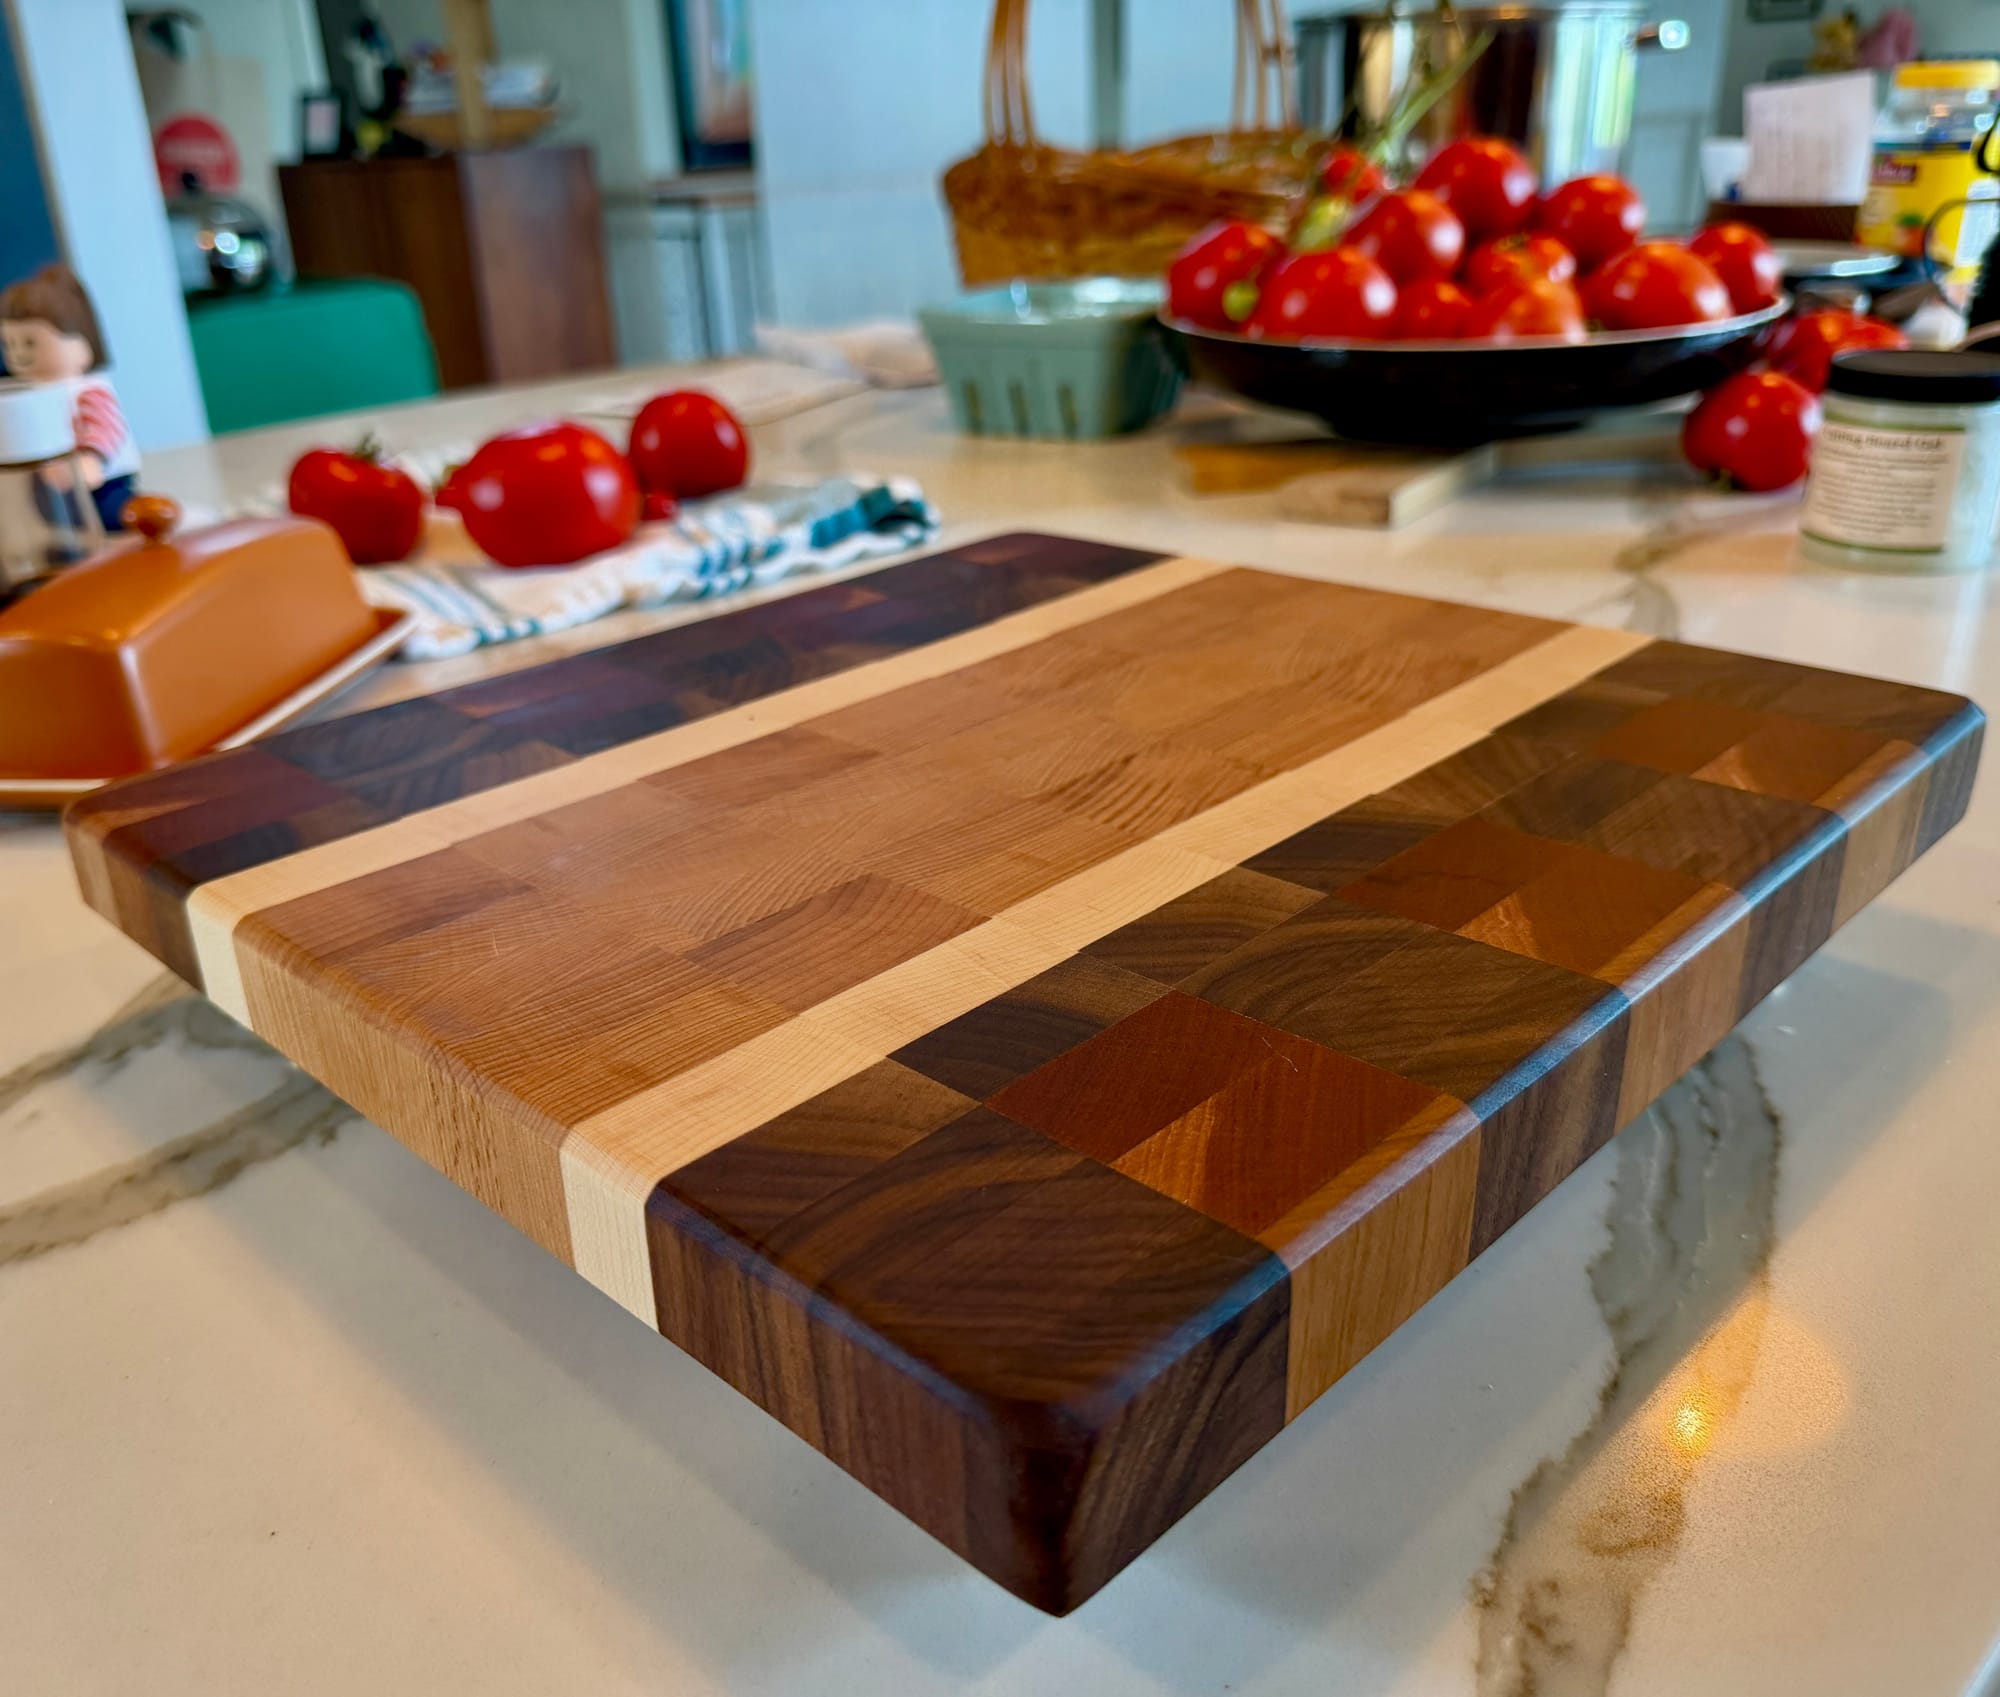
First things first: figure out your ideal size
The first thing you want to do before making your own cutting board is determine what size you like to use in the kitchen. Personally, most places I've lived had a pile of pretty tiny boards that I could use to chop just one thing at a time, then I'd have to wash them to chop the next ingredient.
A few years ago, someone gifted me a much larger board, over a foot long by two feet wide and I became a huge fan because I was no longer dropping food off the sides onto my counters whenever I did something like dice a large onion. Larger boards also mean you have space to cut 2-3 different things on a board in their own areas, saving you time needed to rewash the board between each ingredient.
My woodshop tools also dictate these numbers somewhat. I like a generously sized board, but my planer only goes up to 13" in width and my drum sander can do 16" widths. So I typically glue up boards that are a maximum of about 12" wide by roughly 18" long.
Rough cut your hardwoods
Cutting boards should only be made of hardwoods, and I typically use Walnut, Maple, Sapele, and/or Cherry in various mixes. I tend to buy hardwood from a dealer that sells them as 3S (for "three sides"), which means the top and bottom of boards are flattened in a planer, and one side is squared up on a jointer, with one side left as uncut raw wood. I typically cut 18" segments of 2-3 different types of hardwood boards on a miter saw, and then take those to my table saw to slice them into strips.
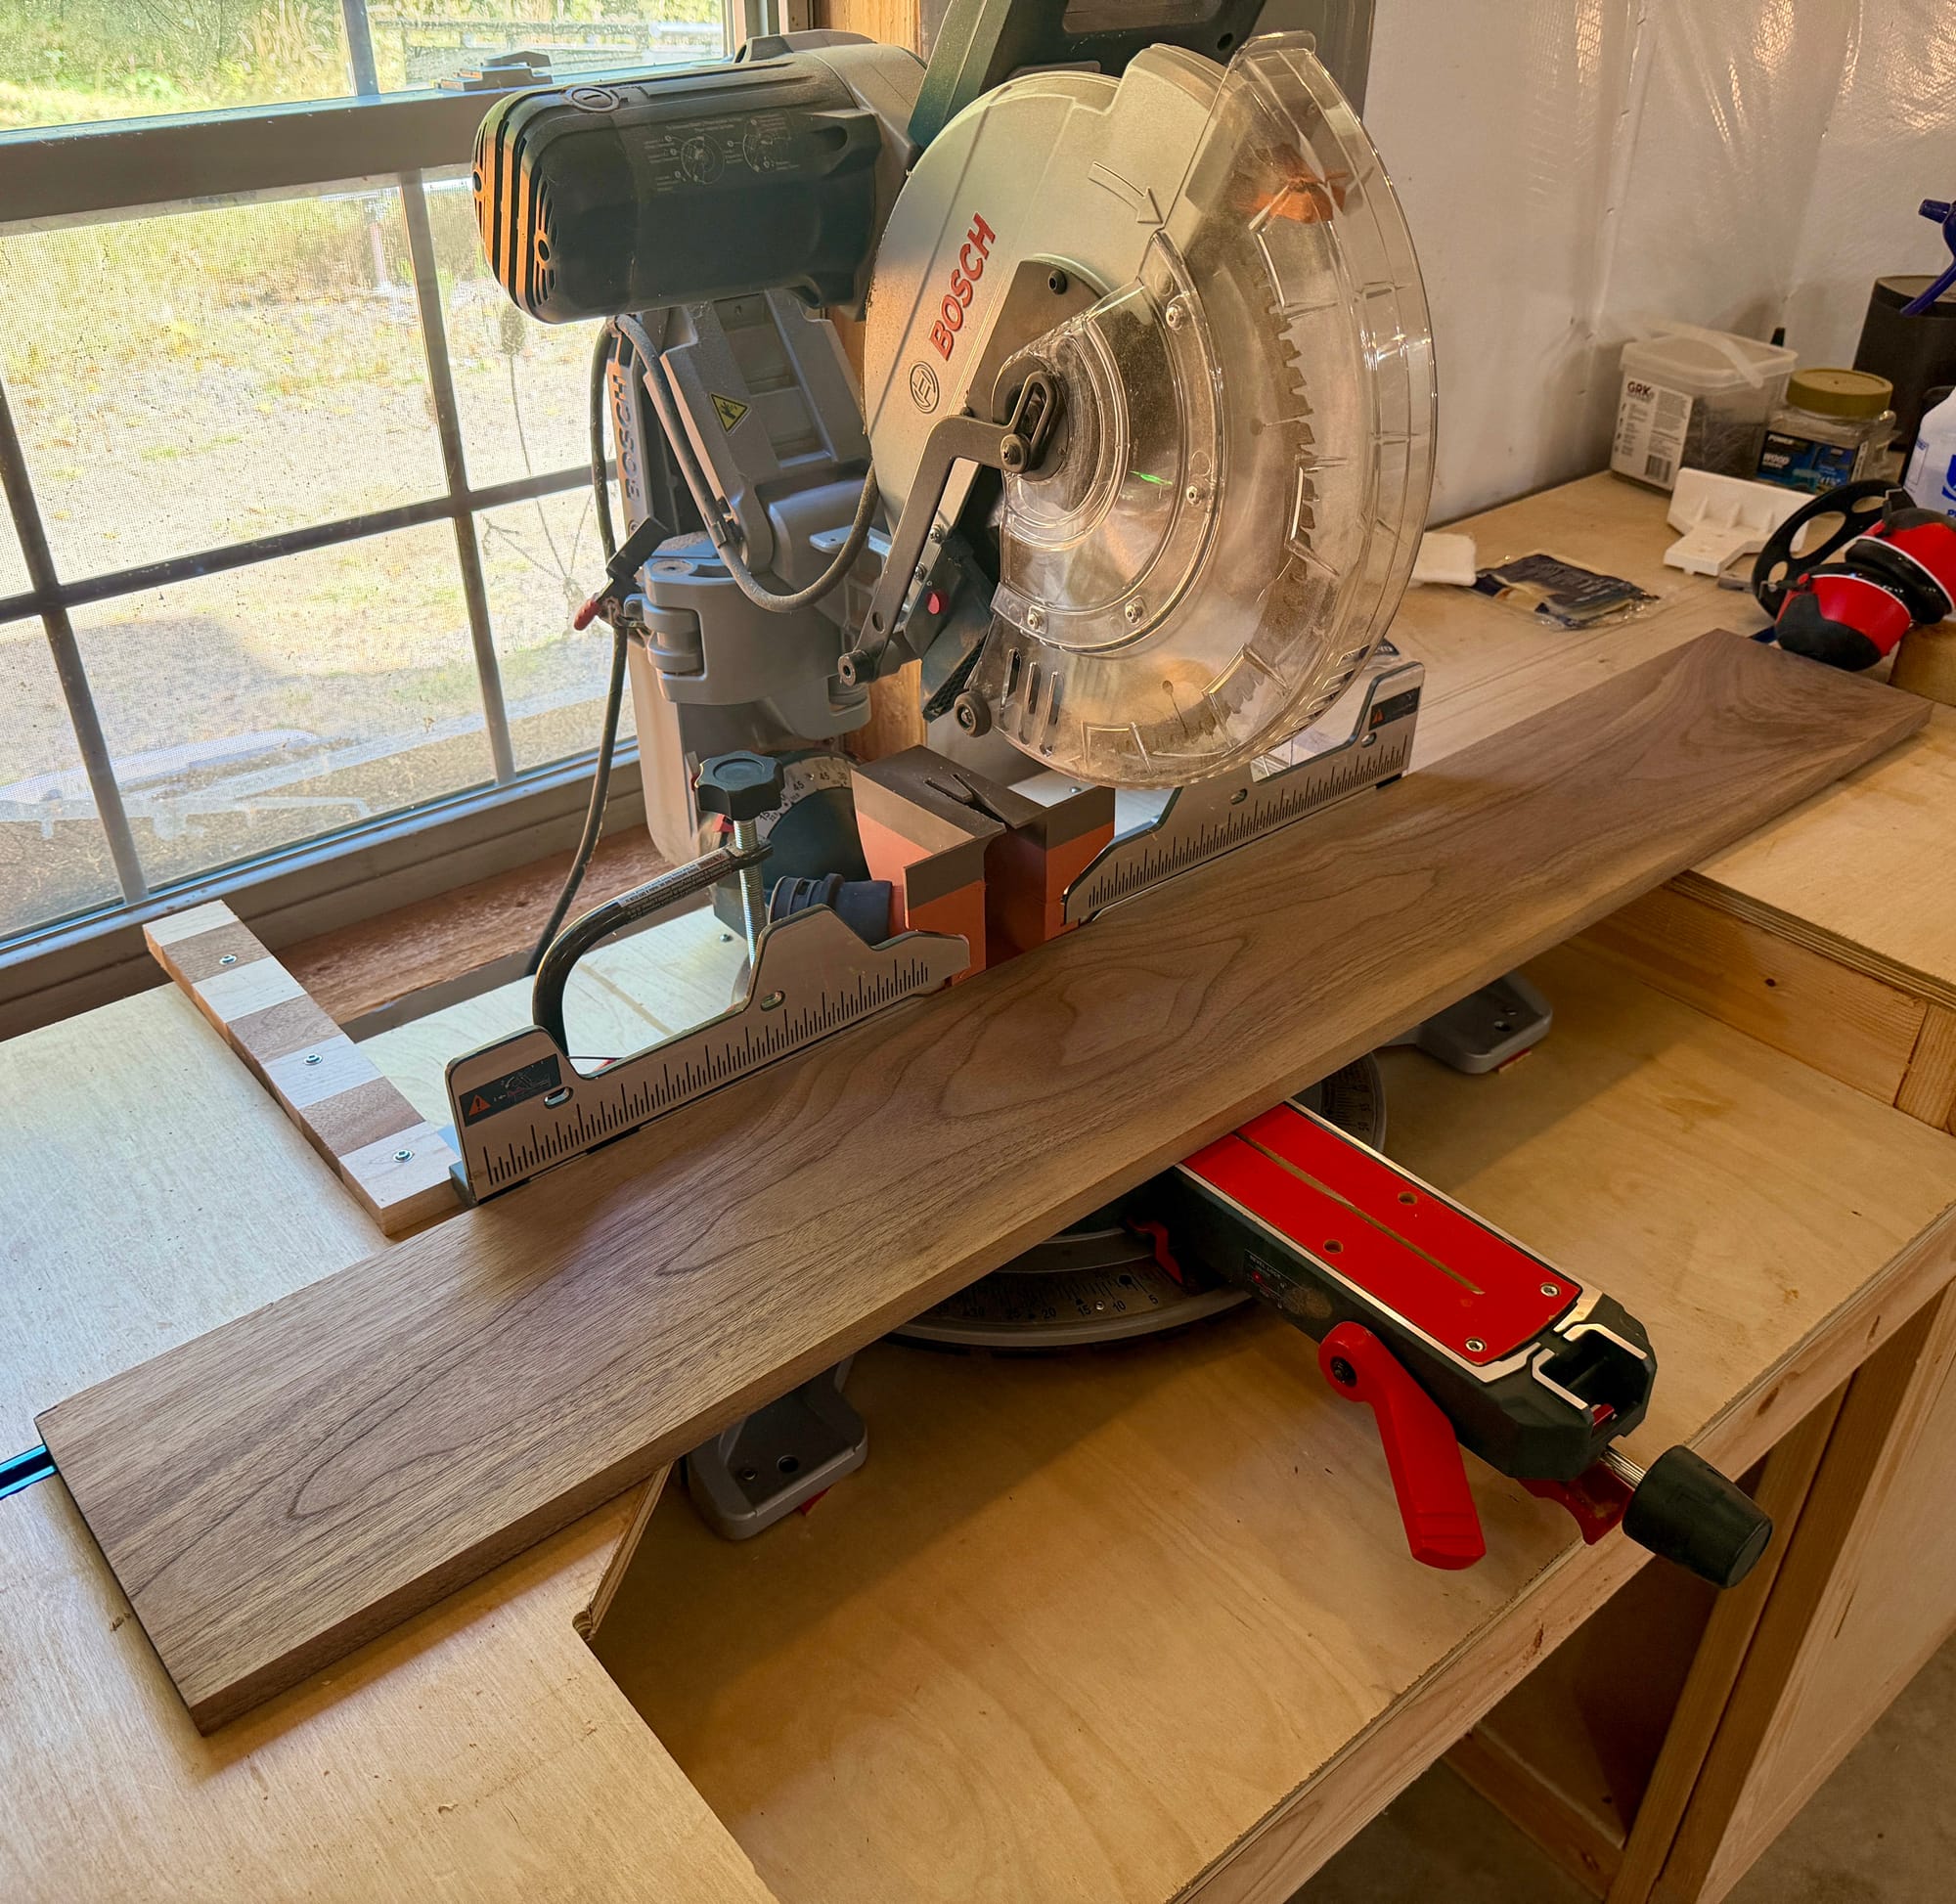
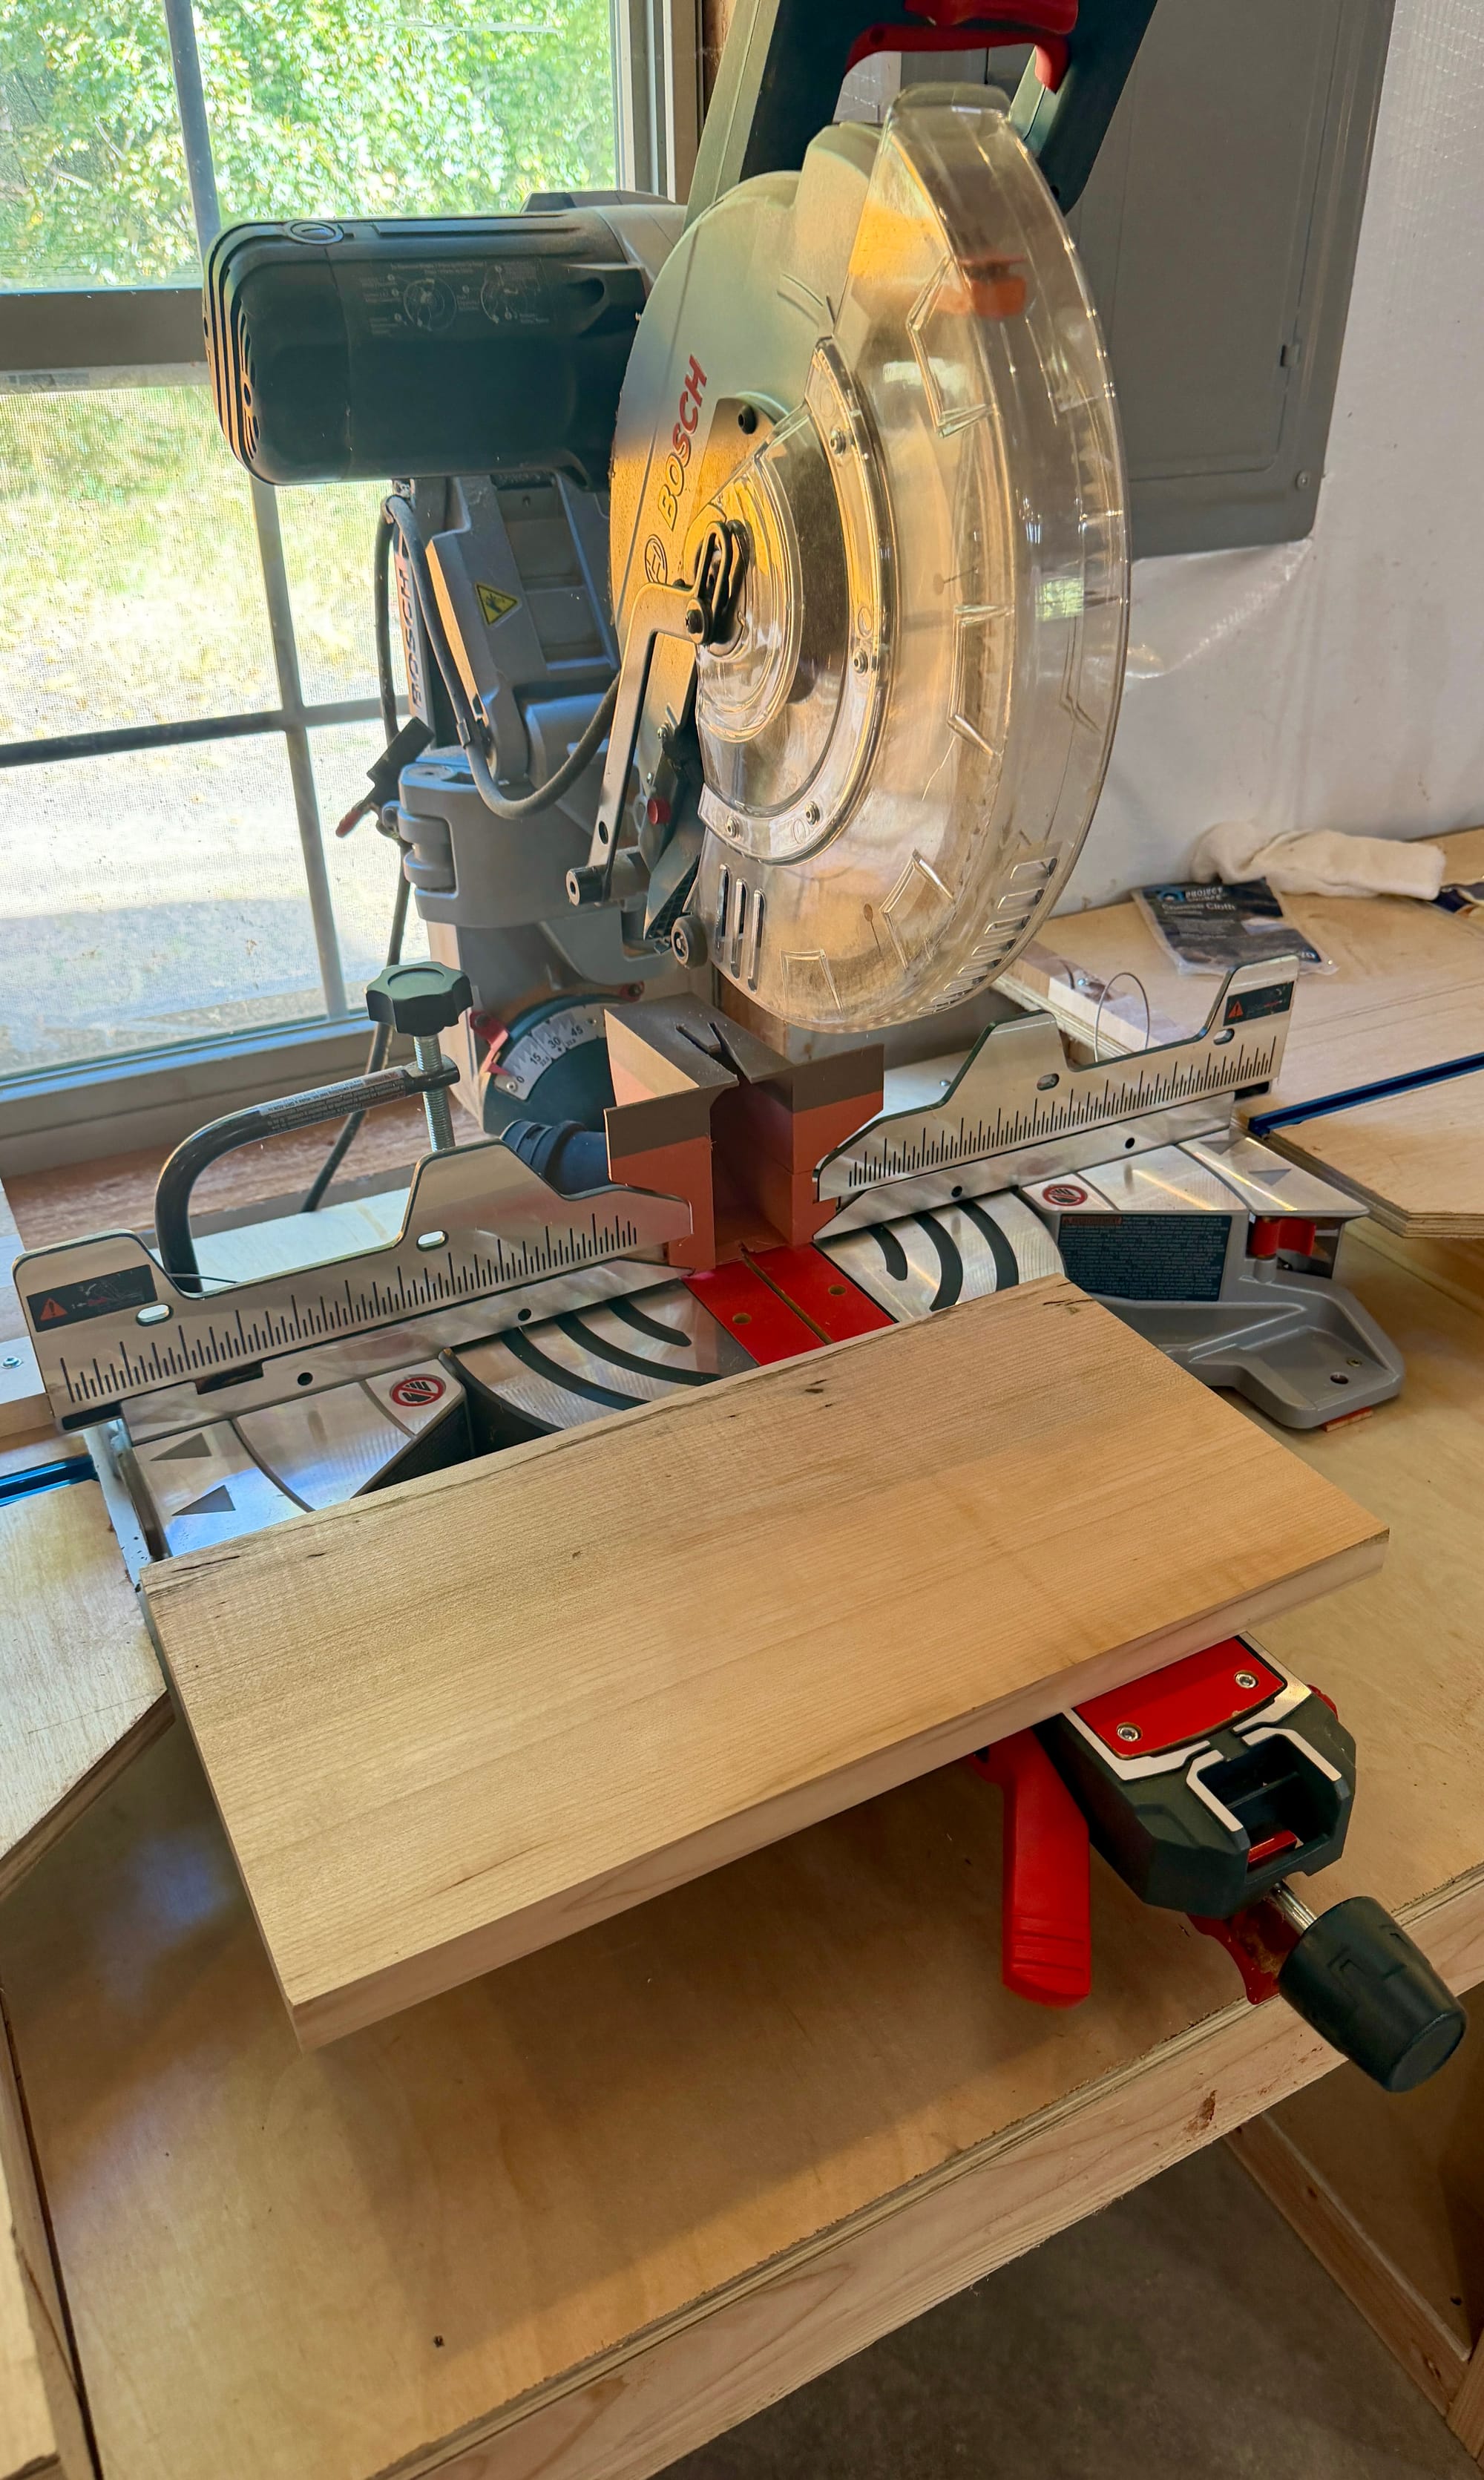
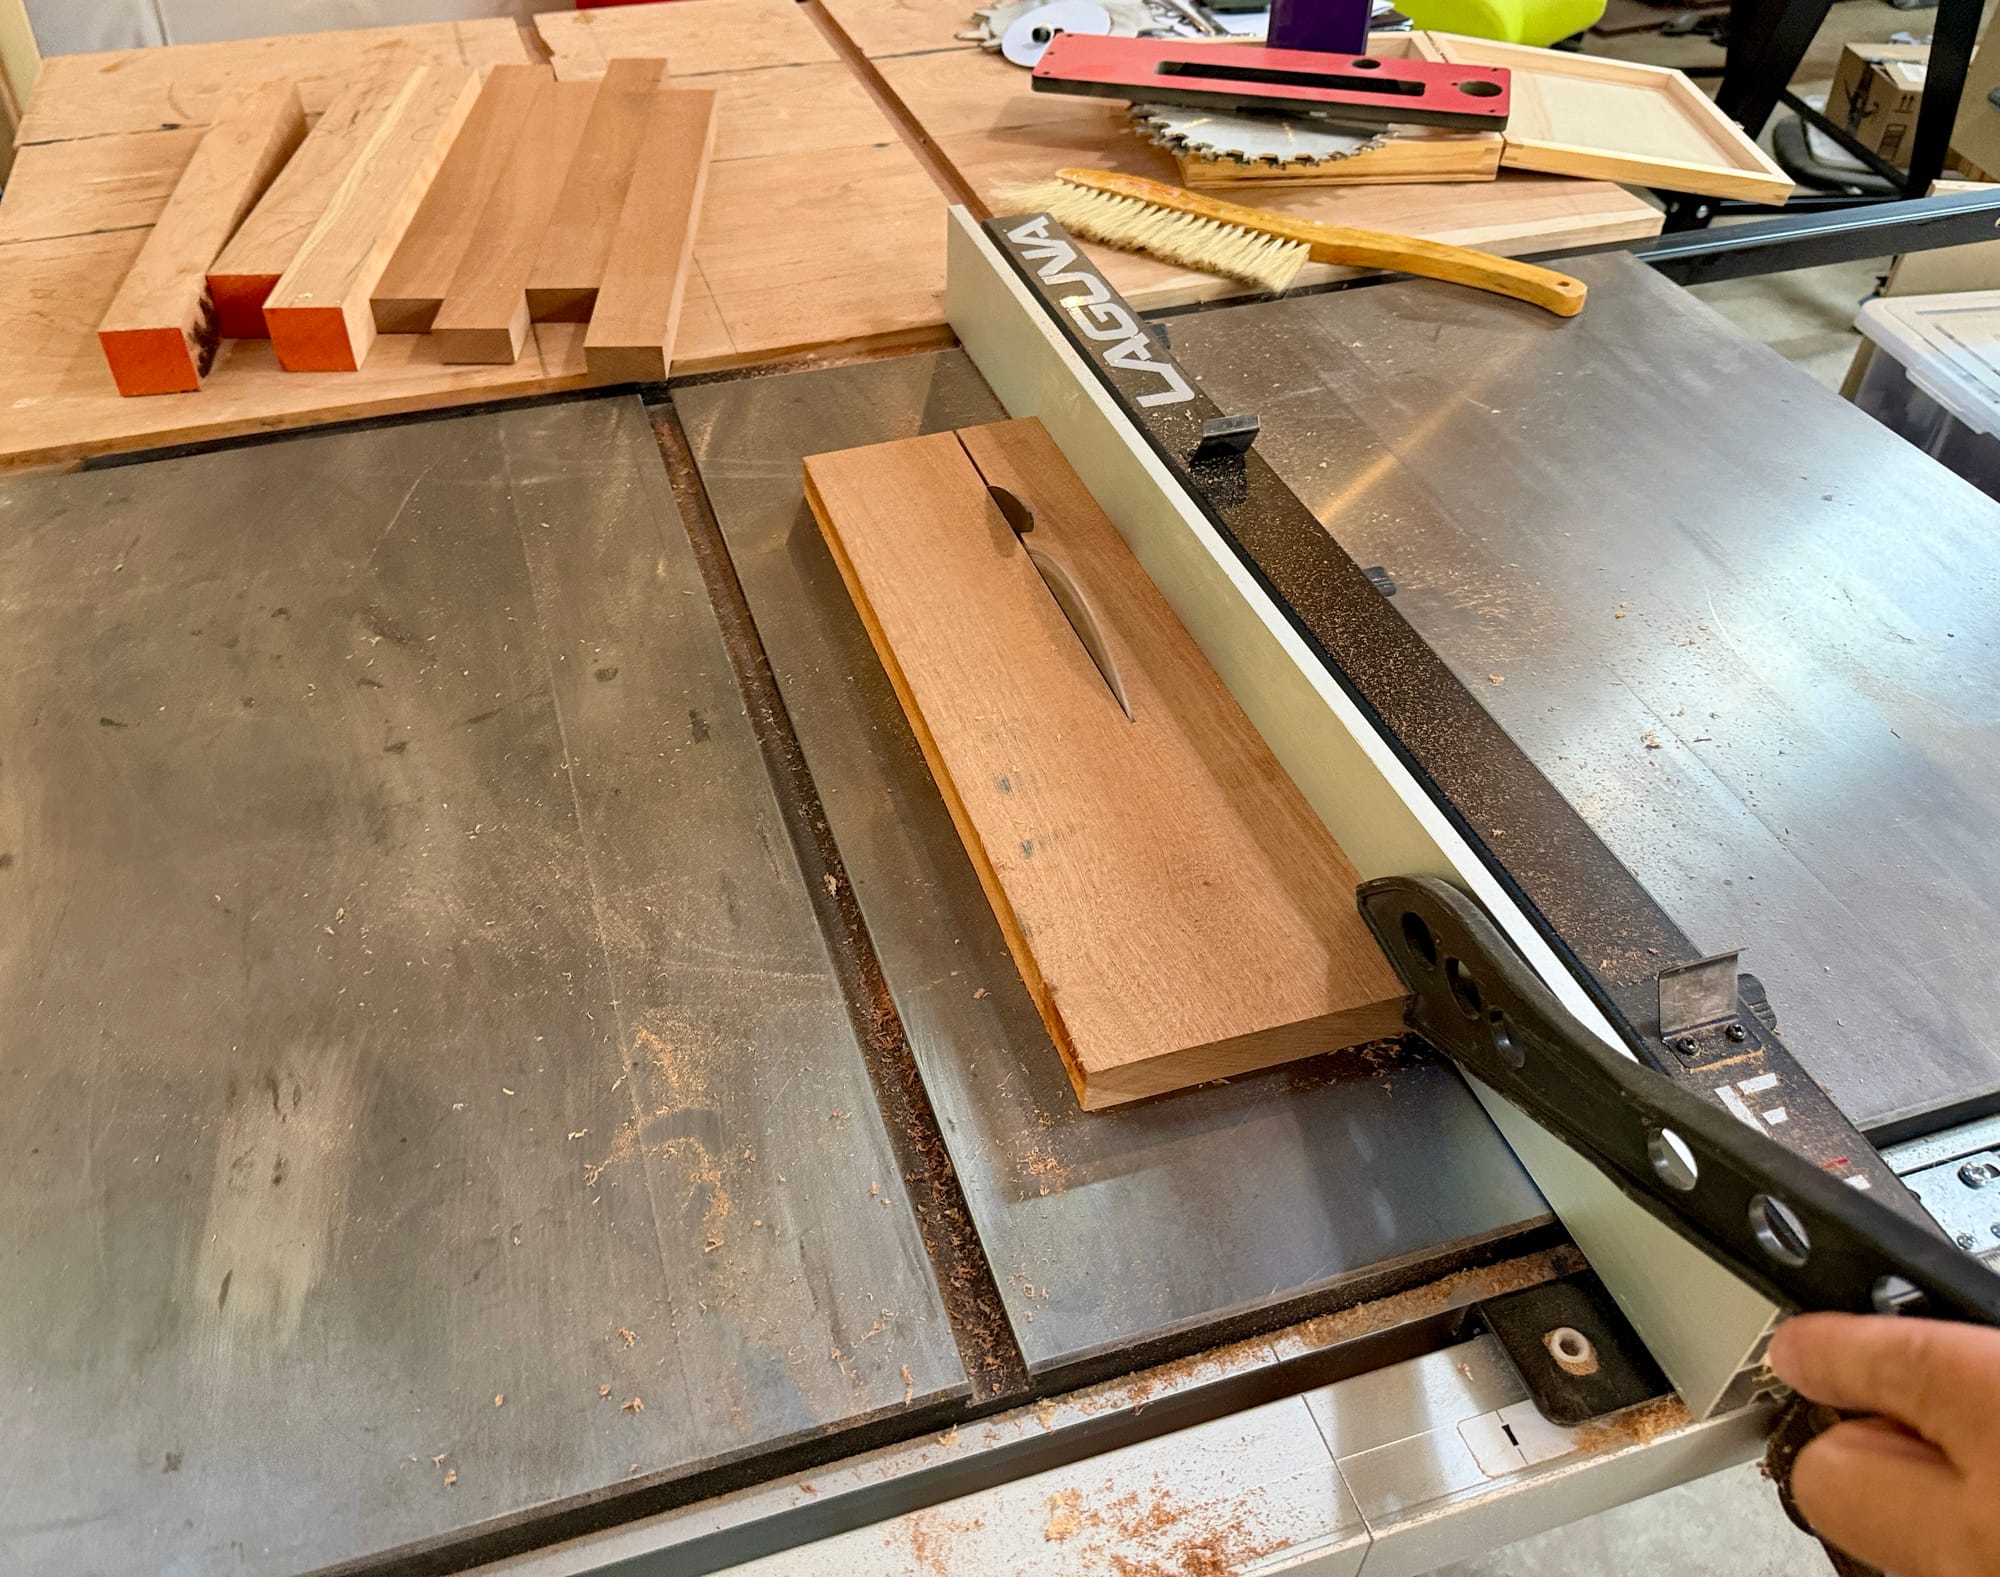
Cutting different species of hardwoods down into usable lengths
You need to get all your boards the same thickness in your first glue-up, so I set my table saw to just under 2" then cut a bunch of strips out of the rough cut hardwood boards.
Arrange your ideal board on a table
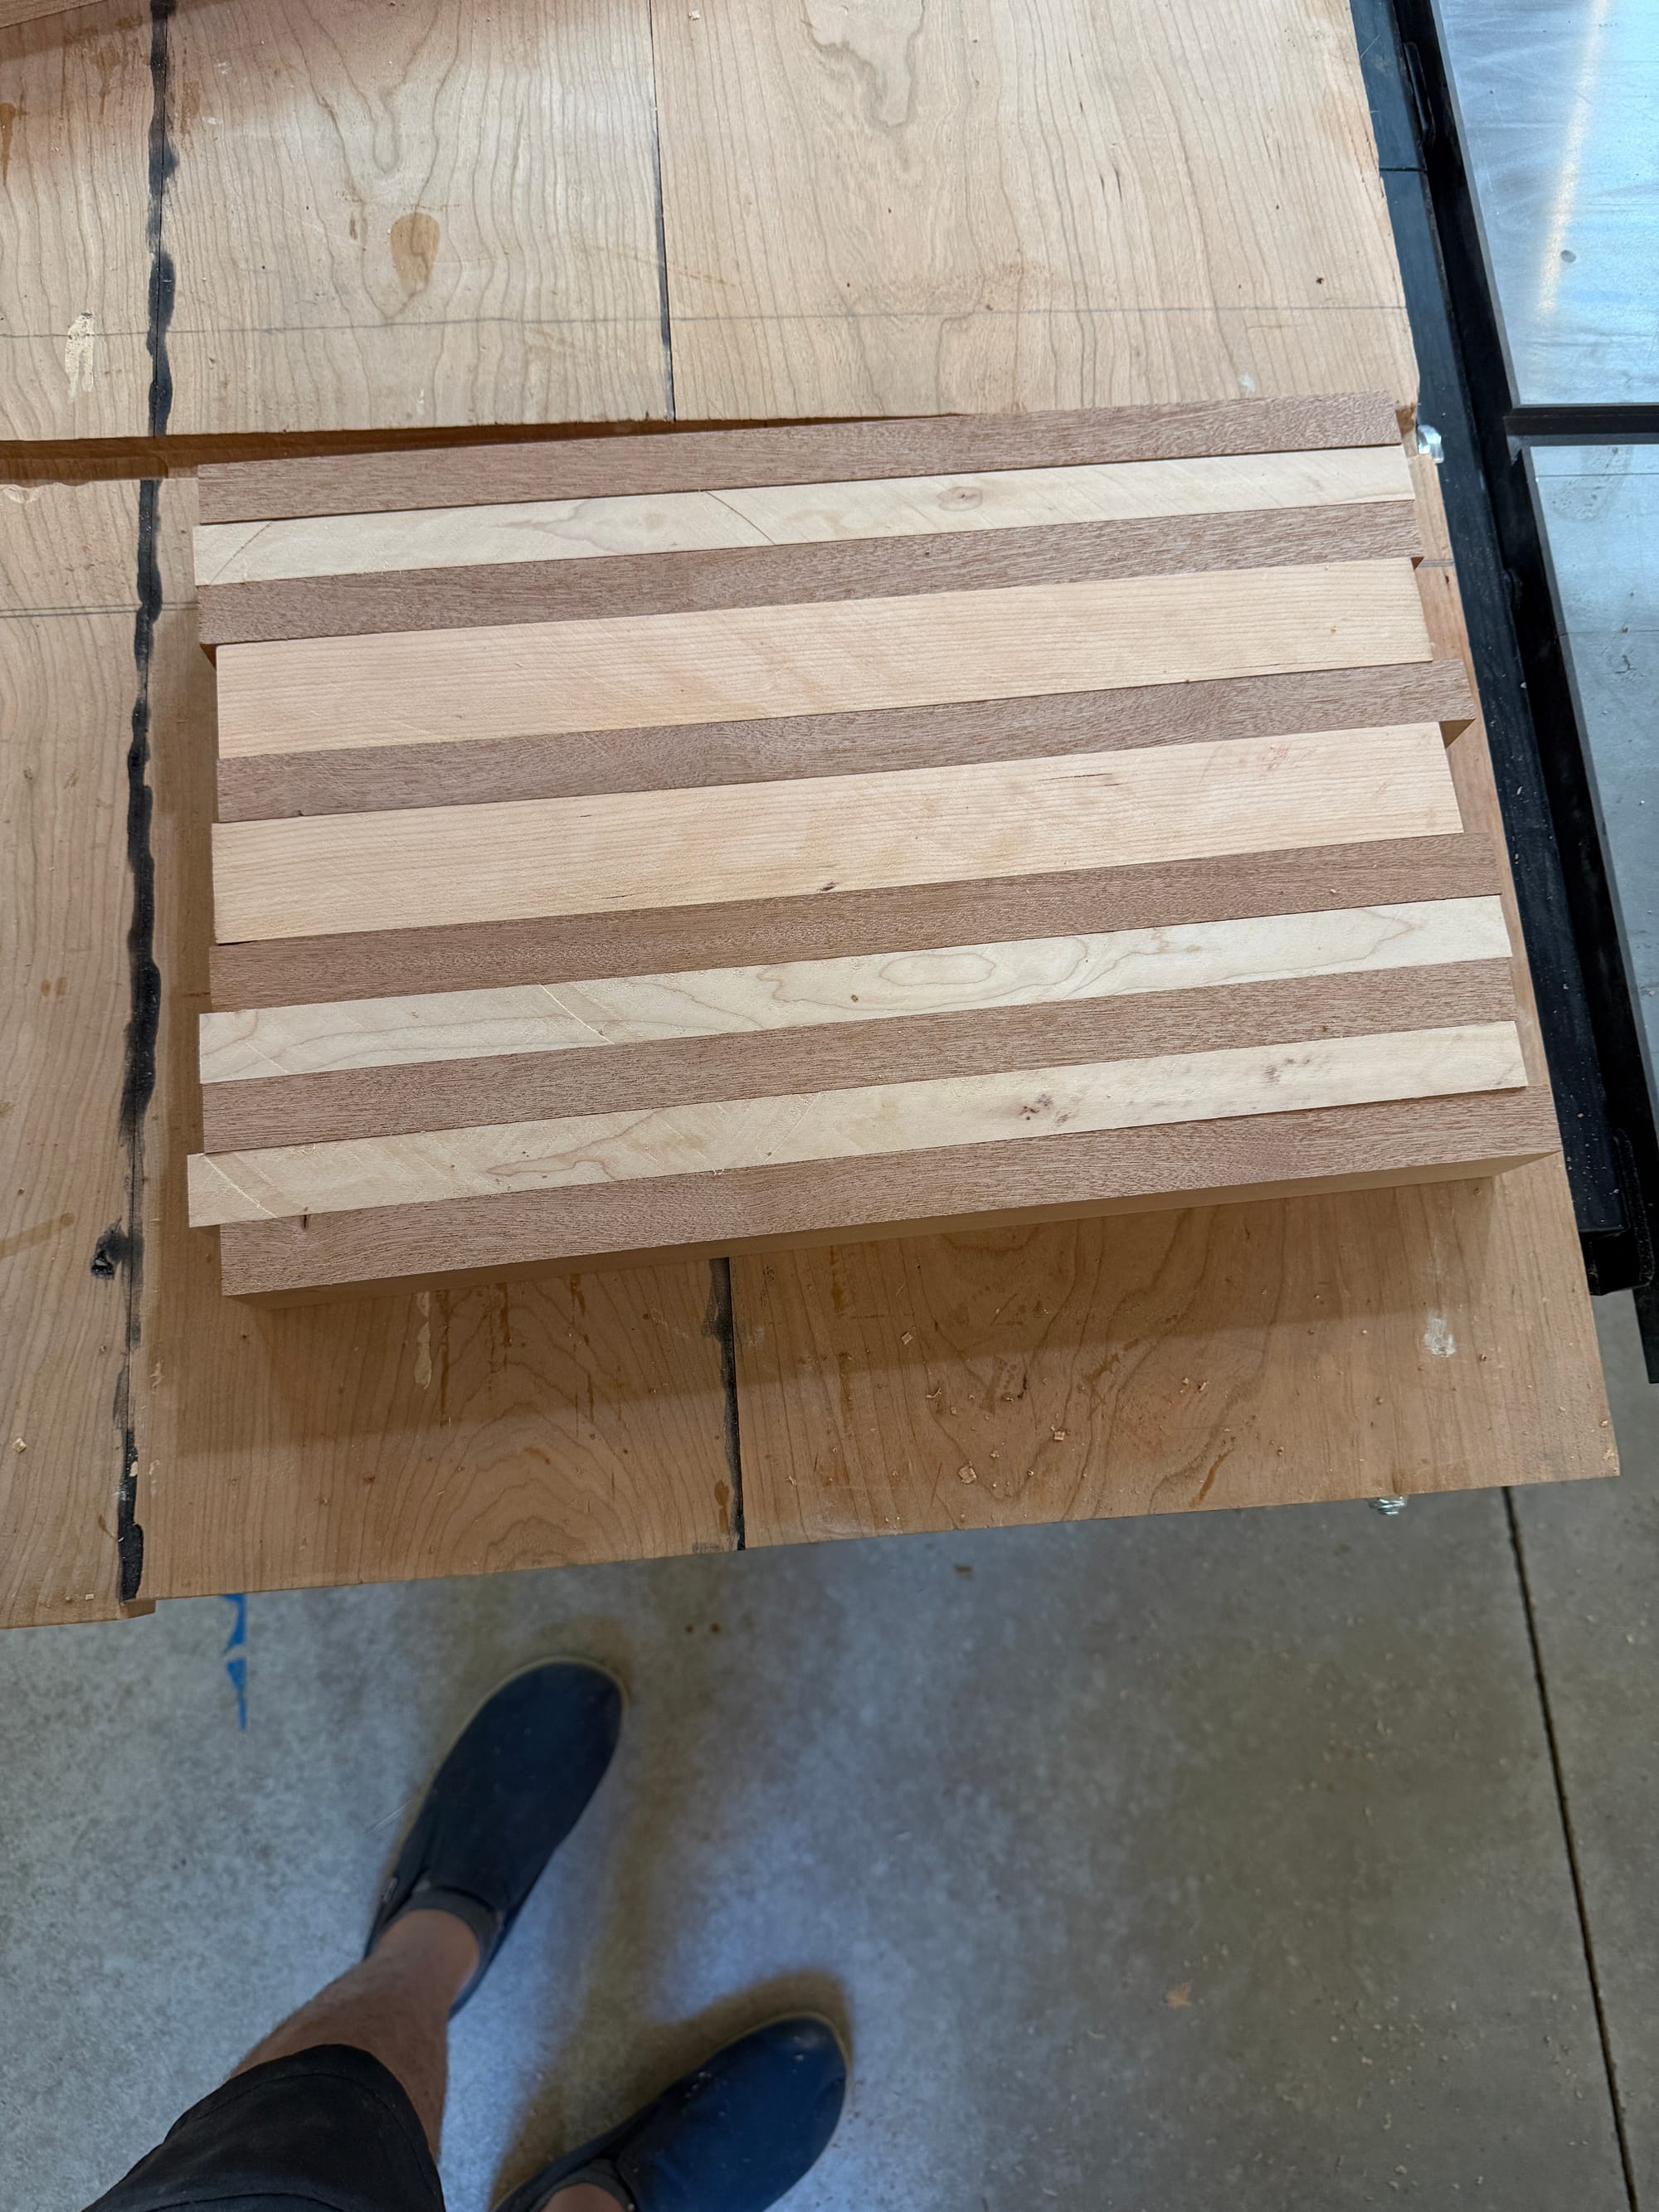
When I have enough cuts to make up 12-13" of width, I turn them on their side so they're all the same height. Then I try out different layouts so it's not too symmetrical, as you'll ideally want a mix of colors and widths so the final board looks interesting and somewhat random.
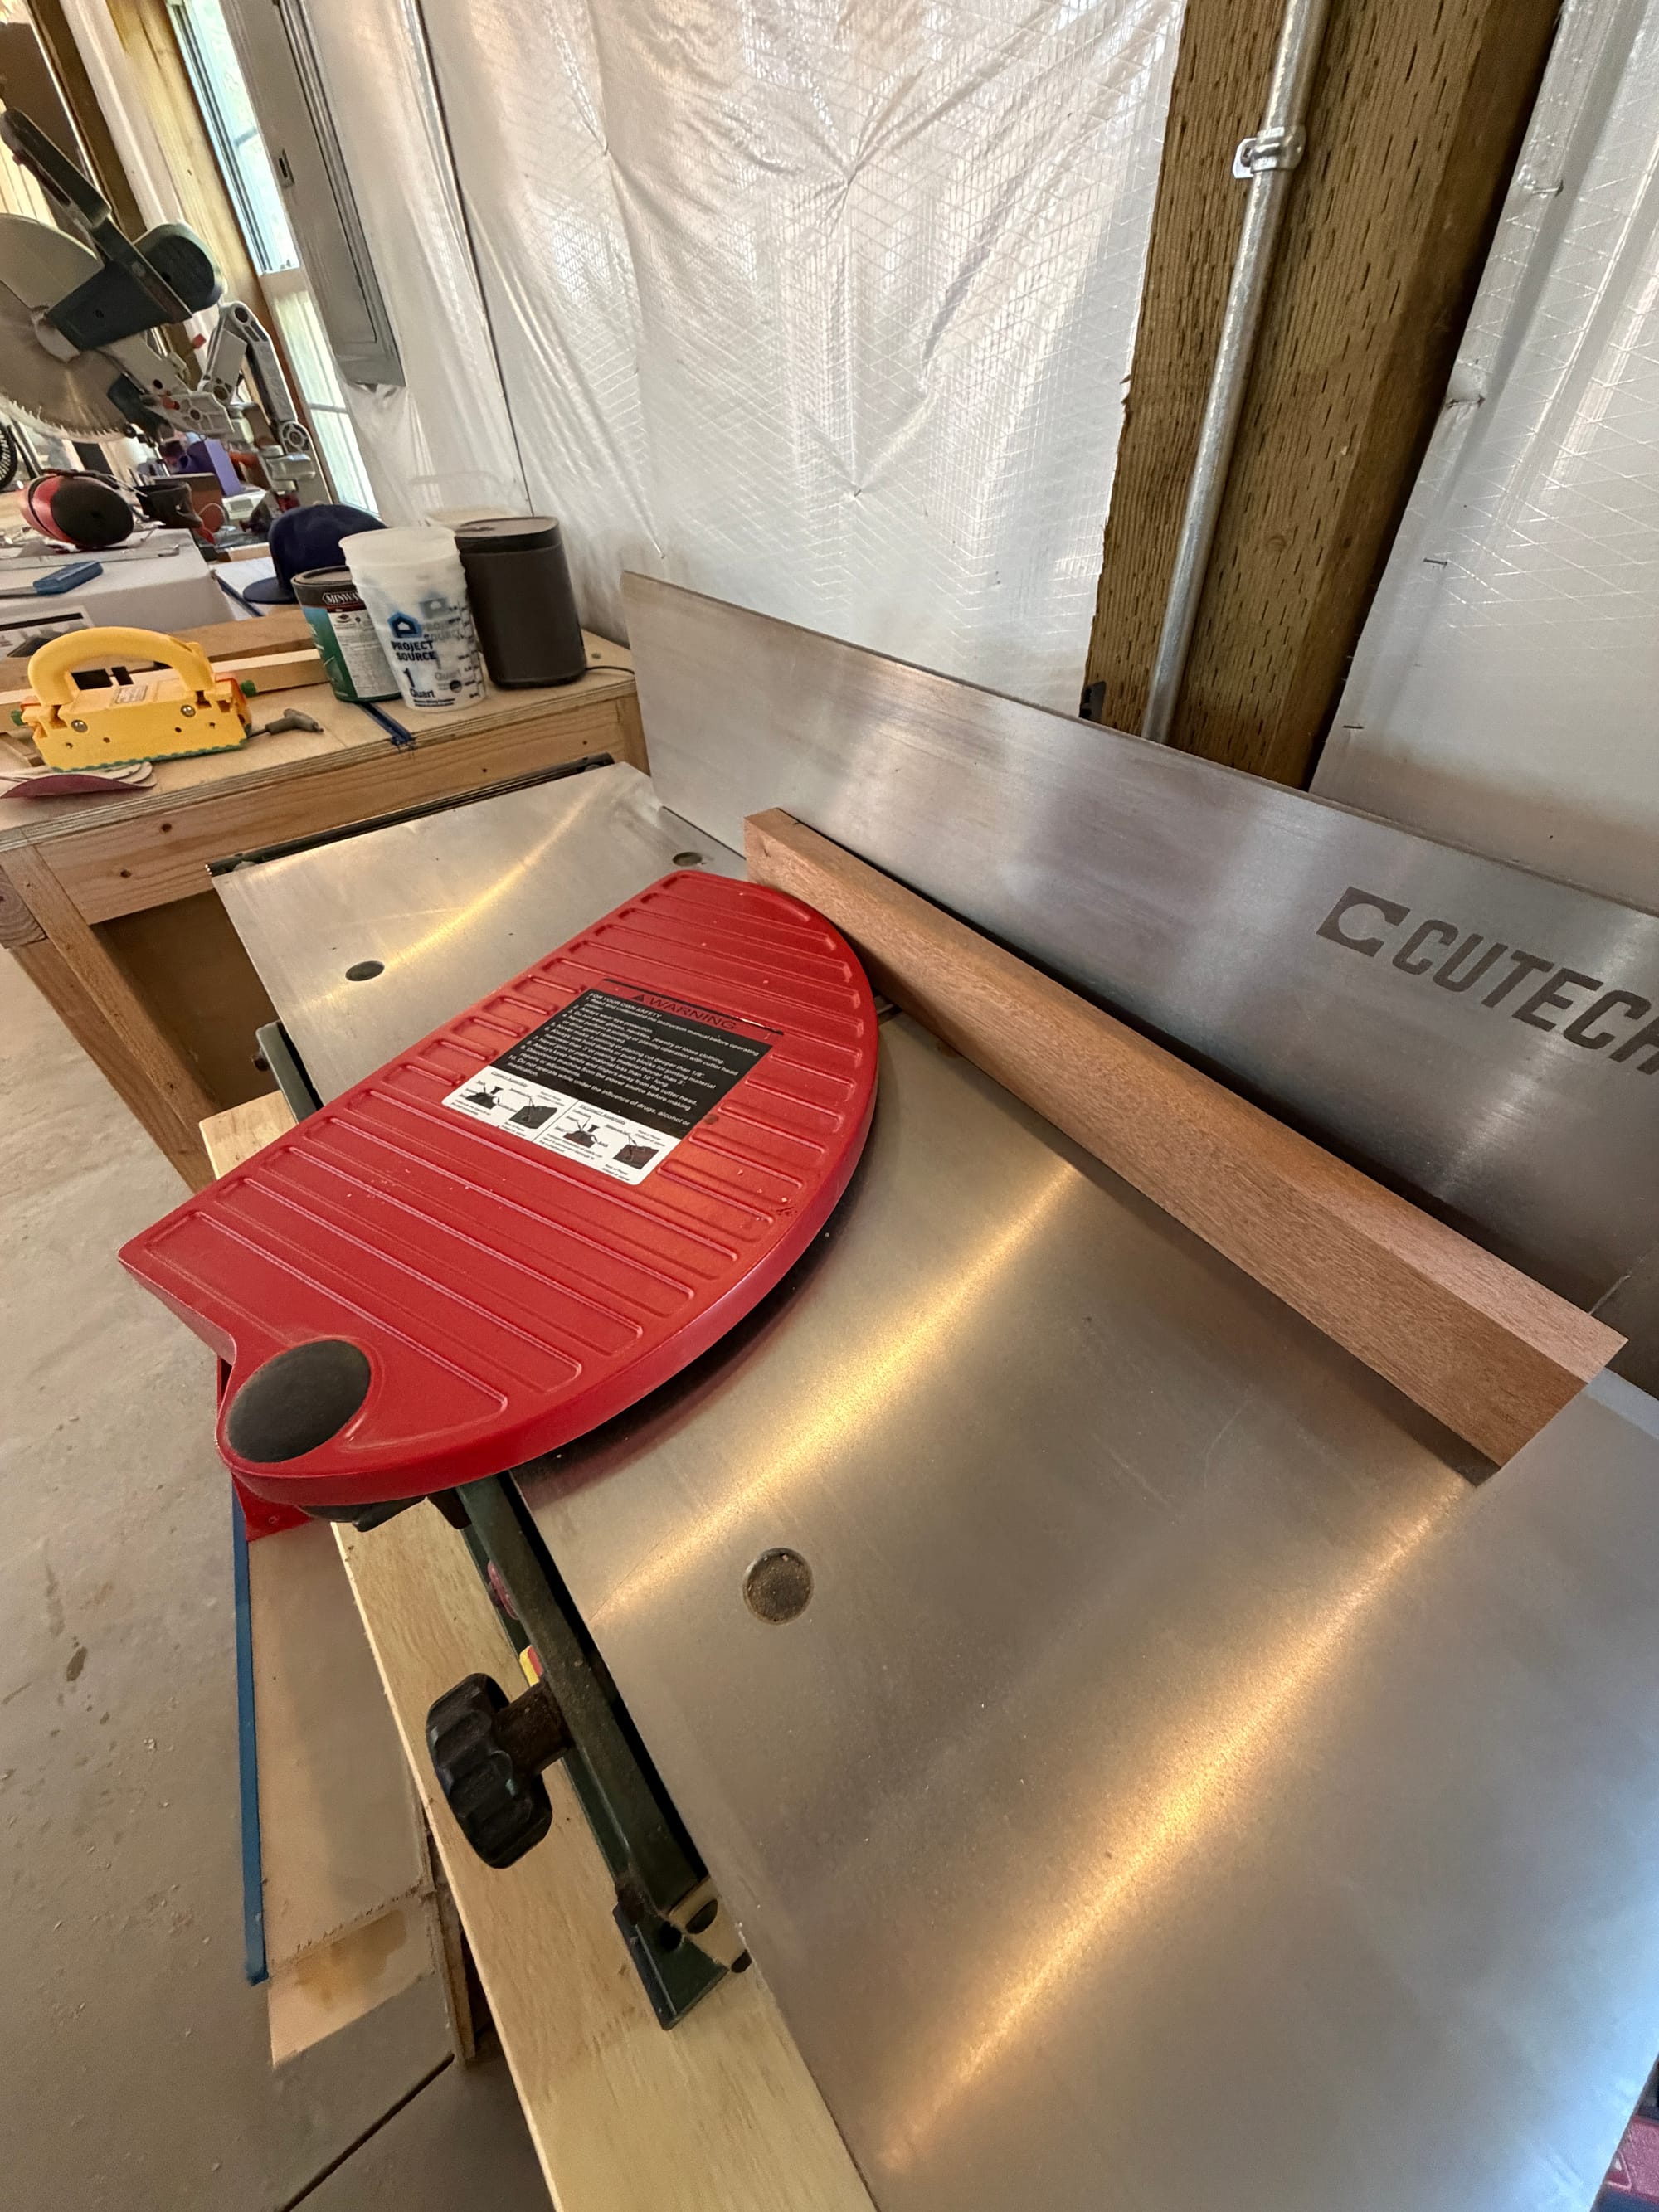
This part is optional, but if I see any gaps between the boards from sawing, I take them to my tabletop jointer to put clean edges on them.
Time for a glue up
The first glue up is fairly straightforward. You take your arranged wood, turn them on the side, put a bunch of food-safe, waterproof glue on the boards (I use Titebond 3), spread it evenly, then push the boards together and line them up for clamping.
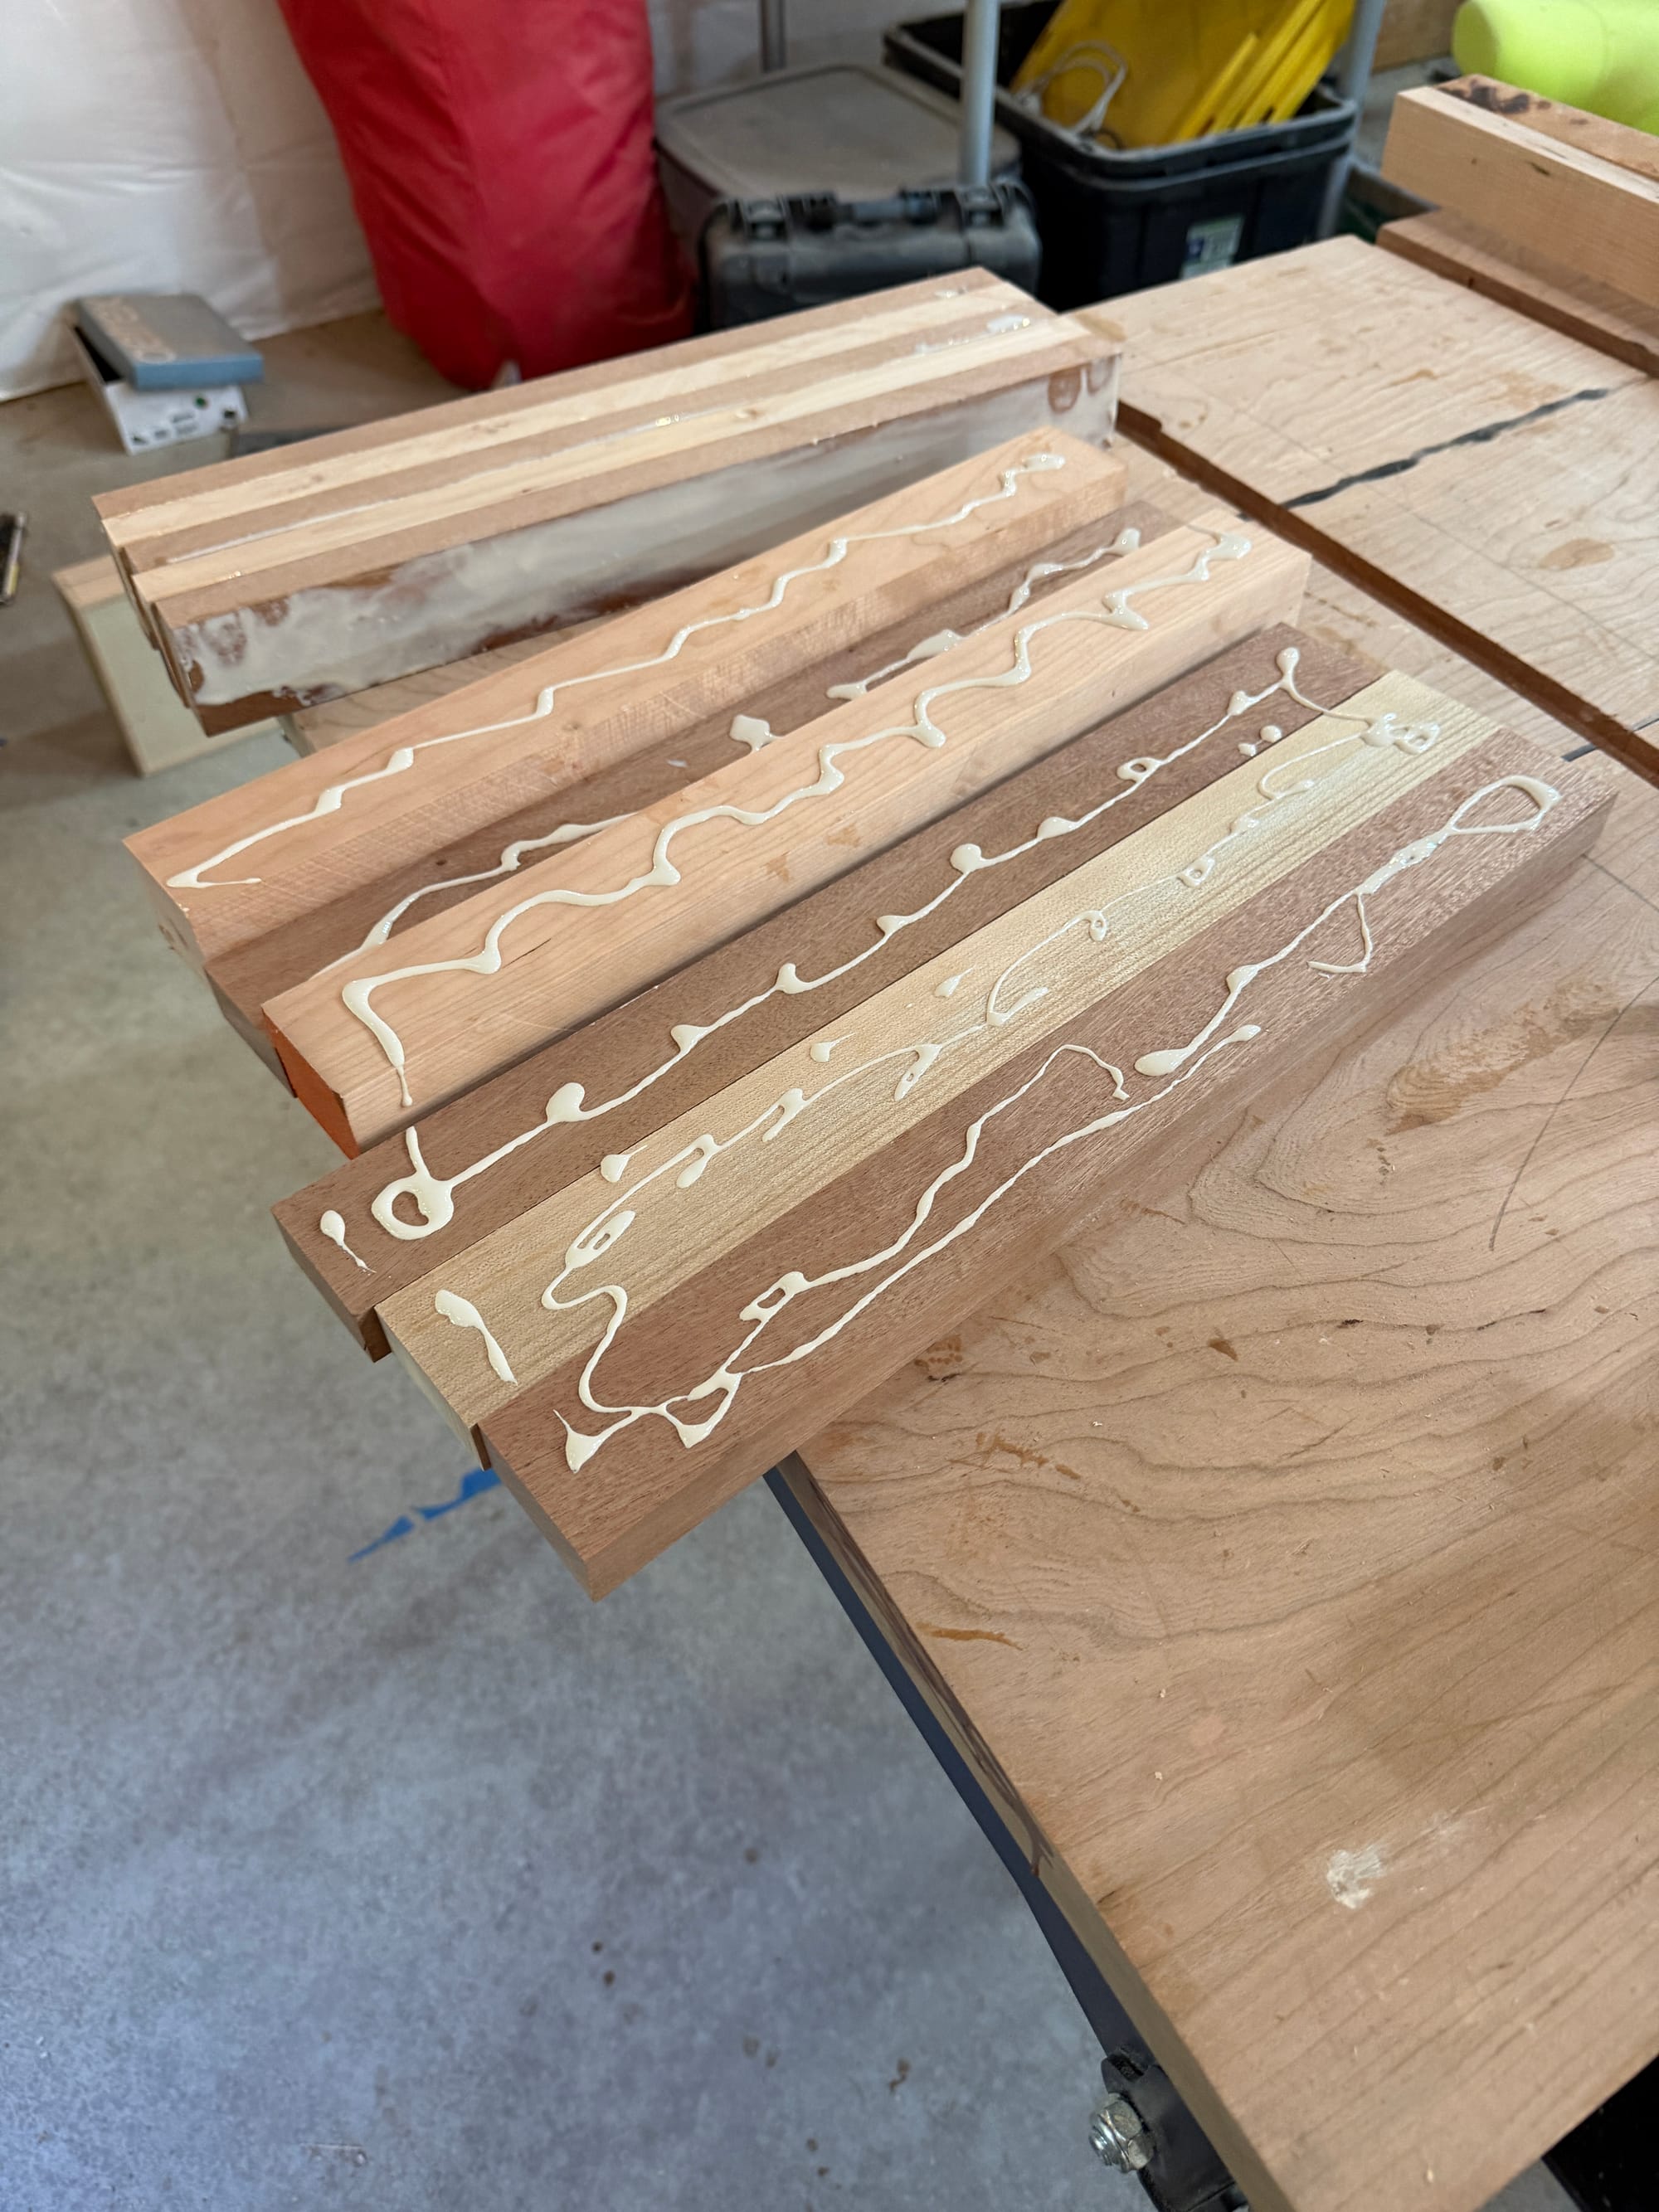
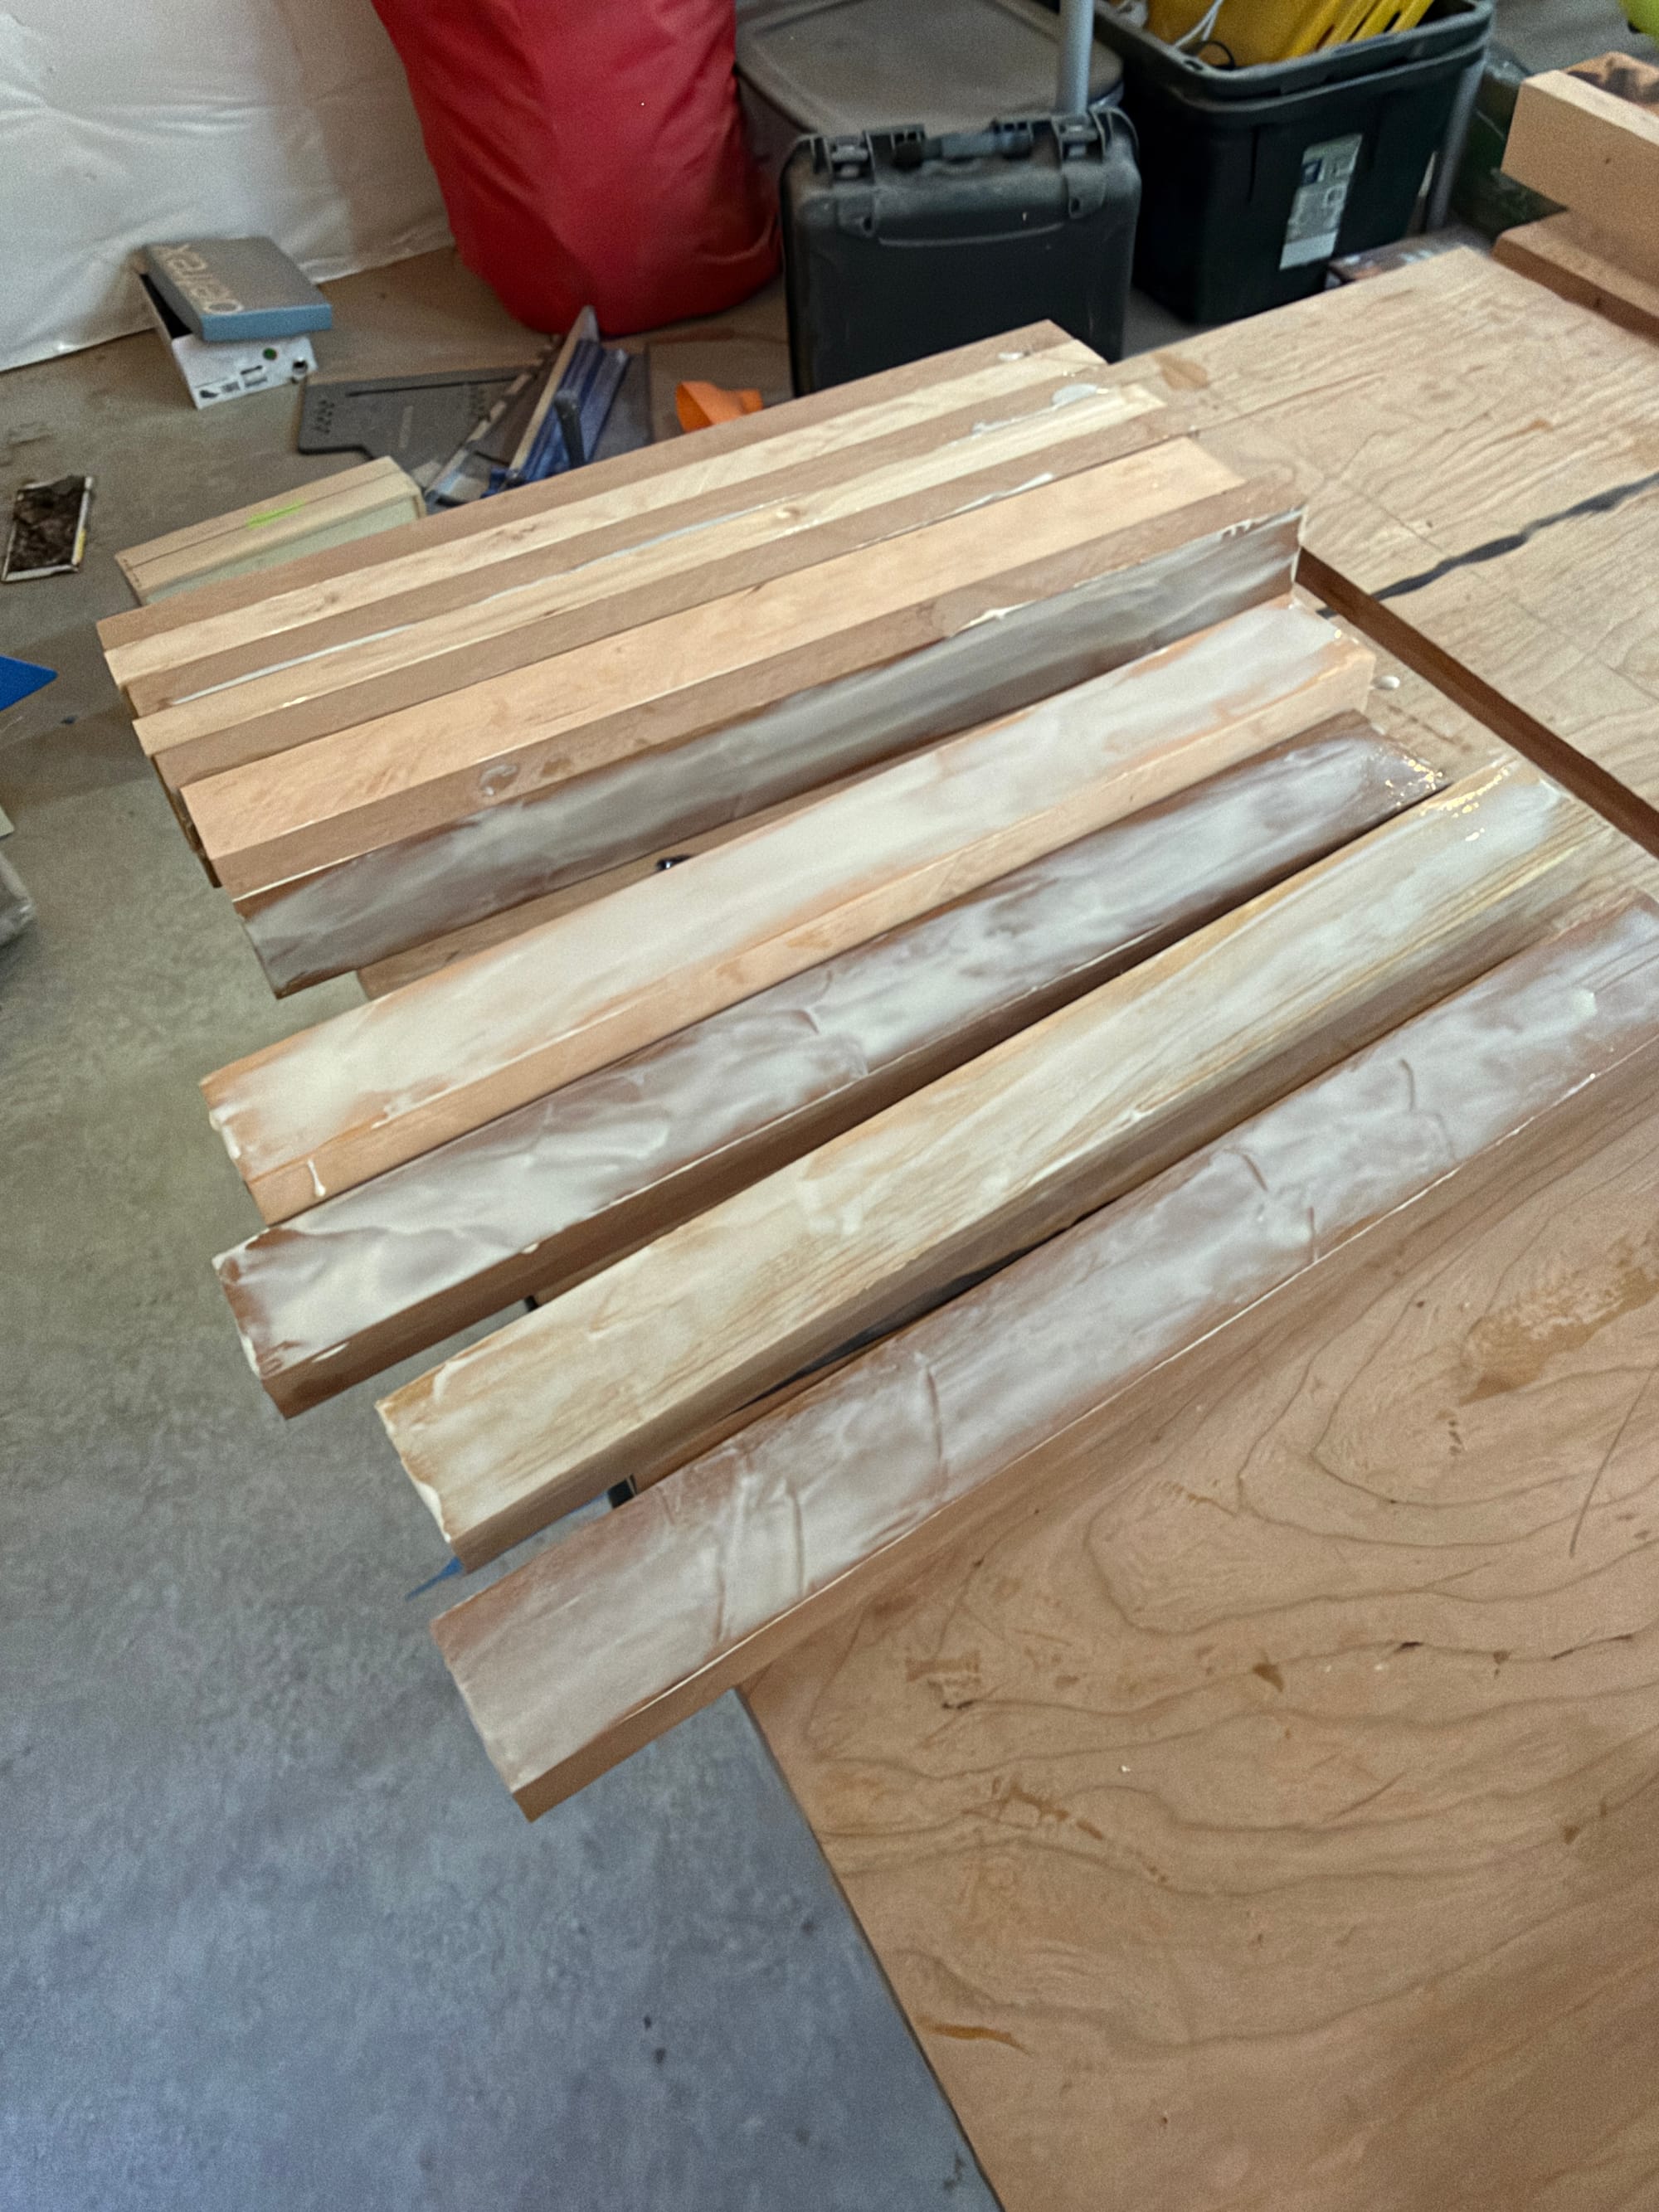
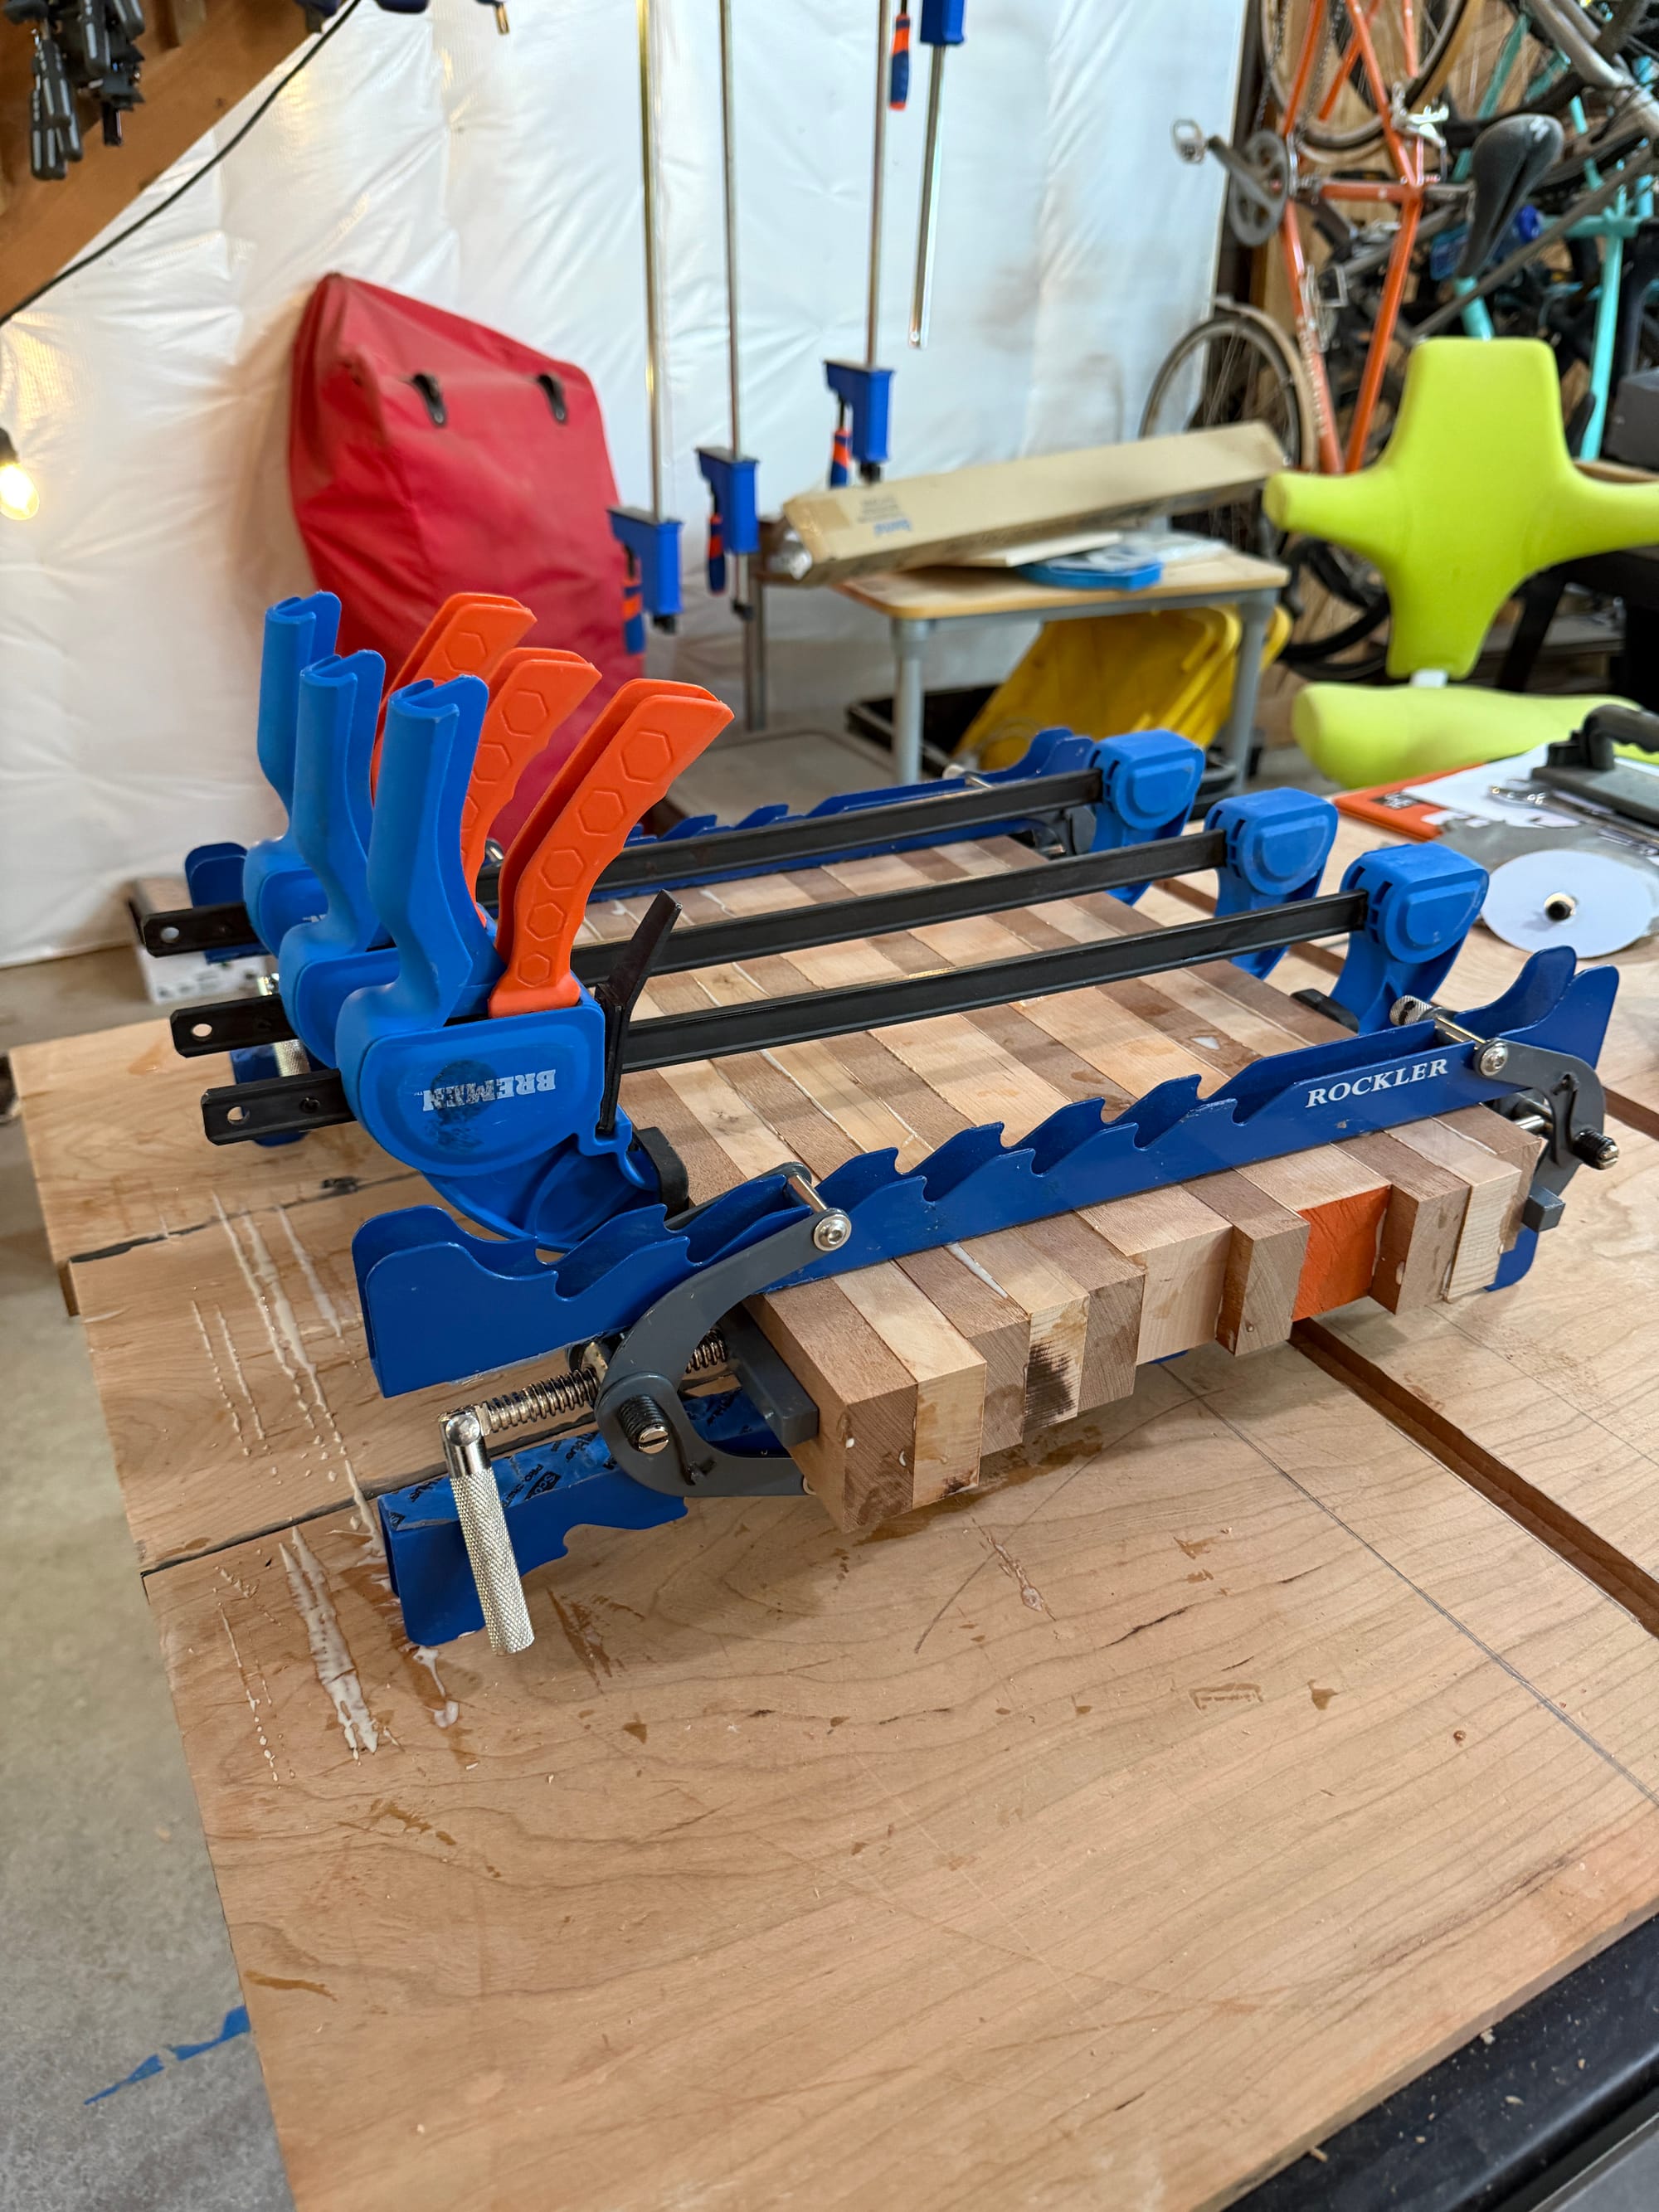
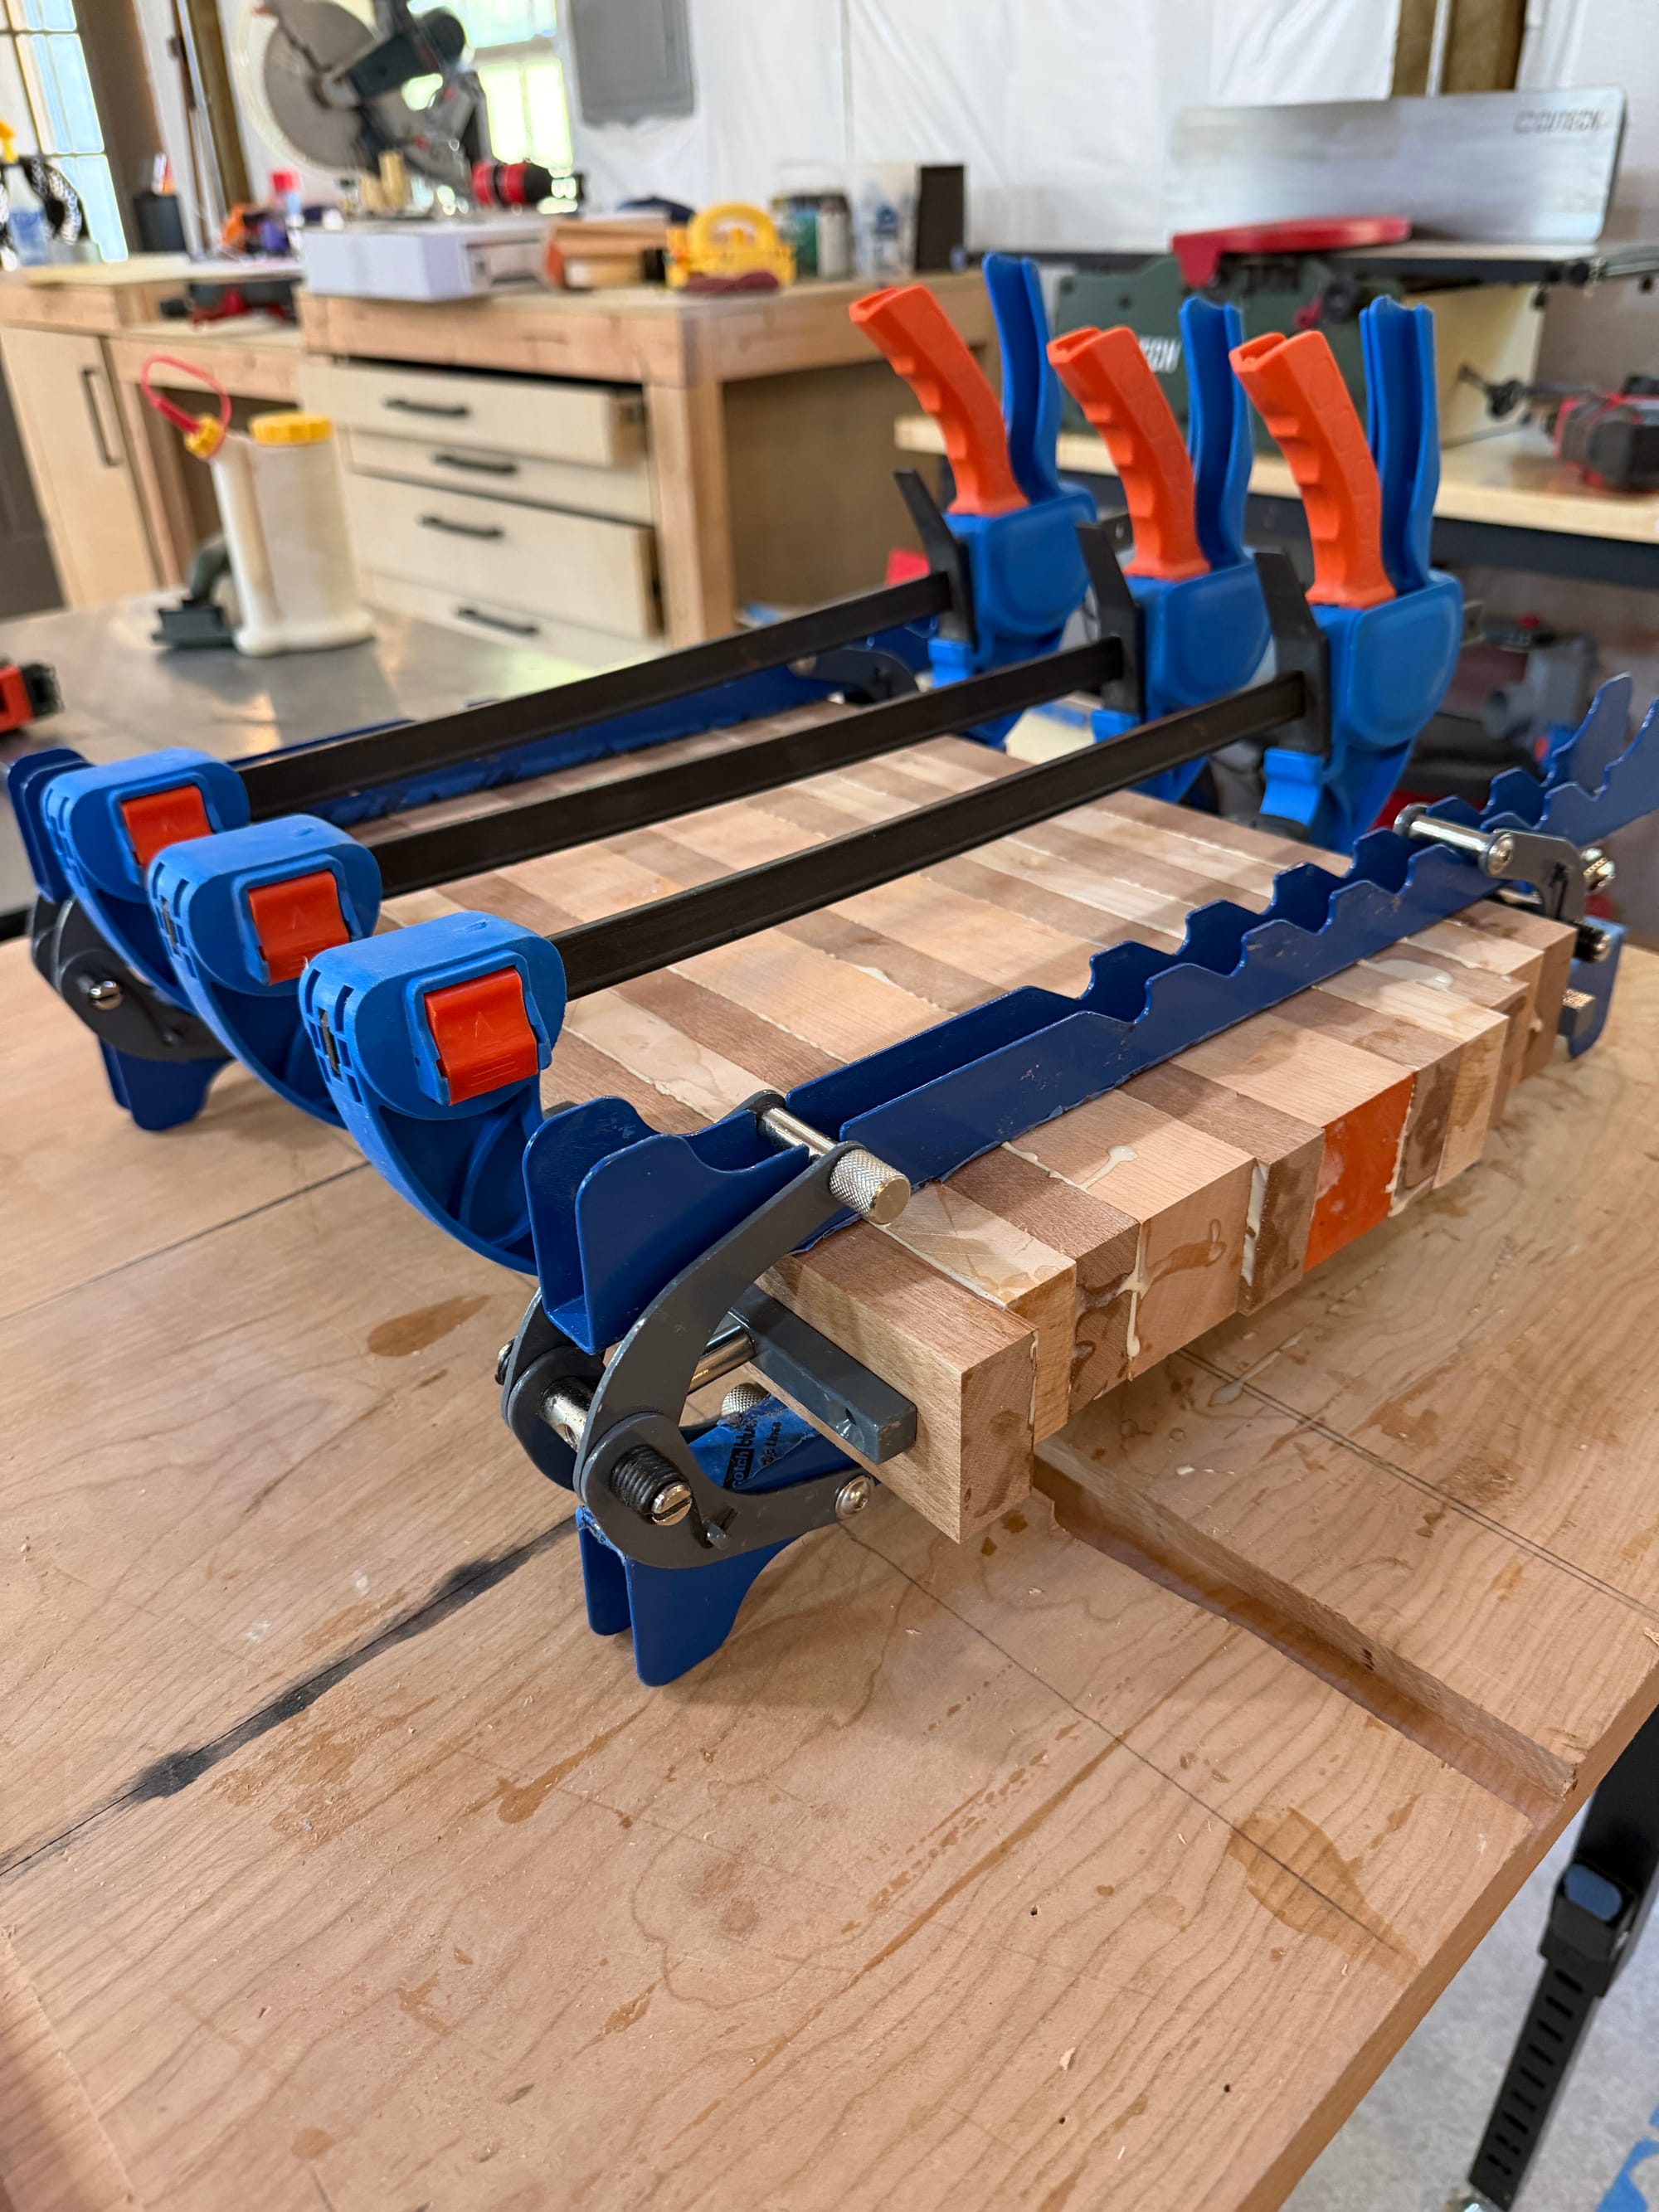
Time for the first glue up
I use metal bar clamps from Rockler that do a good job keeping things flat, then add a few more clamps to line everything up as much as possible and keep even pressure on everything. I leave the glue to dry overnight to get a solid bond.
If you're wondering if wood glue is strong enough to keep a cutting board together, I've always heard glue was stronger than the wood itself and I've found that to be true. In a few cases, I've dropped wood scraps to a concrete floor that were glued together and if they shatter, the break always happens across wood grains, and never on glued joints.
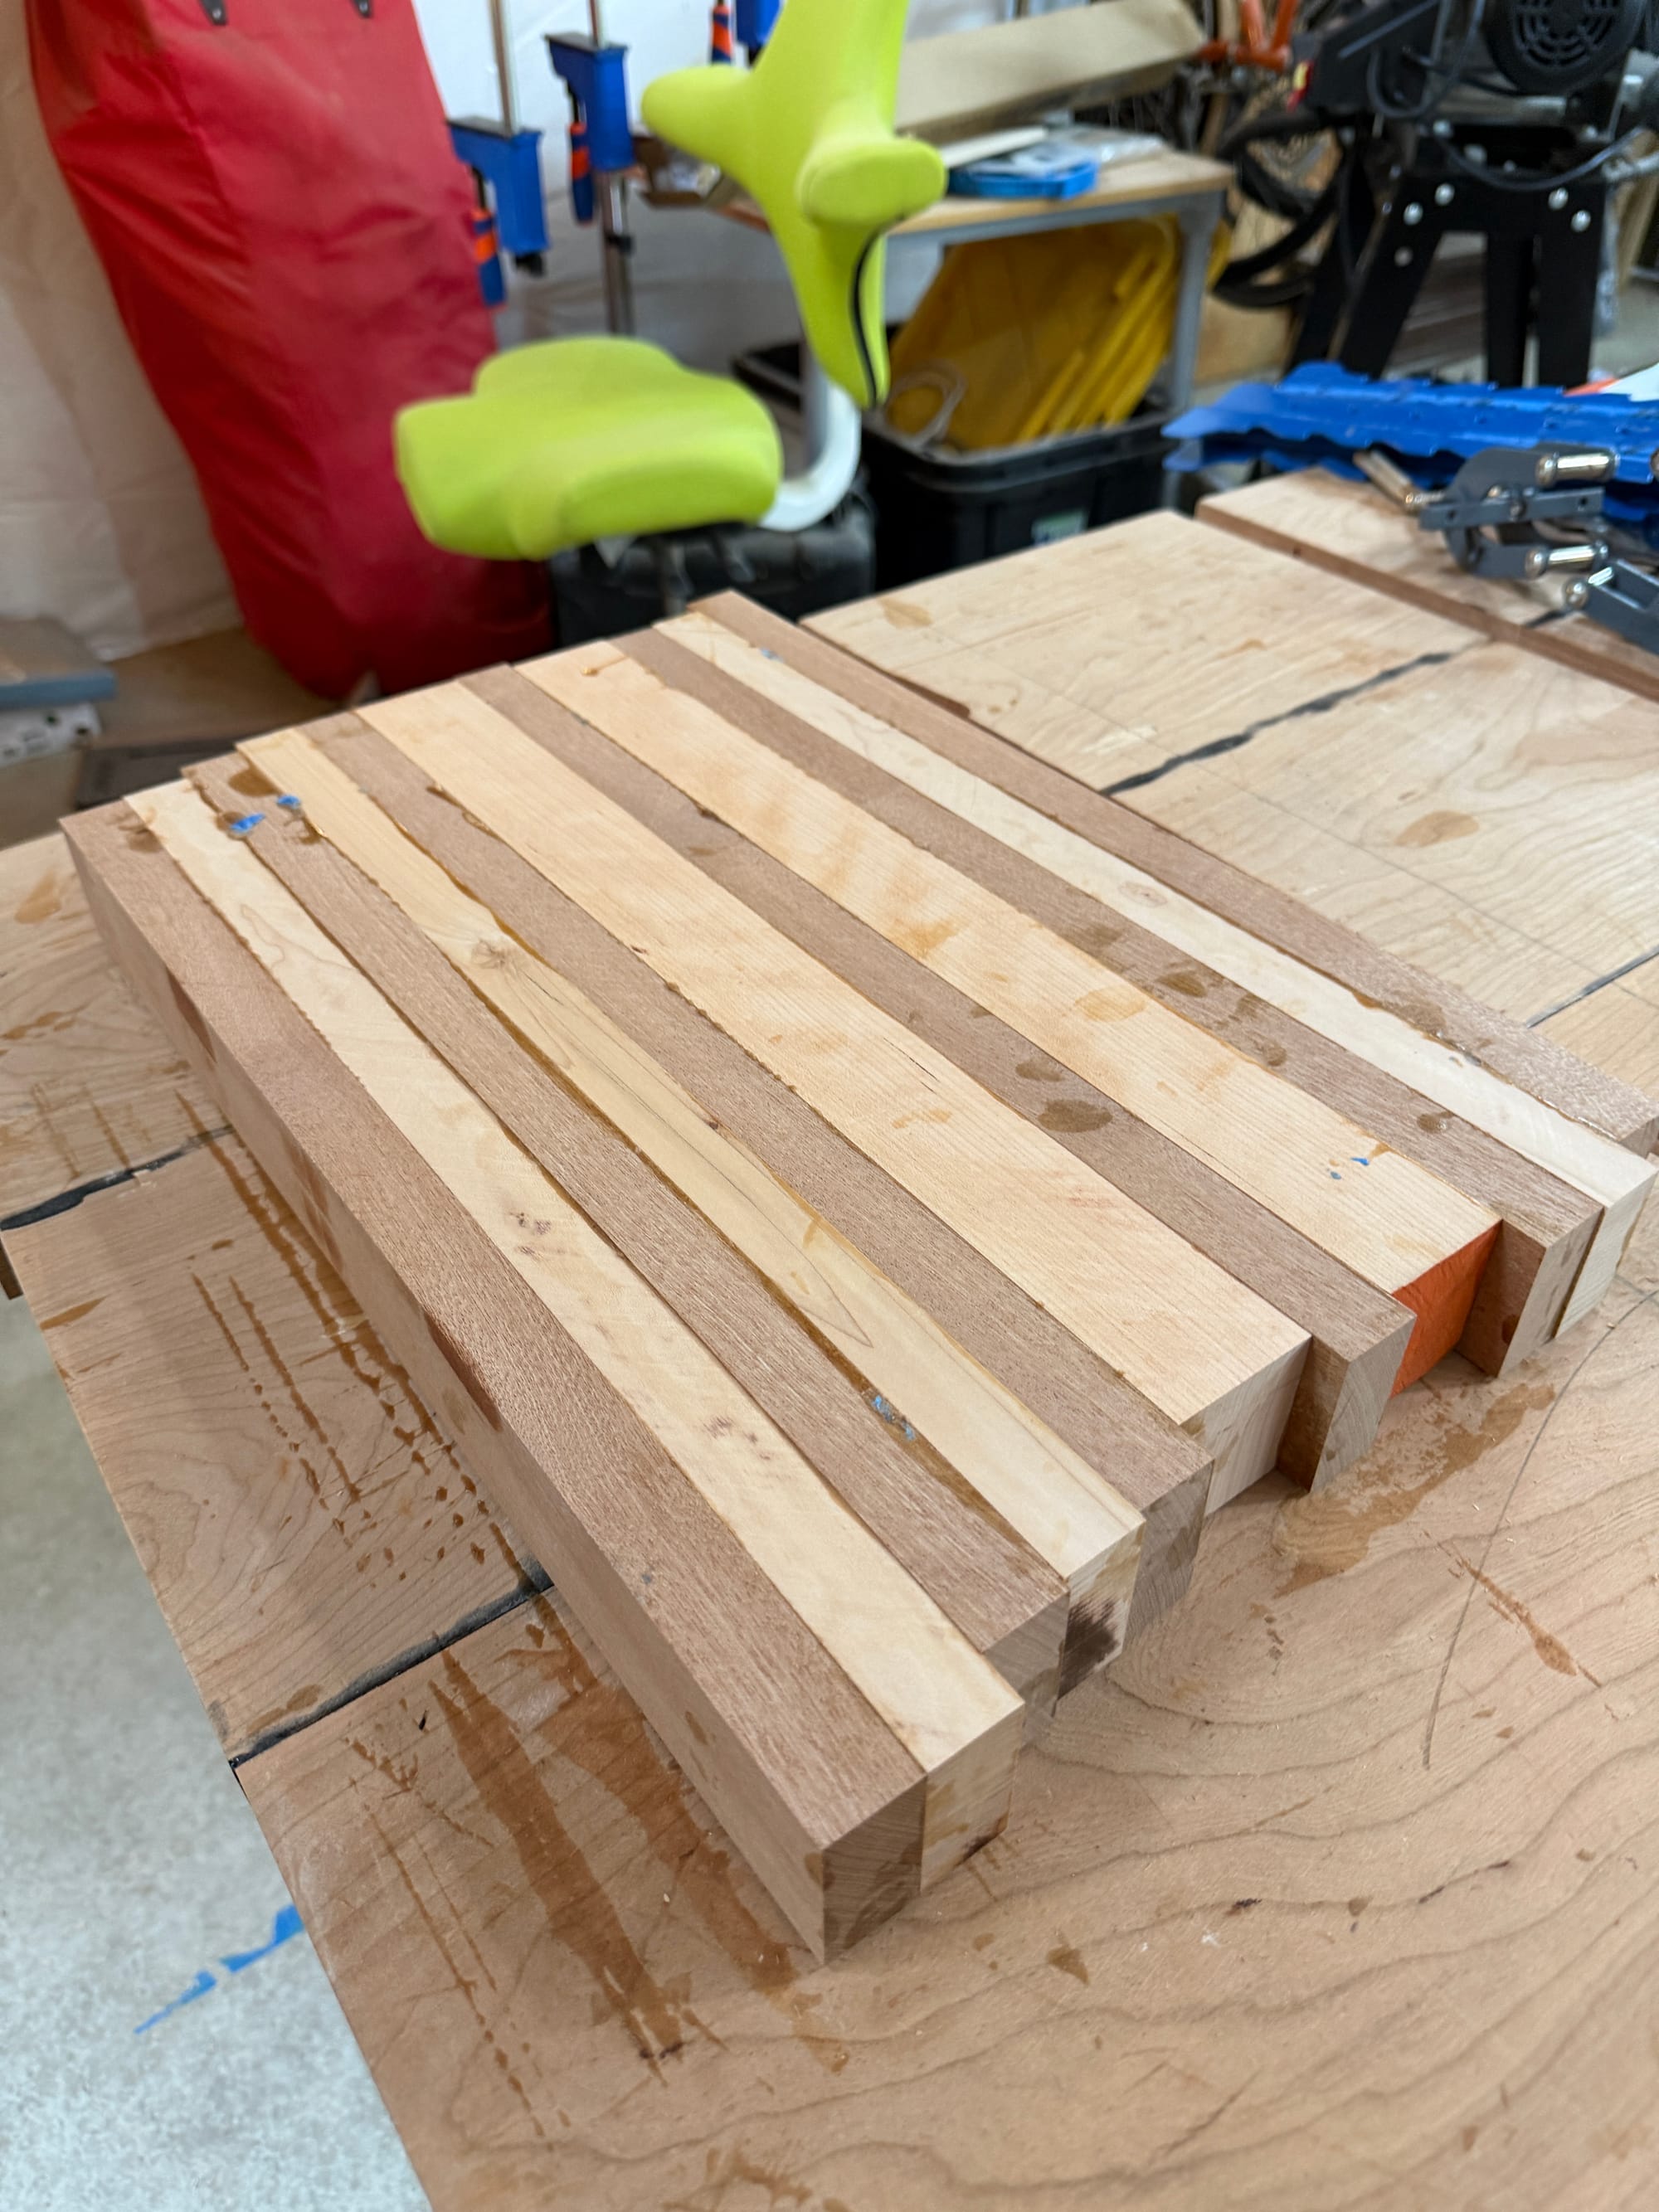
Clean things up
My favorite part is busting out a planer, with its motorized chisels, to shave the board down to a consistent height in just a few quick passes. I run the board long ways on both sides and then I have a perfectly smooth board that looks pretty great.
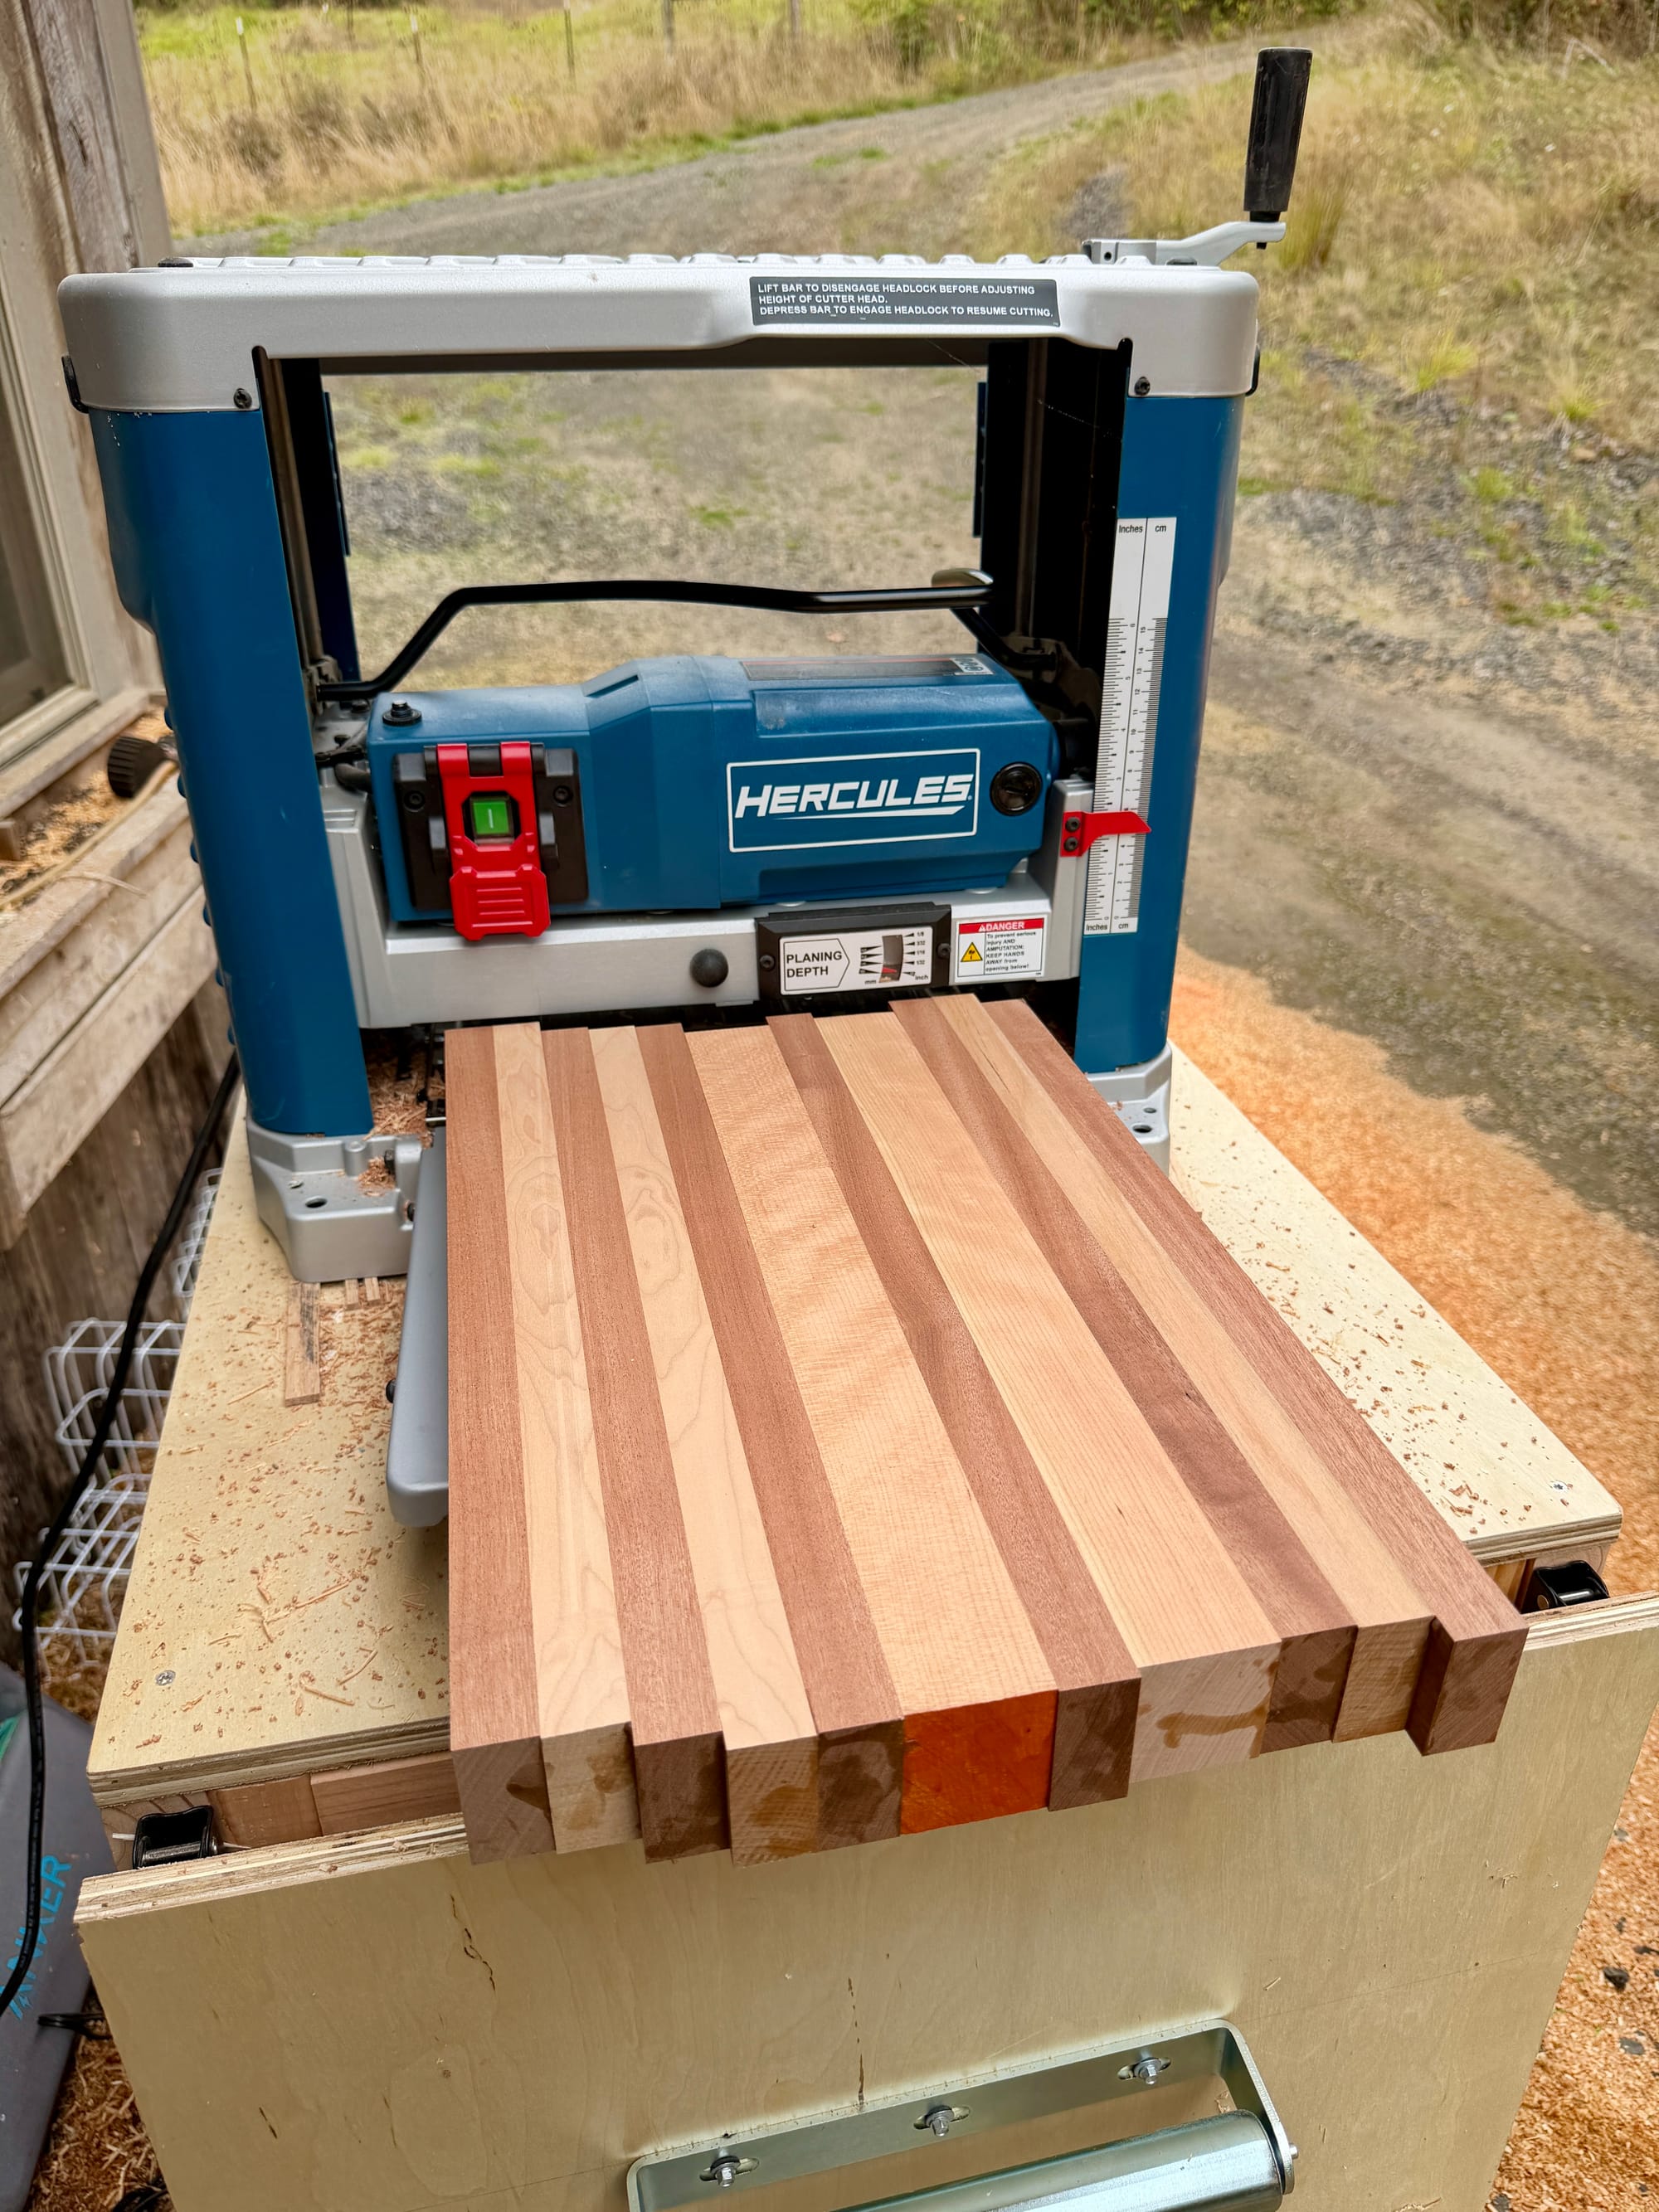
You could stop here, trim the ends and you'd have a nice looking edge grain board. But I prefer end grain boards, which is when you cut the boards up again, turn them on their sides, and glue it all back together, like an old butcher-block countertop.
Wood is made up of a matrix of fibers, so imagine a piece of wood is like holding a fistful of drinking straws in your hand. Using a kitchen knife on an edge grain board is like slicing across straws laying on their sides, but end grain boards are turned 90º, so you're cutting with a knife across the ends of the straws, which saves your knives from needing to be resharpened as often. End grain boards also dry out from washing quicker than edge grain boards, keeping them safer and more sanitary.
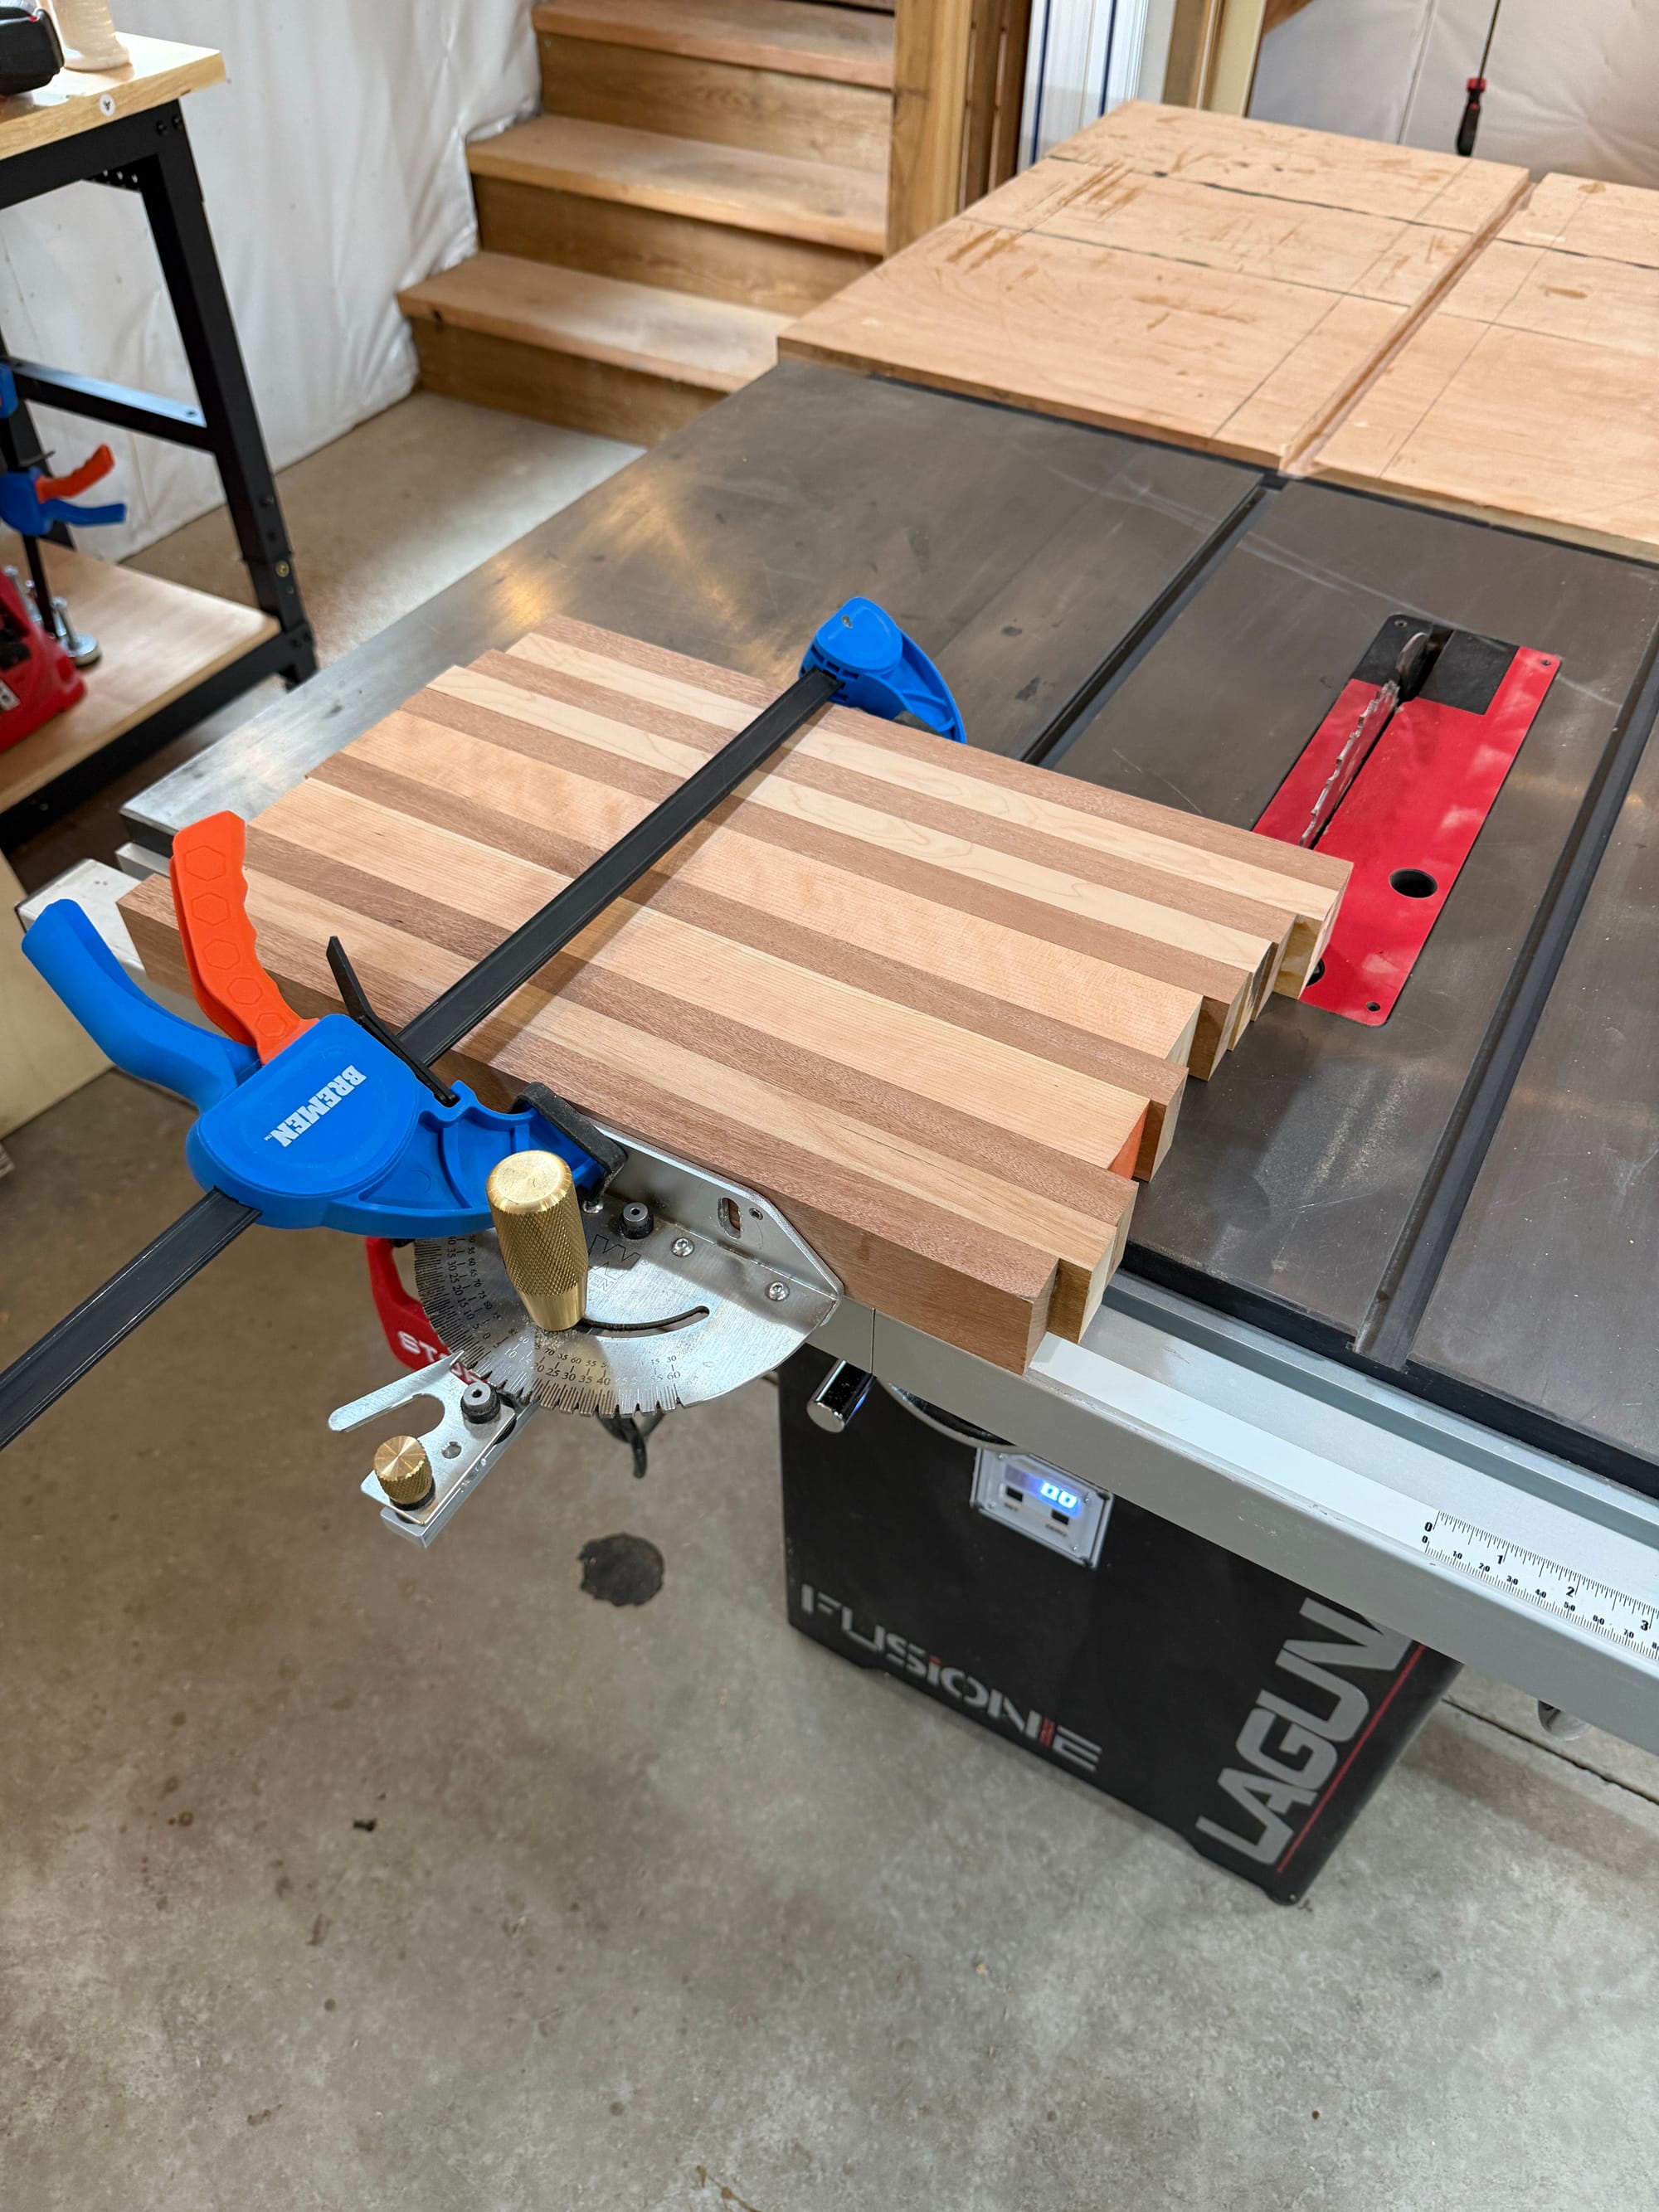
The end grain process
The next step is to cut a straight edge on the board. I use a miter gauge to cut one side of the glued up board clean, then I set my table saw to whatever final height I want my cutting board to be. I like them a little chunky and usually set it between 1 3/4 and 2 inches, then recut the board into uniform strips.
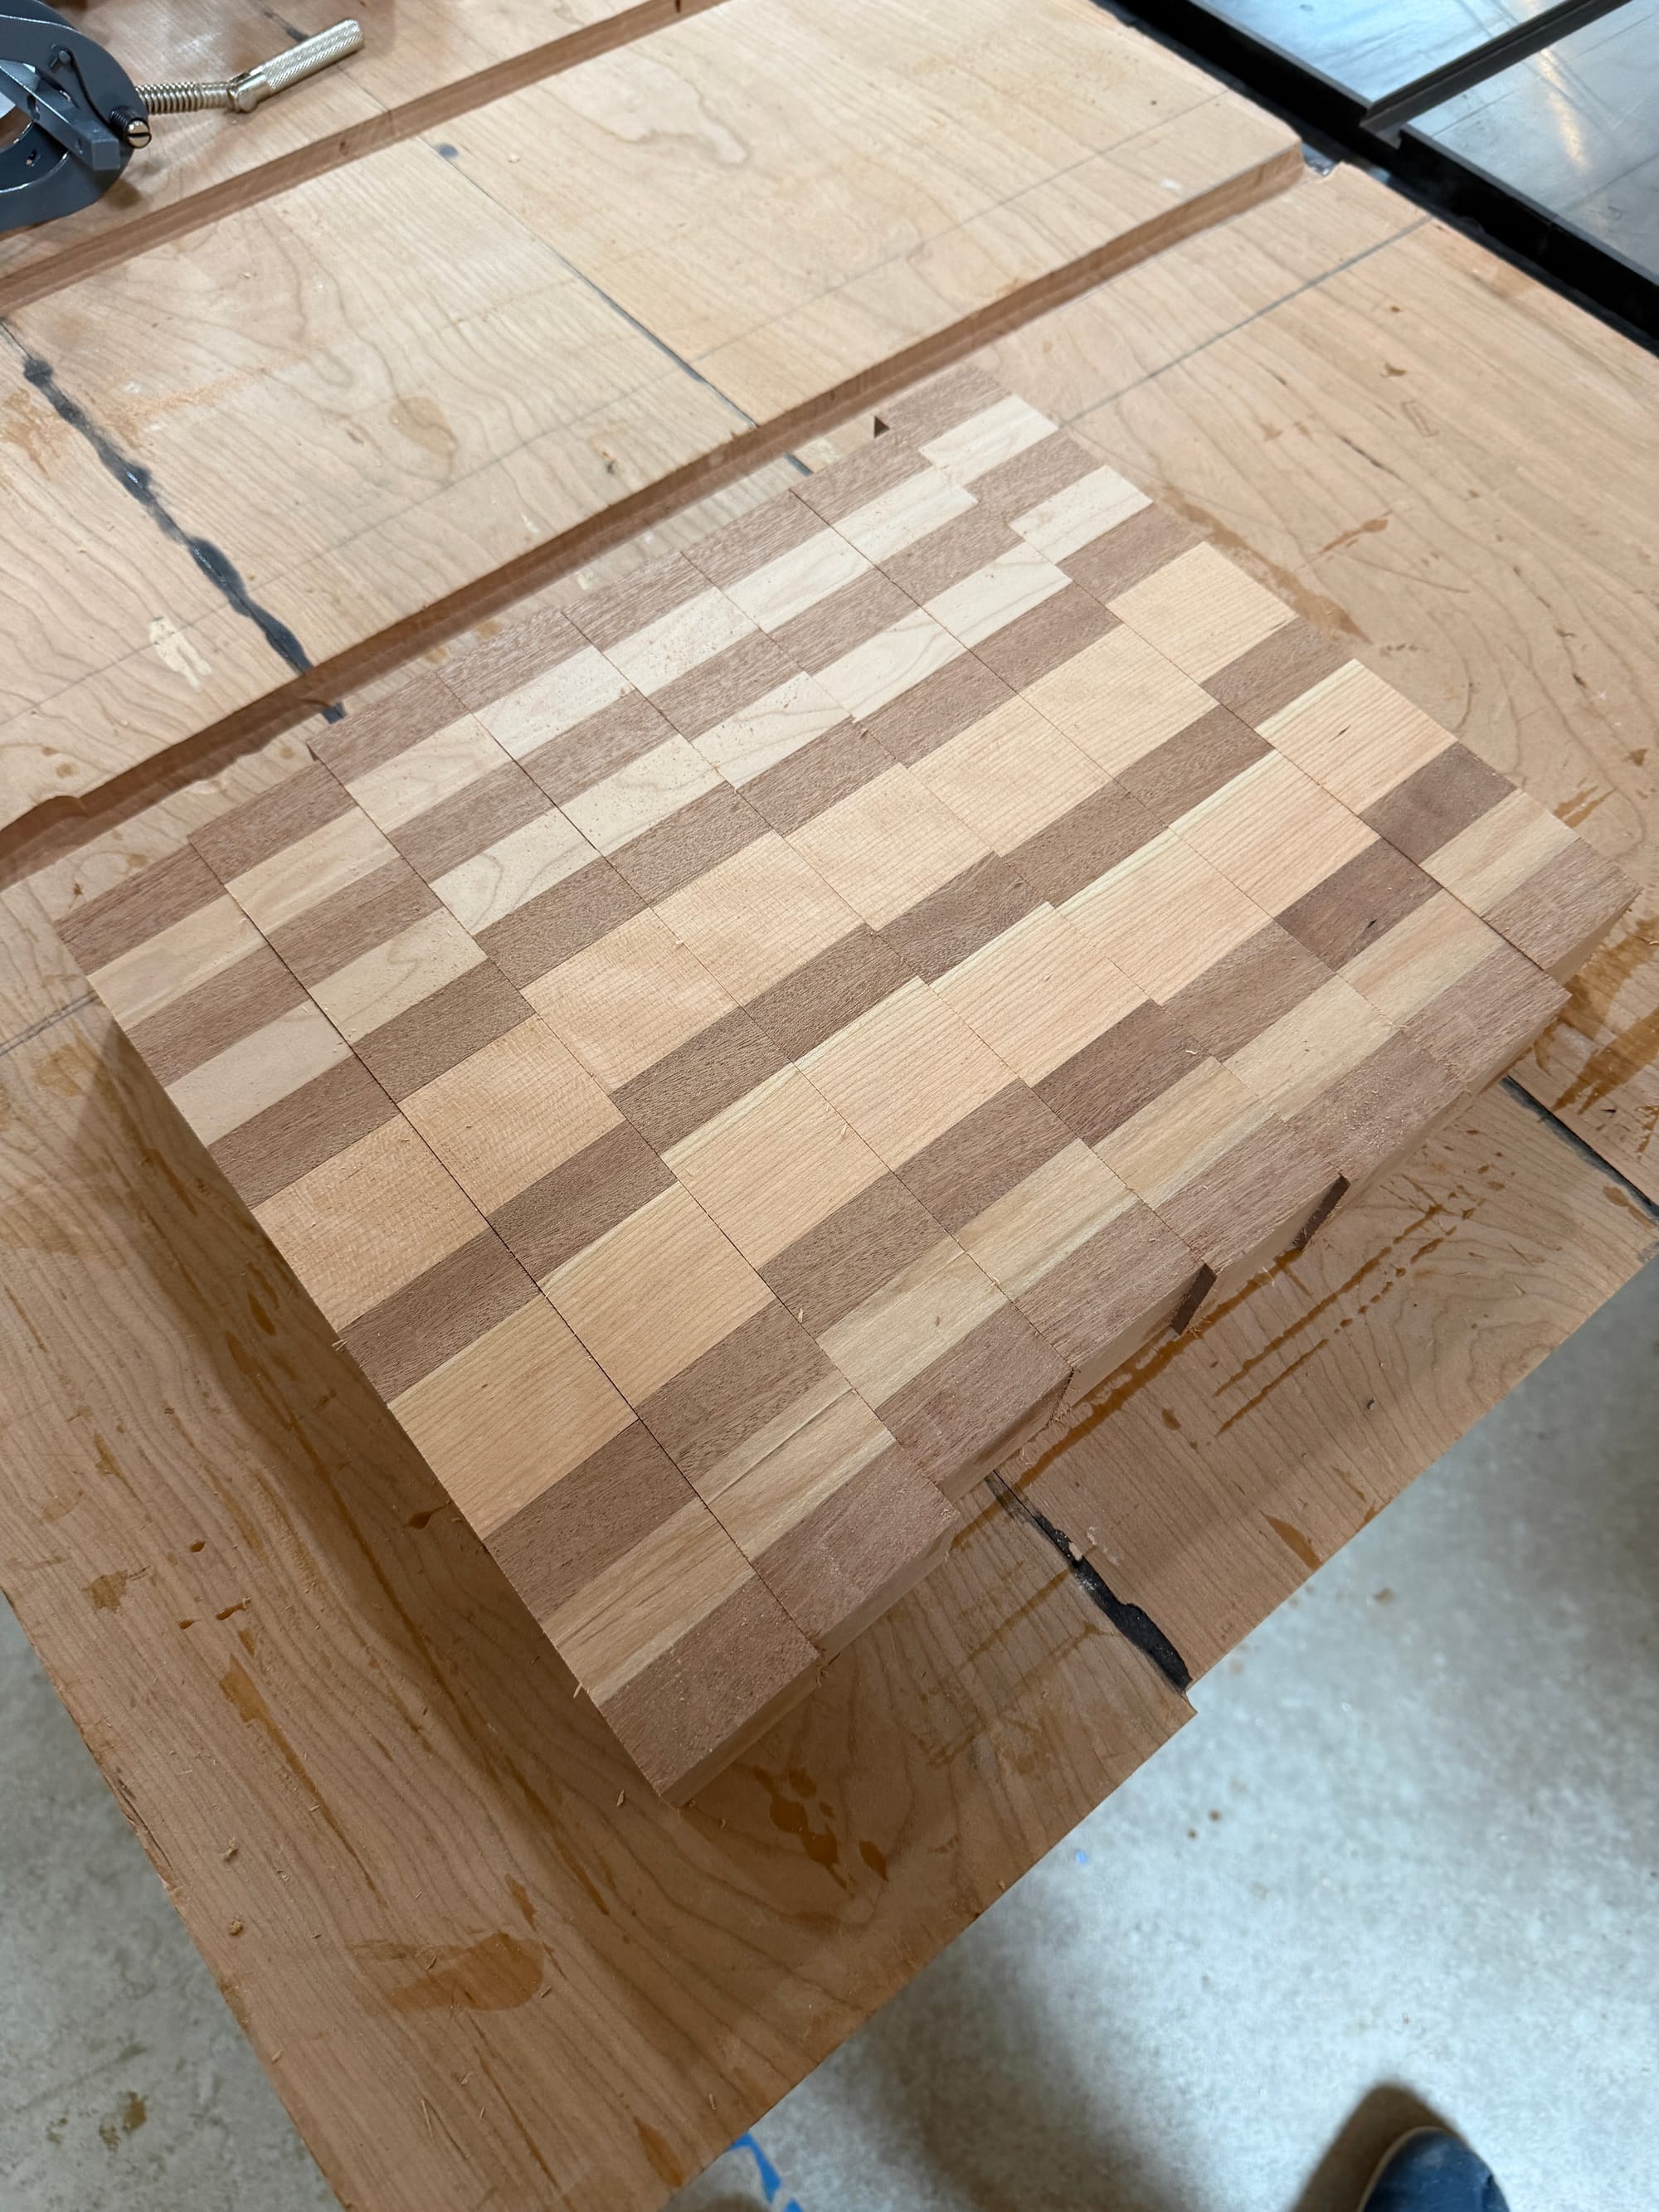
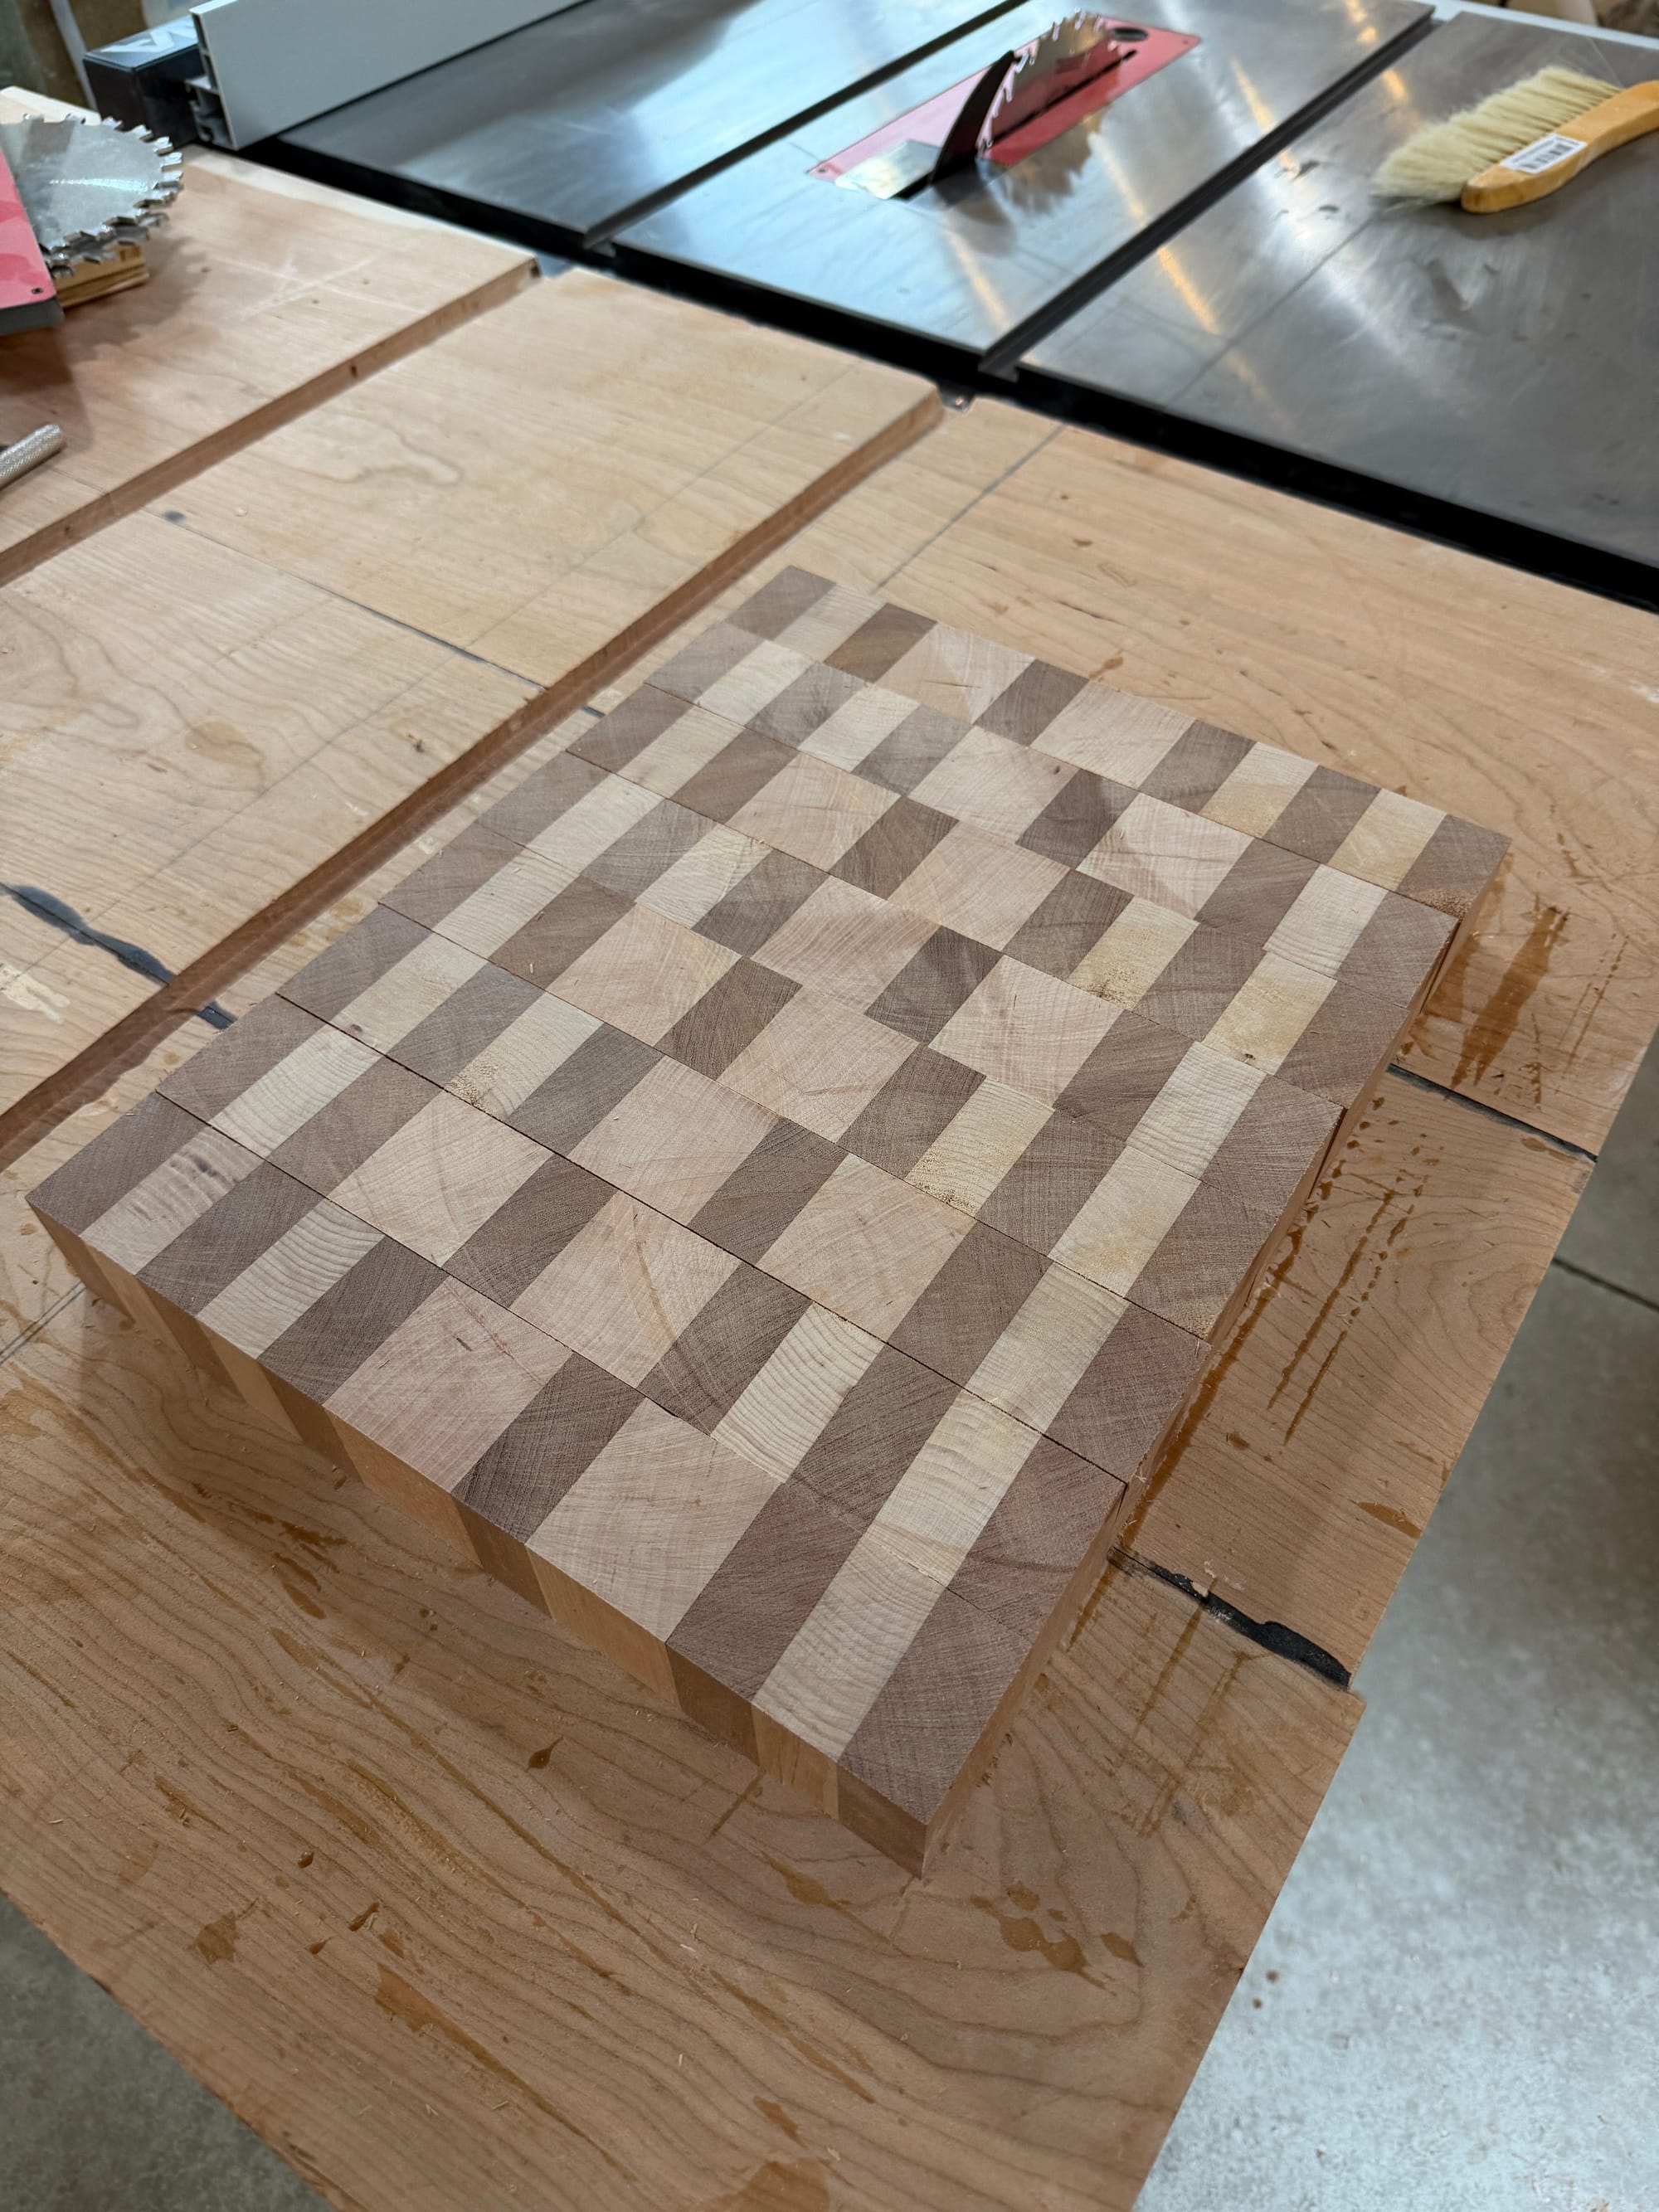
The board cut into strips, then they are turned 90º and every other one is flipped to make the final end grain pattern
Once you have the board cut into strips, turn them on edge so the end grain is up then flip every other one to get your final cutting board layout. Then you glue it up like the first time.
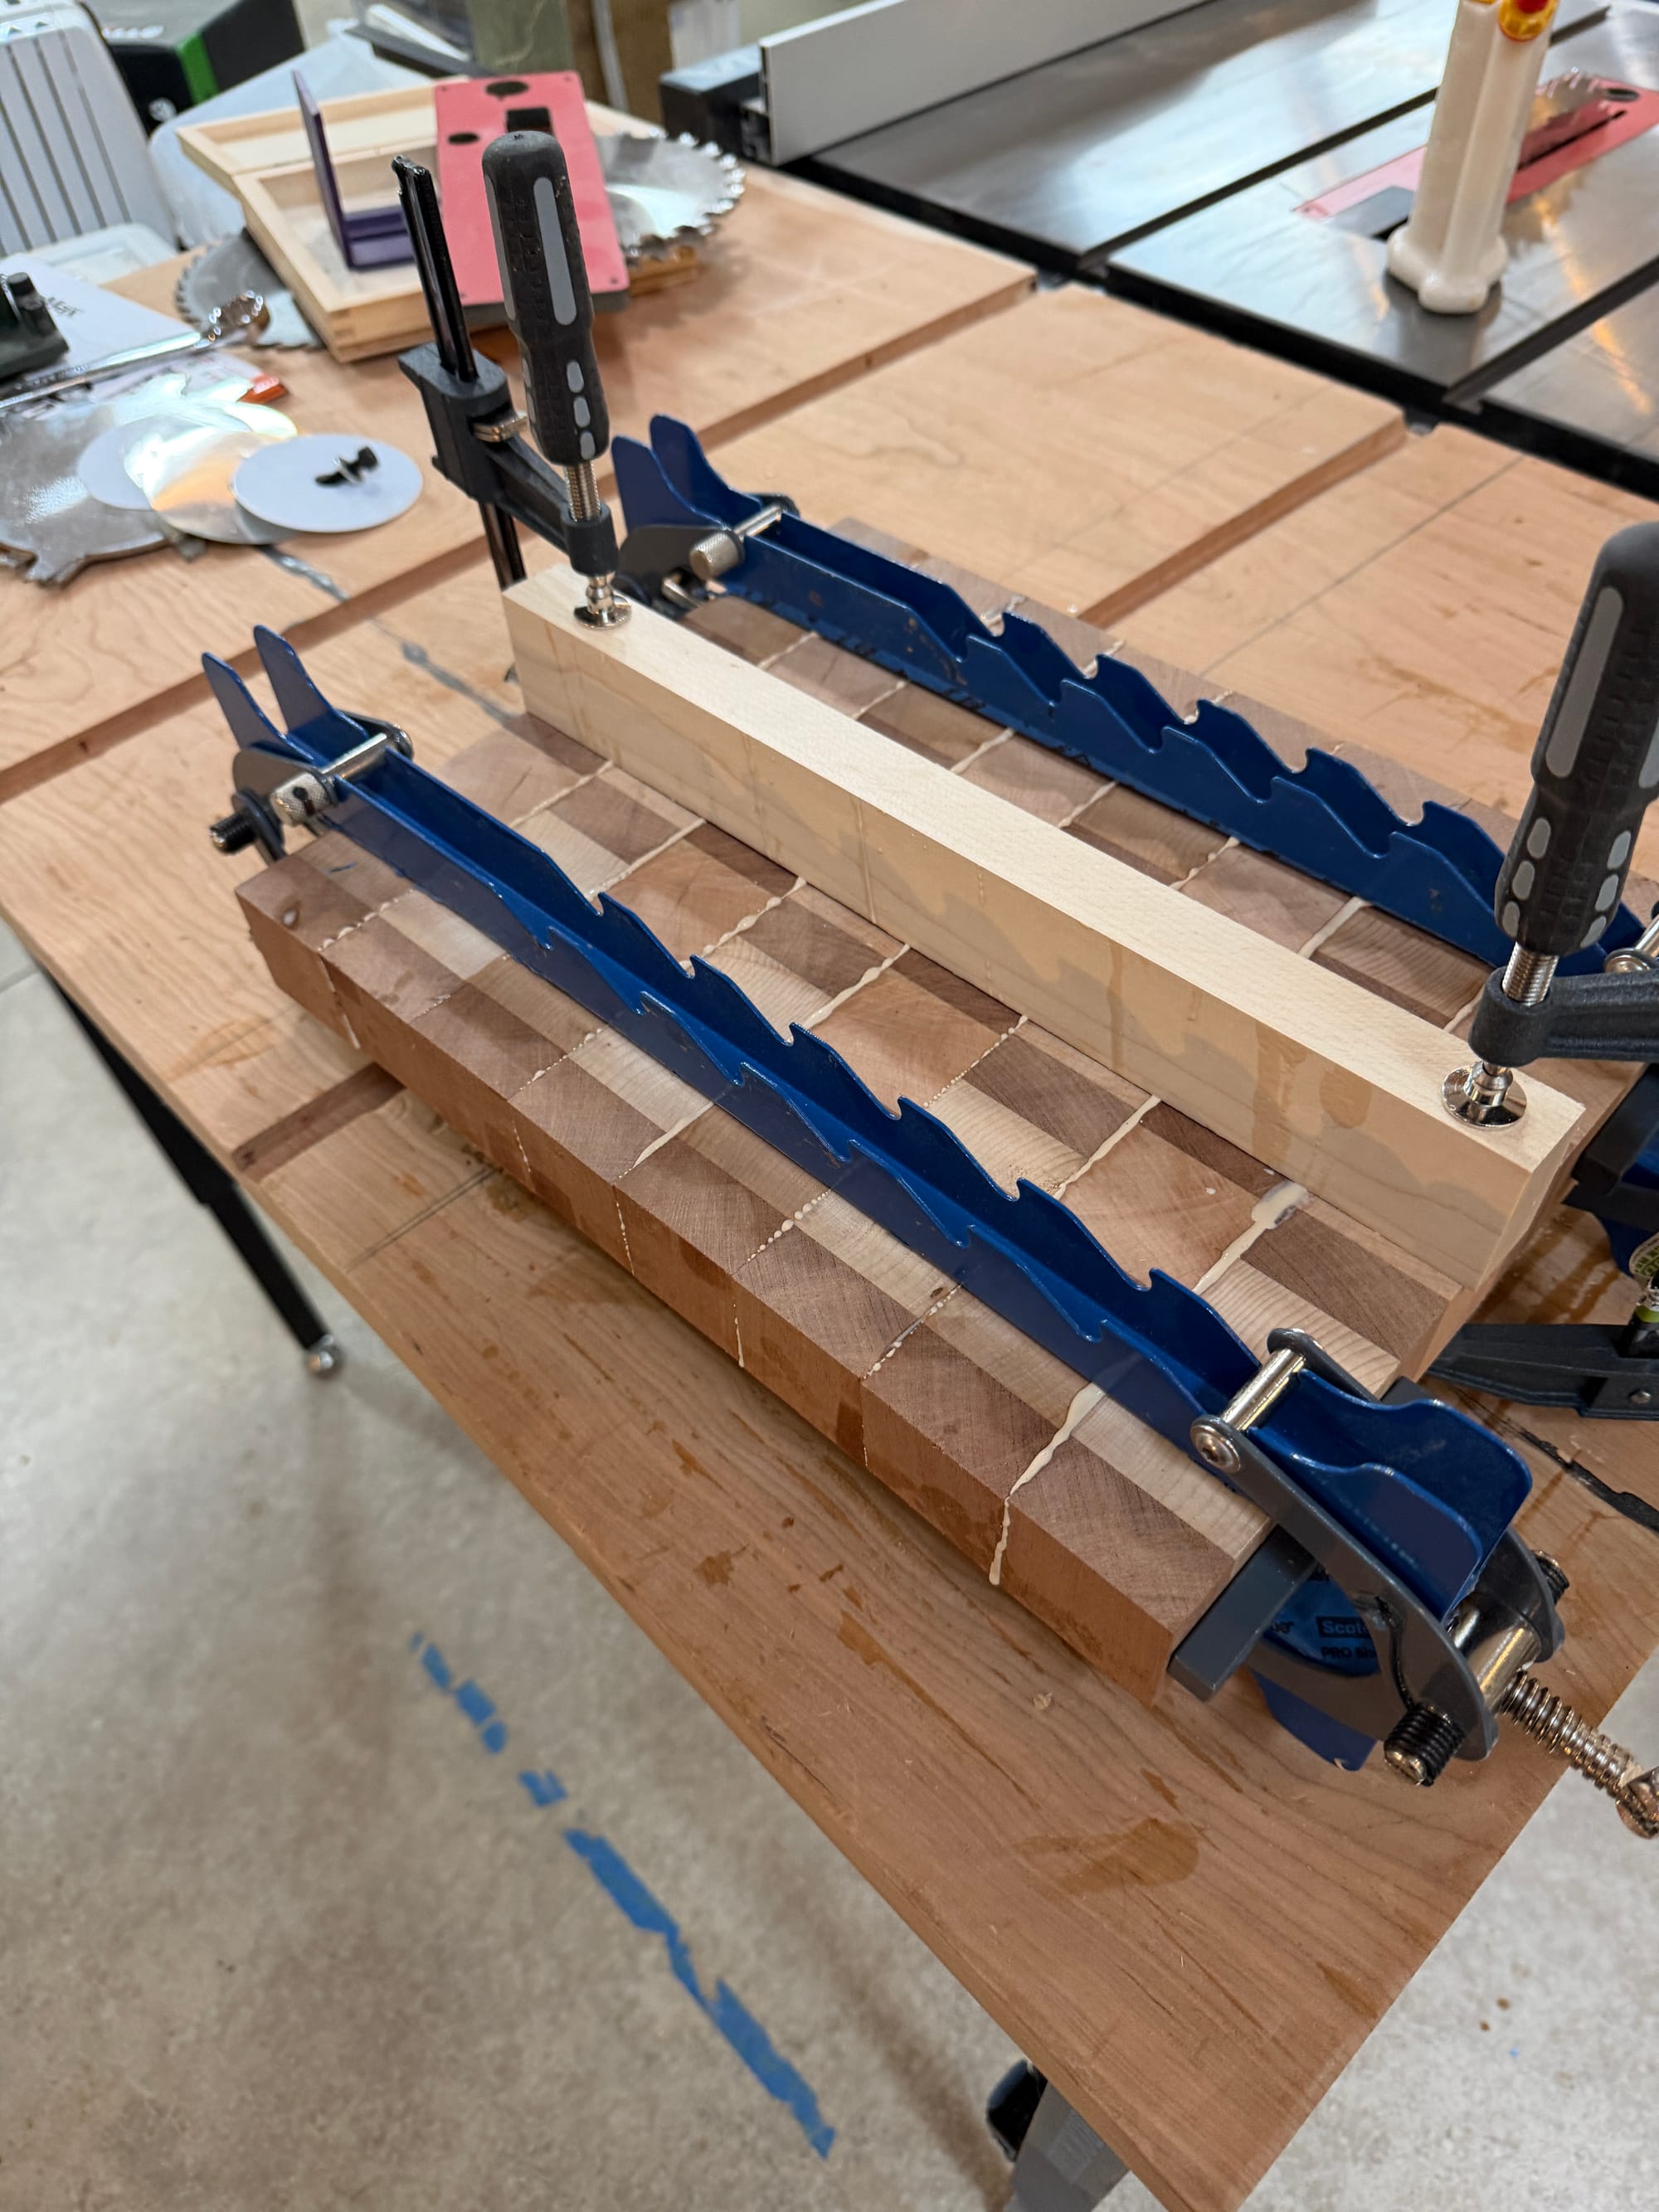
After the second glue up, I make a fresh cut on each side of the board with my table saw. No matter how hard I try, I never get everything perfectly lined up while glueing so I usually end up with a final board just under 12" wide by about 17" long as everything gets squared up, losing about an inch in the process.
Sanding, sanding, and more sanding
The part that every woodworker hates is all the sanding required afterwards, but I find noise canceling headphones and a podcast playing makes the tedium go by quickly. I also recently got a drum sander, which automates much of the work and time spent hand-sanding.
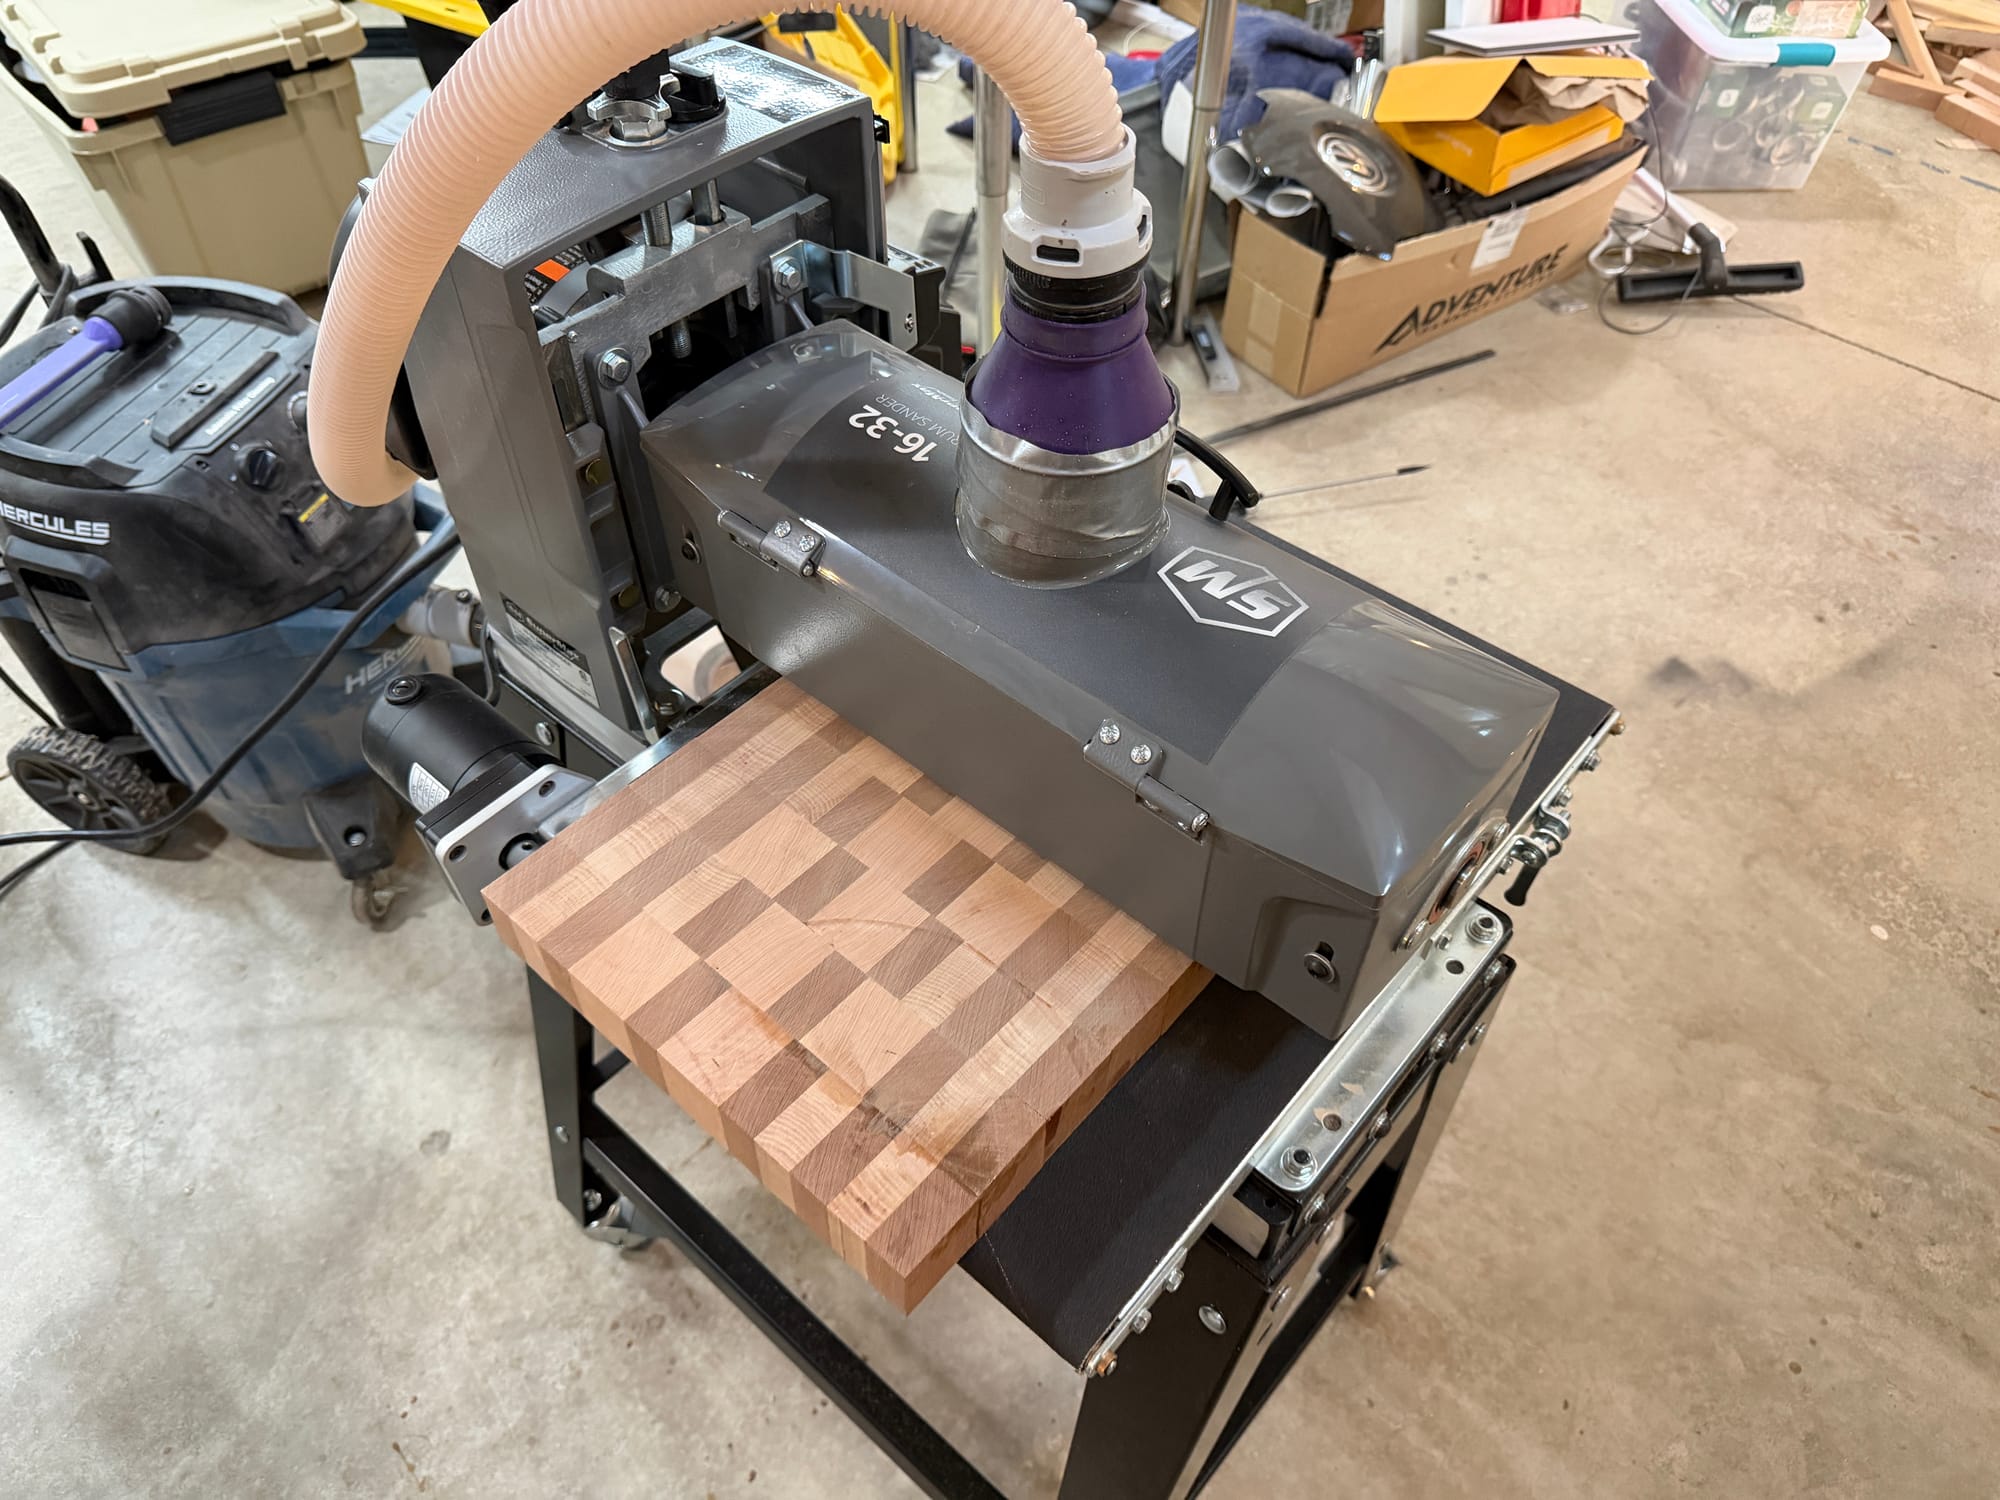
End grain boards can't safely go through a planer, so instead I take light passes in my drum sander with 80 grit paper until the board is nice and flat top and bottom.
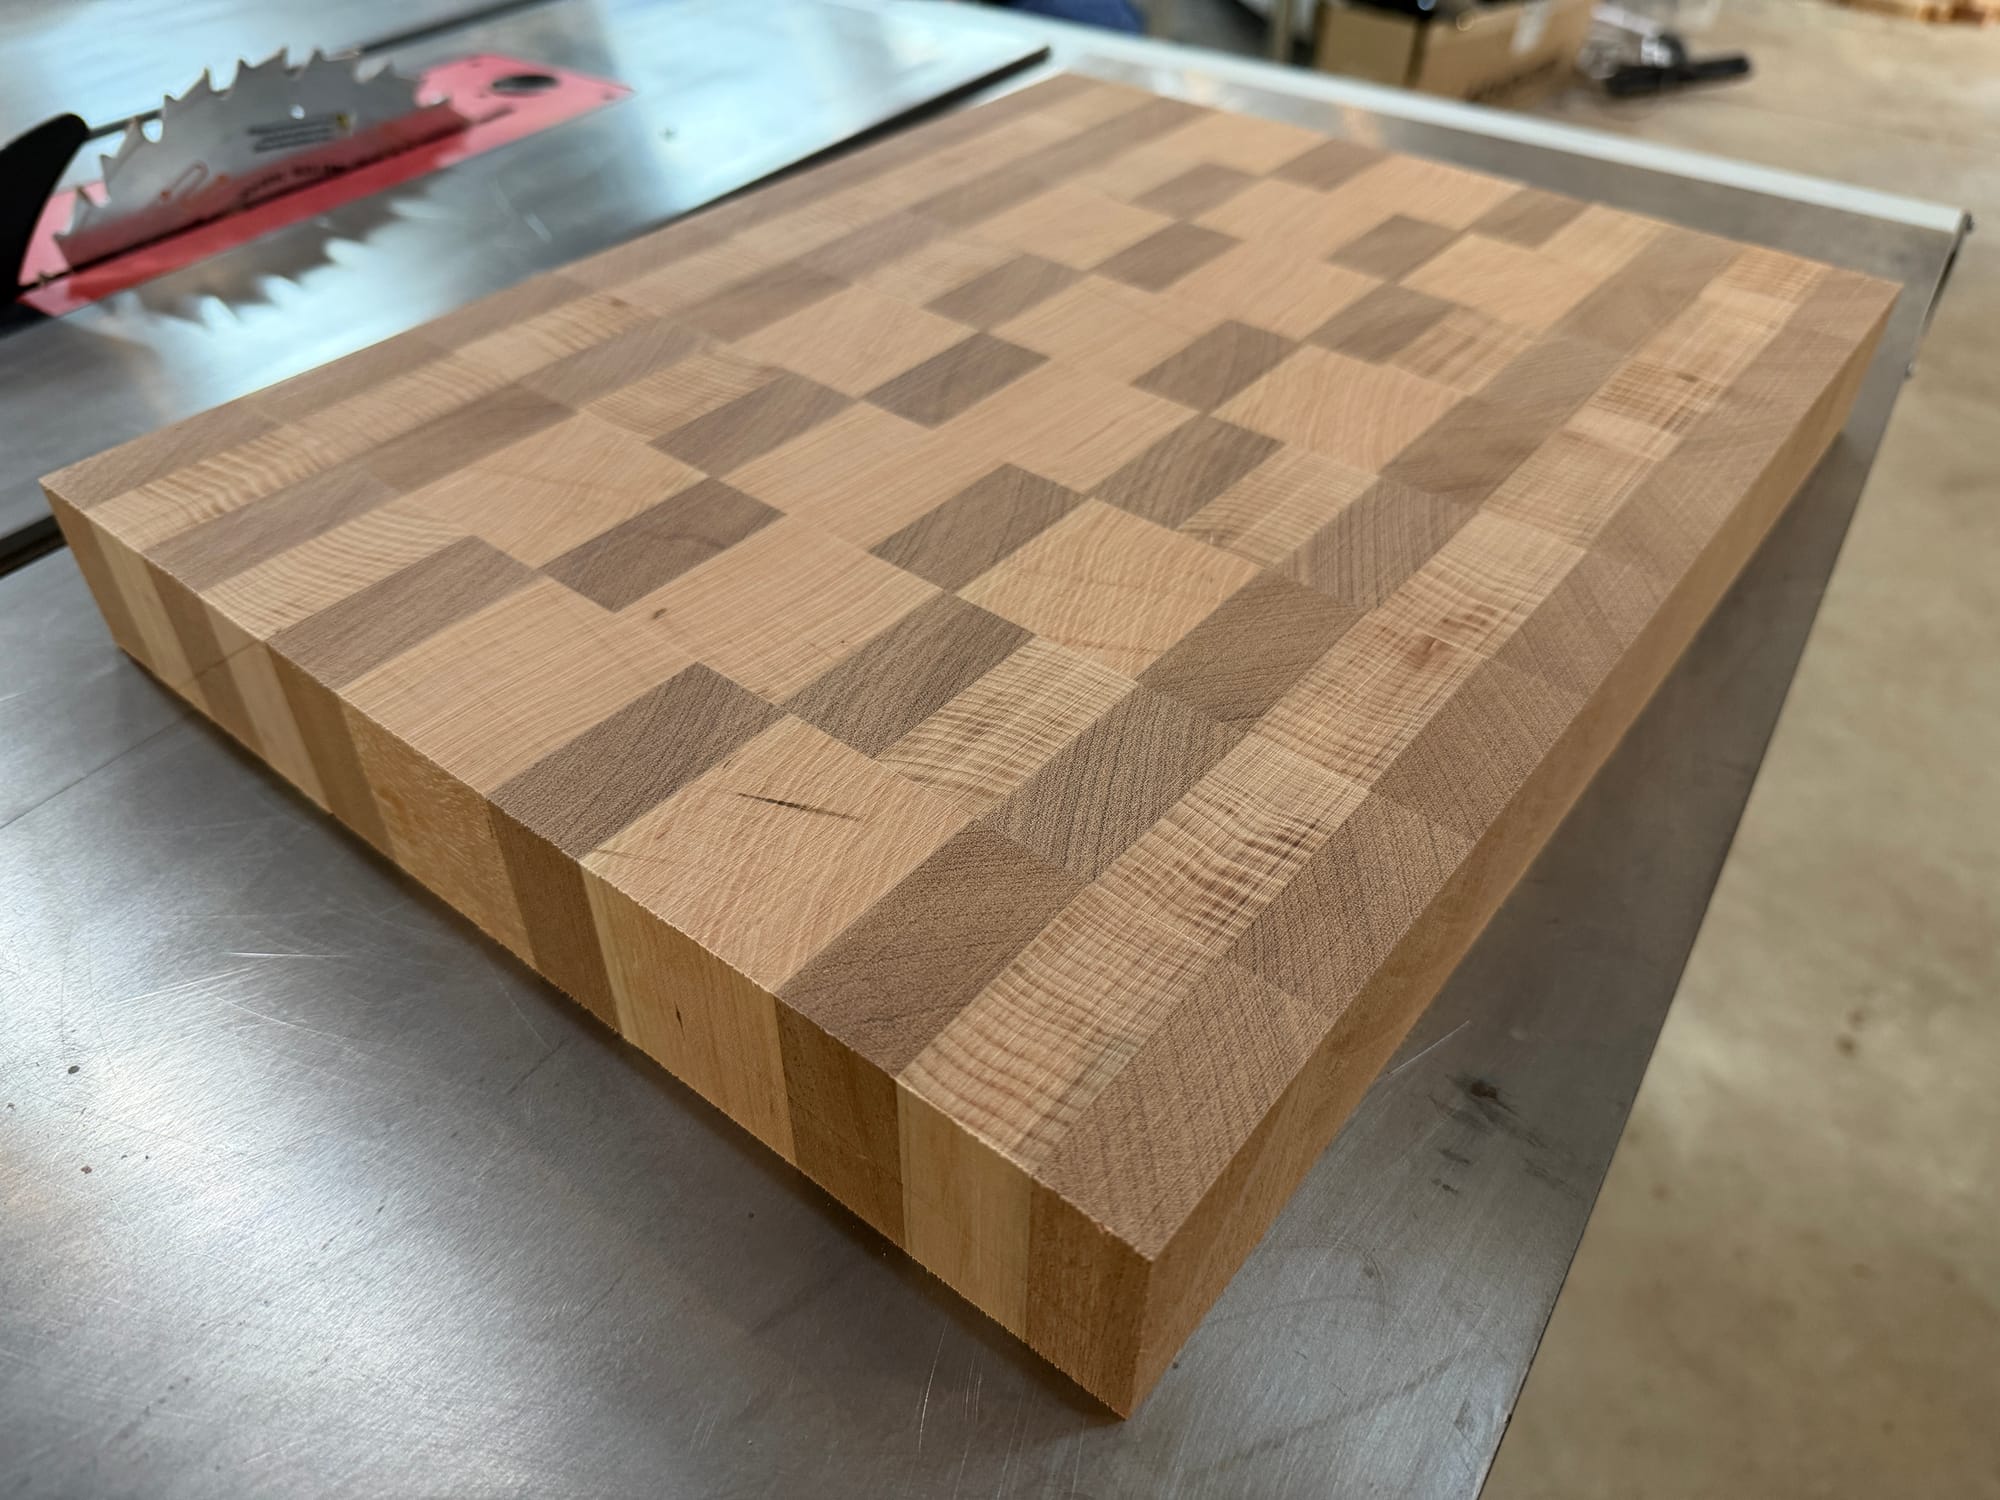
The board in early stages of sanding
Using a trim router
Next up is doing some finishing work and I typically get a 1/4" or 1/8" roundover bit to take down all the sharp edges off so they're smooth to the touch. I know a lot of people like to use a router to make a "juice groove" around the cutting board, but I don't like how they reduce the cutting area of a board (and I rarely cut freshly cooked steaks on mine).
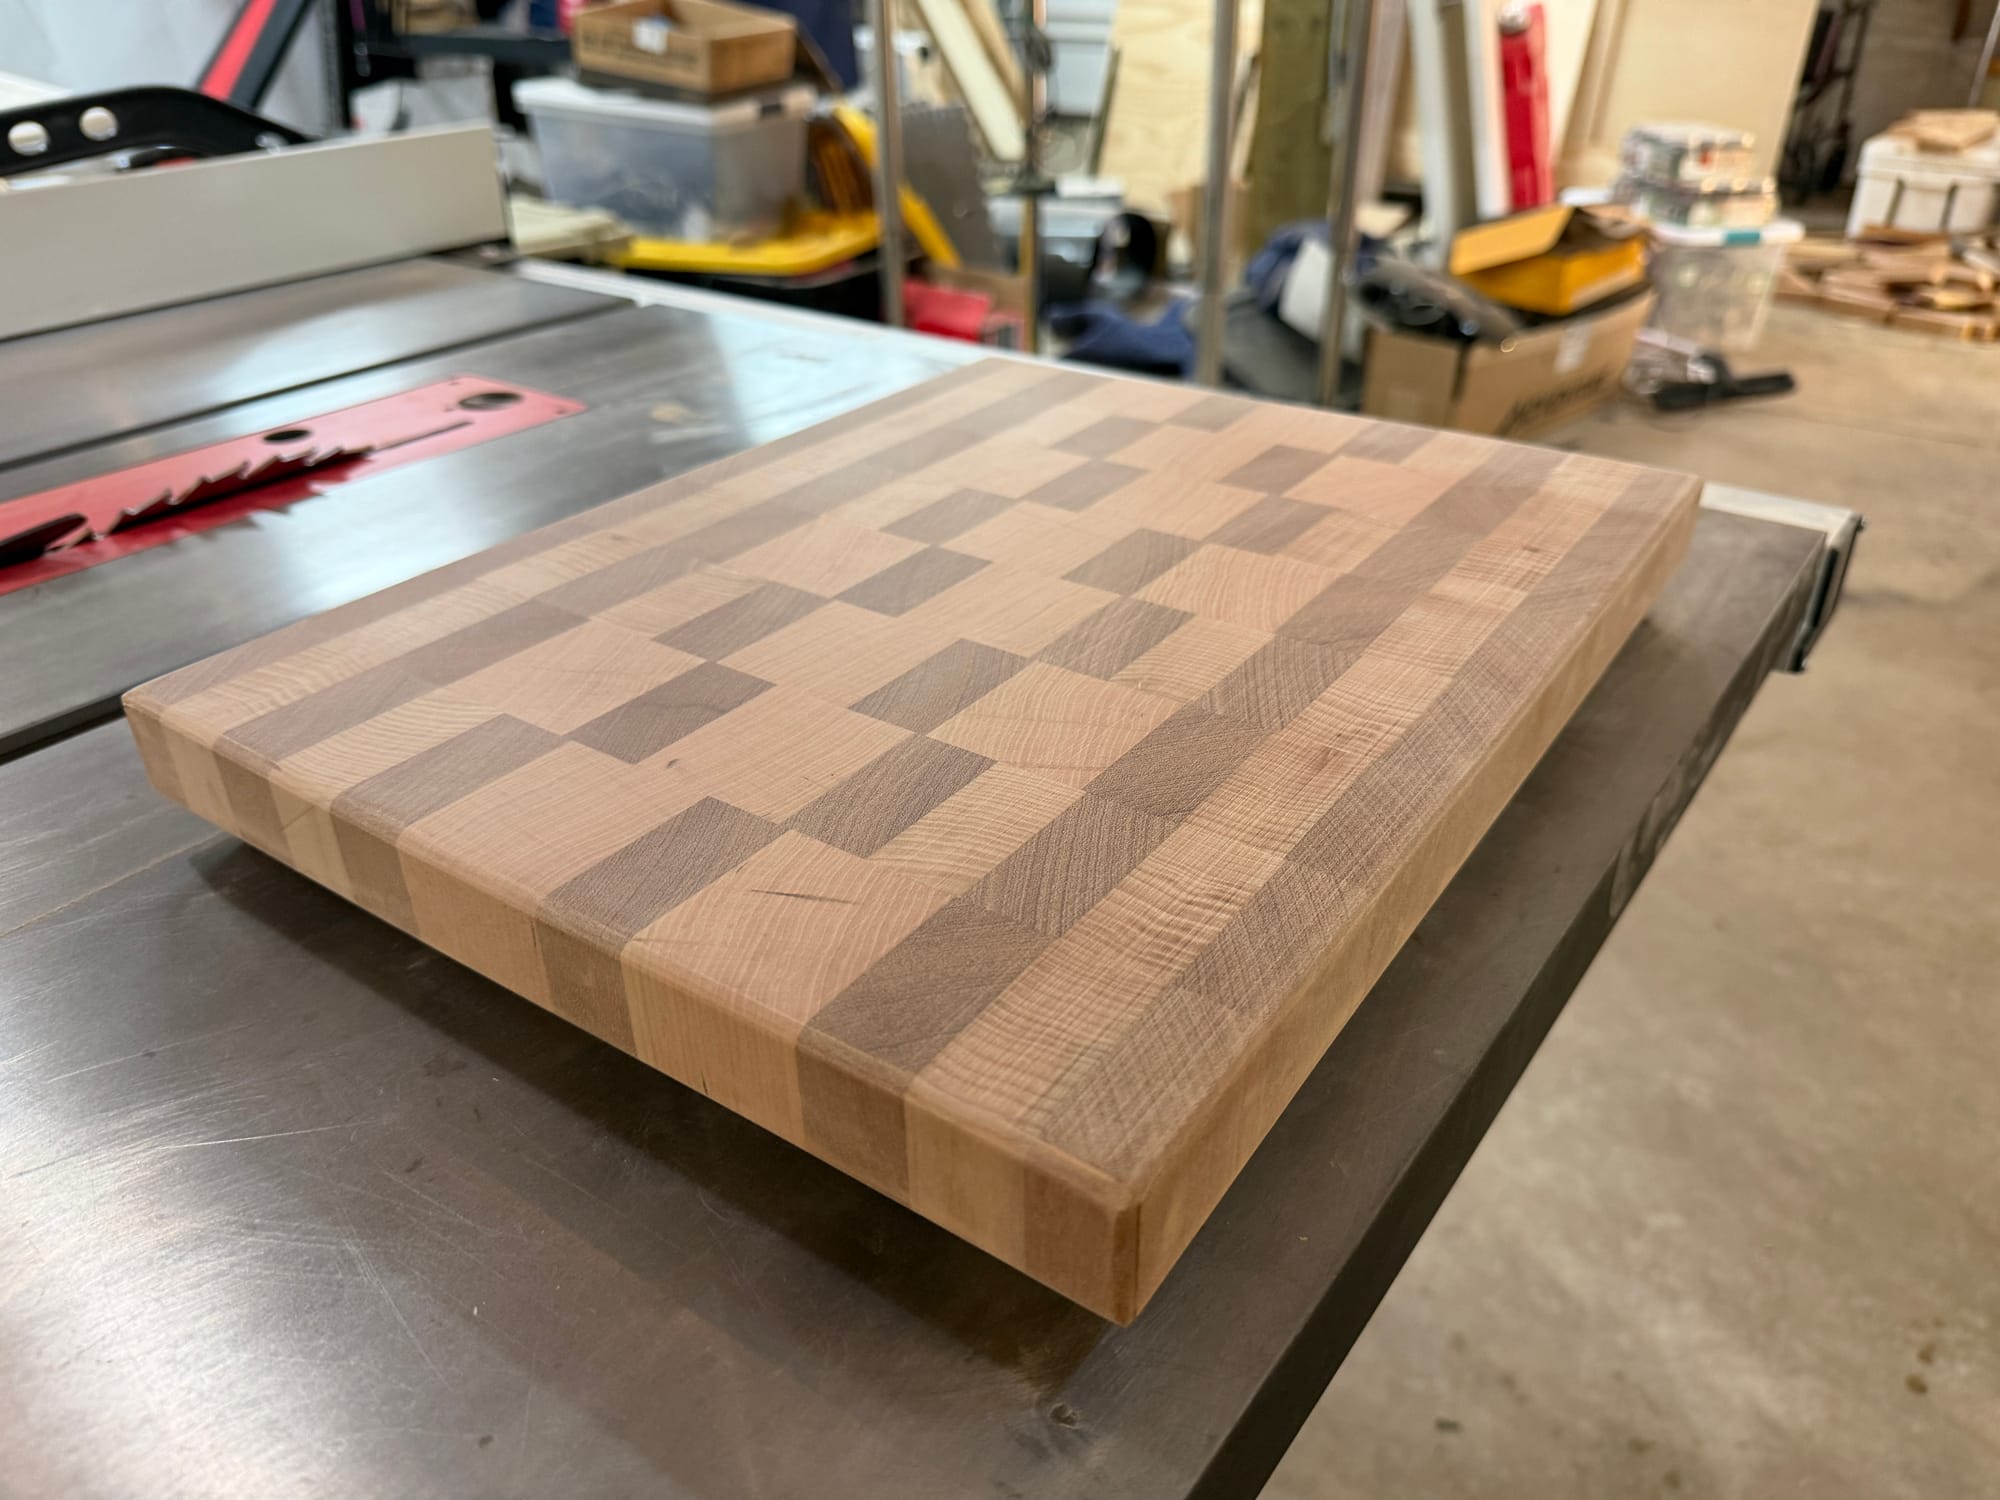
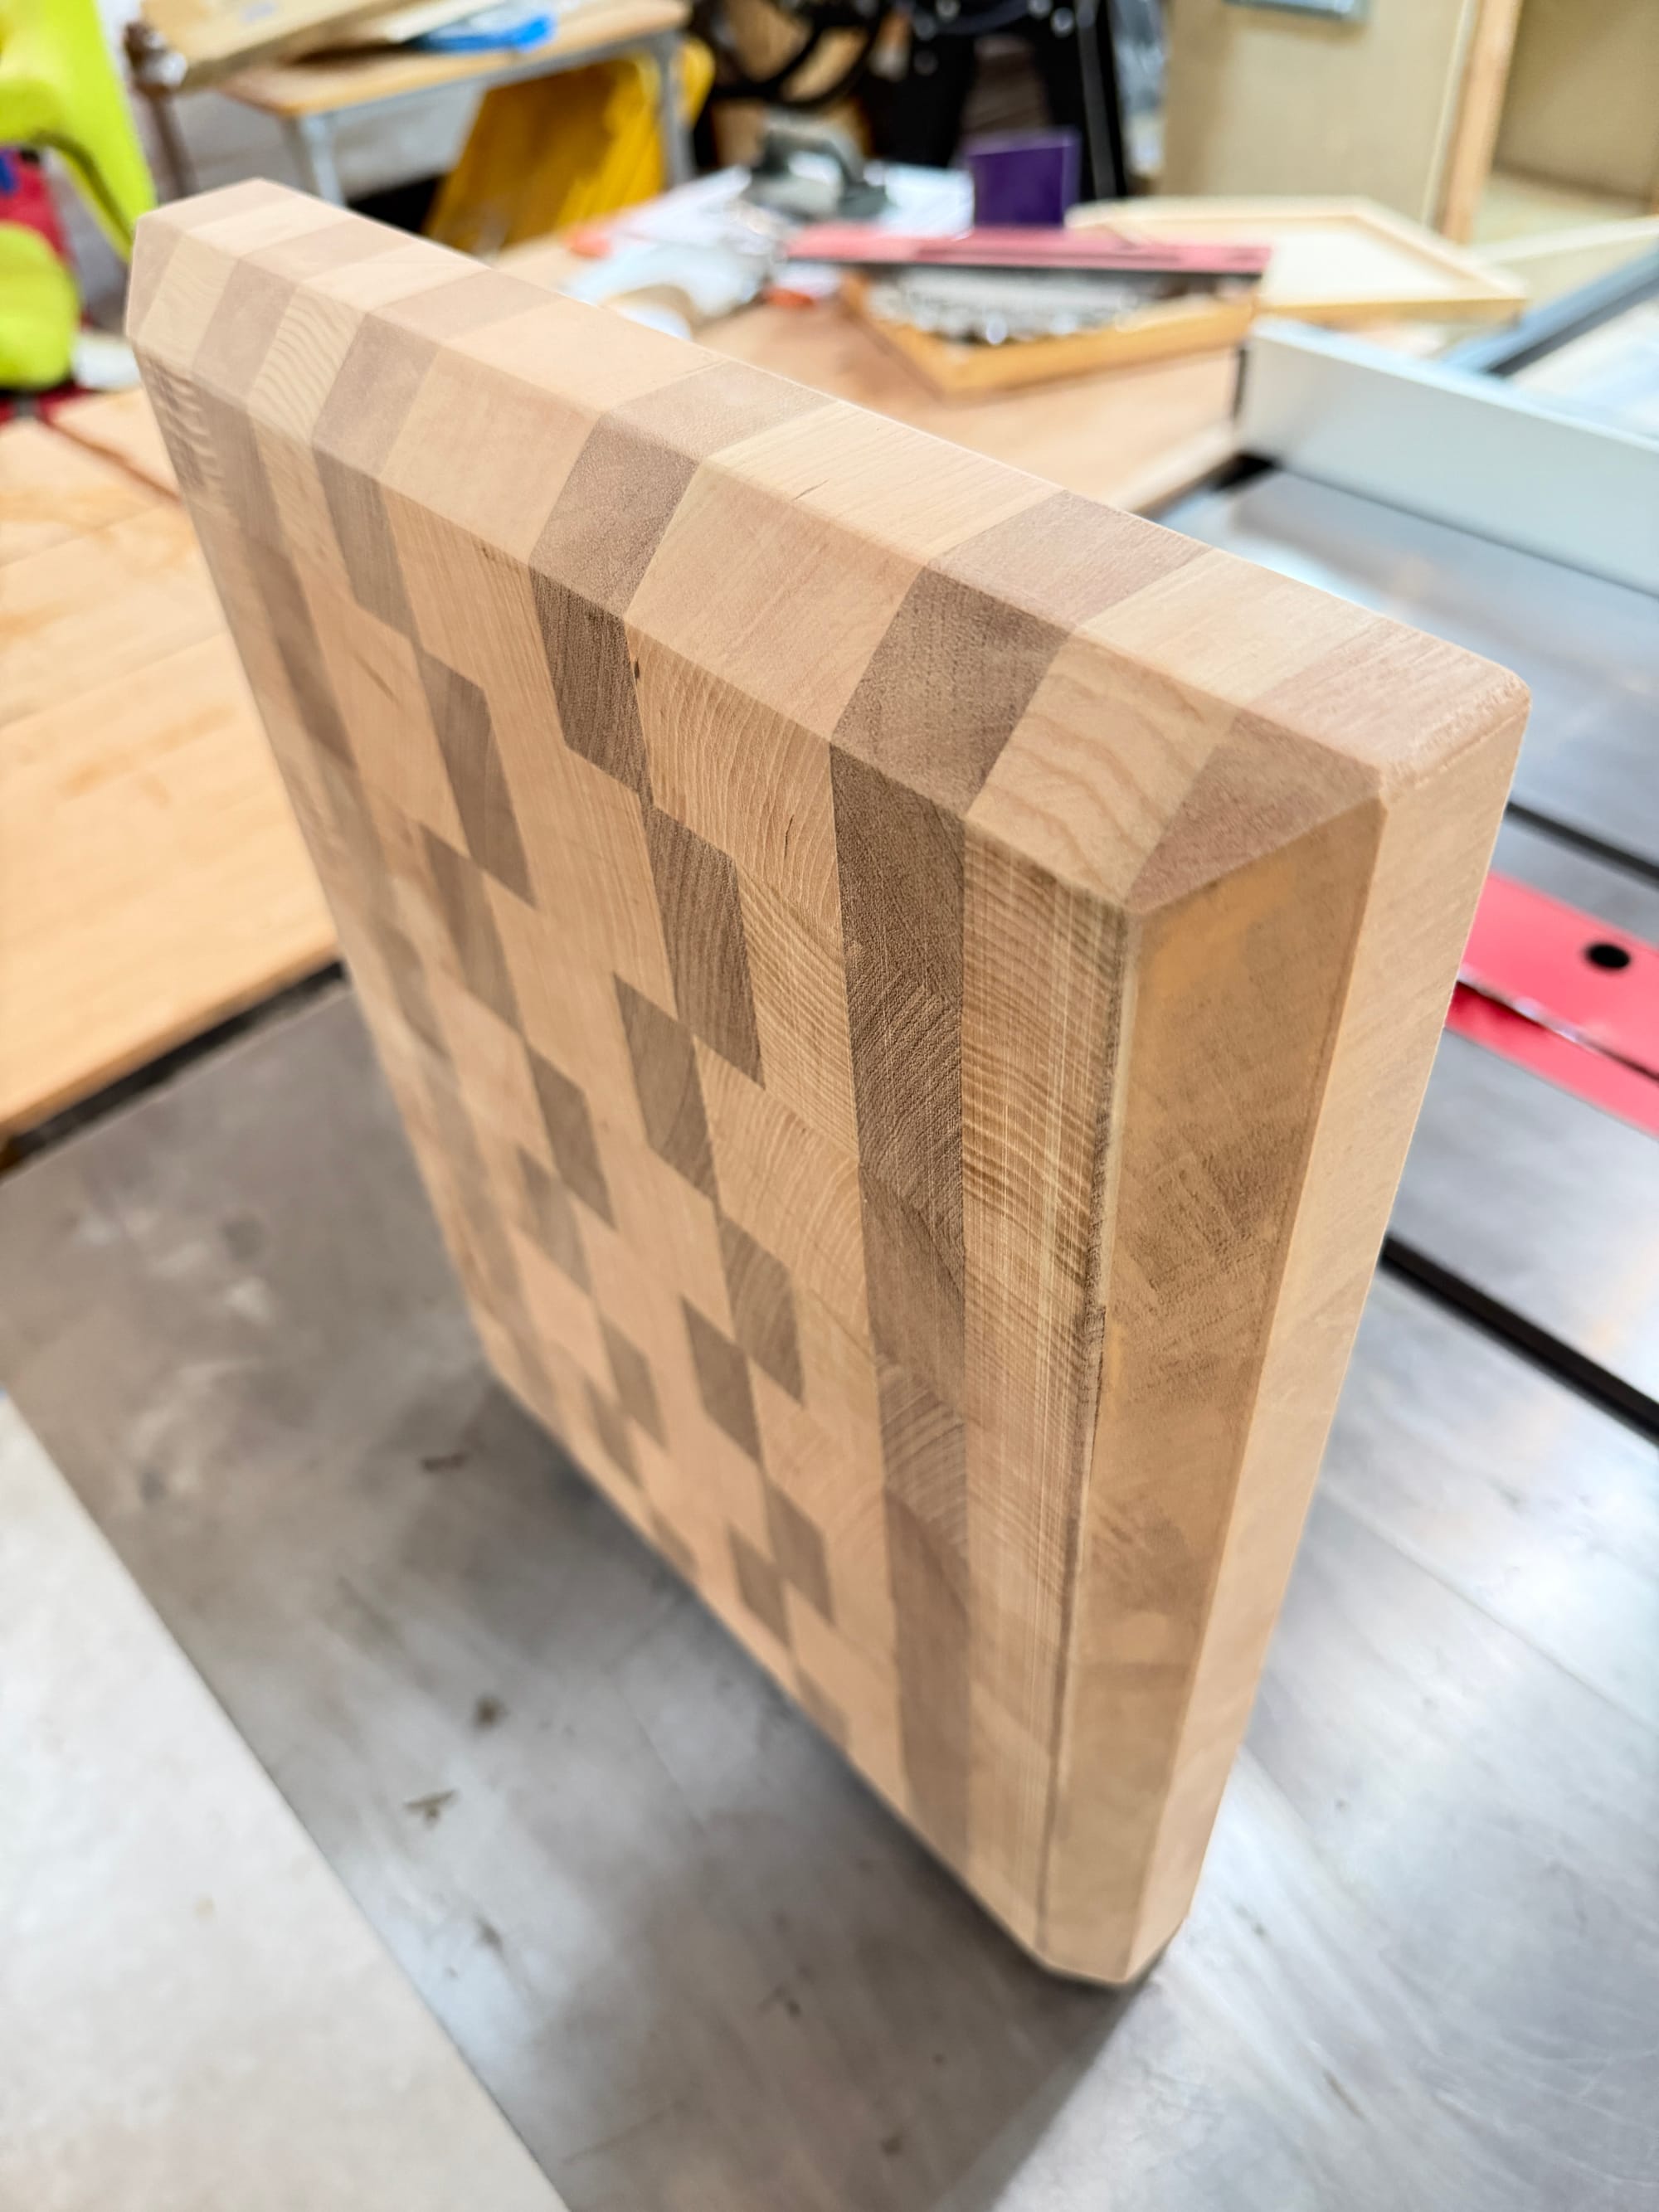
A router bit knocks down all the sharp edges and the bevel at the bottom makes it easy to lift off a counter
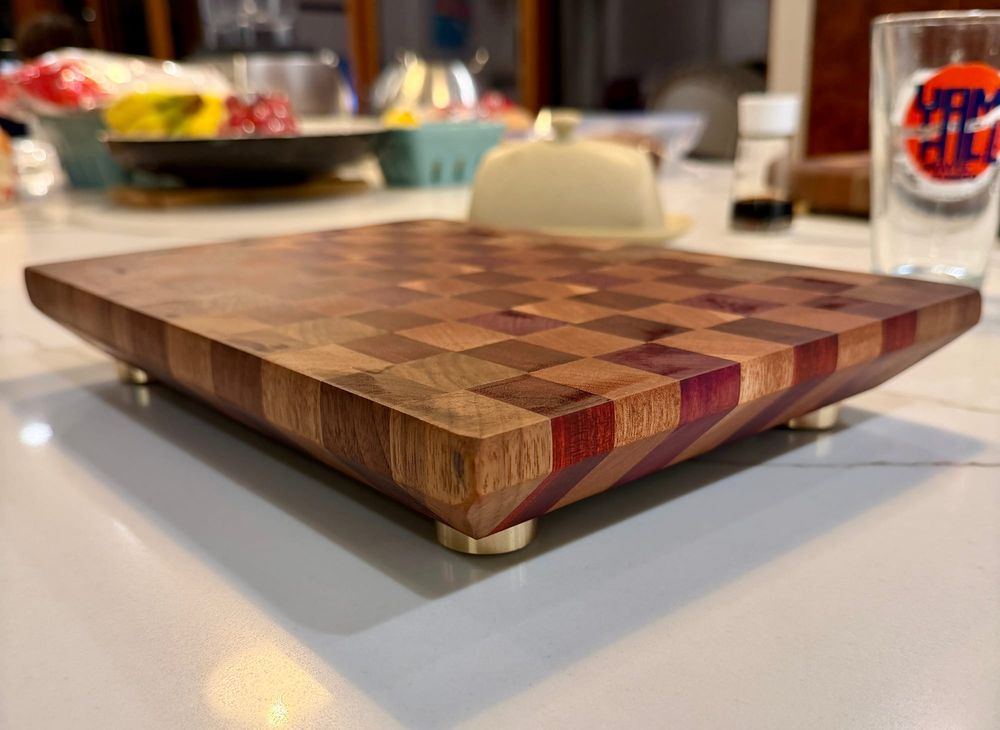
I like being able to quickly pick up a board so I add 45º bevel cuts on the bottom edges all around.
Back to the grind
Next comes the orbital sander, done by hand. I go over the board completely on all sides for about ten minutes with 120 grit sandpaper, then 180, 220, and then 320 grit. In the end, it's as smooth as a baby's skin.
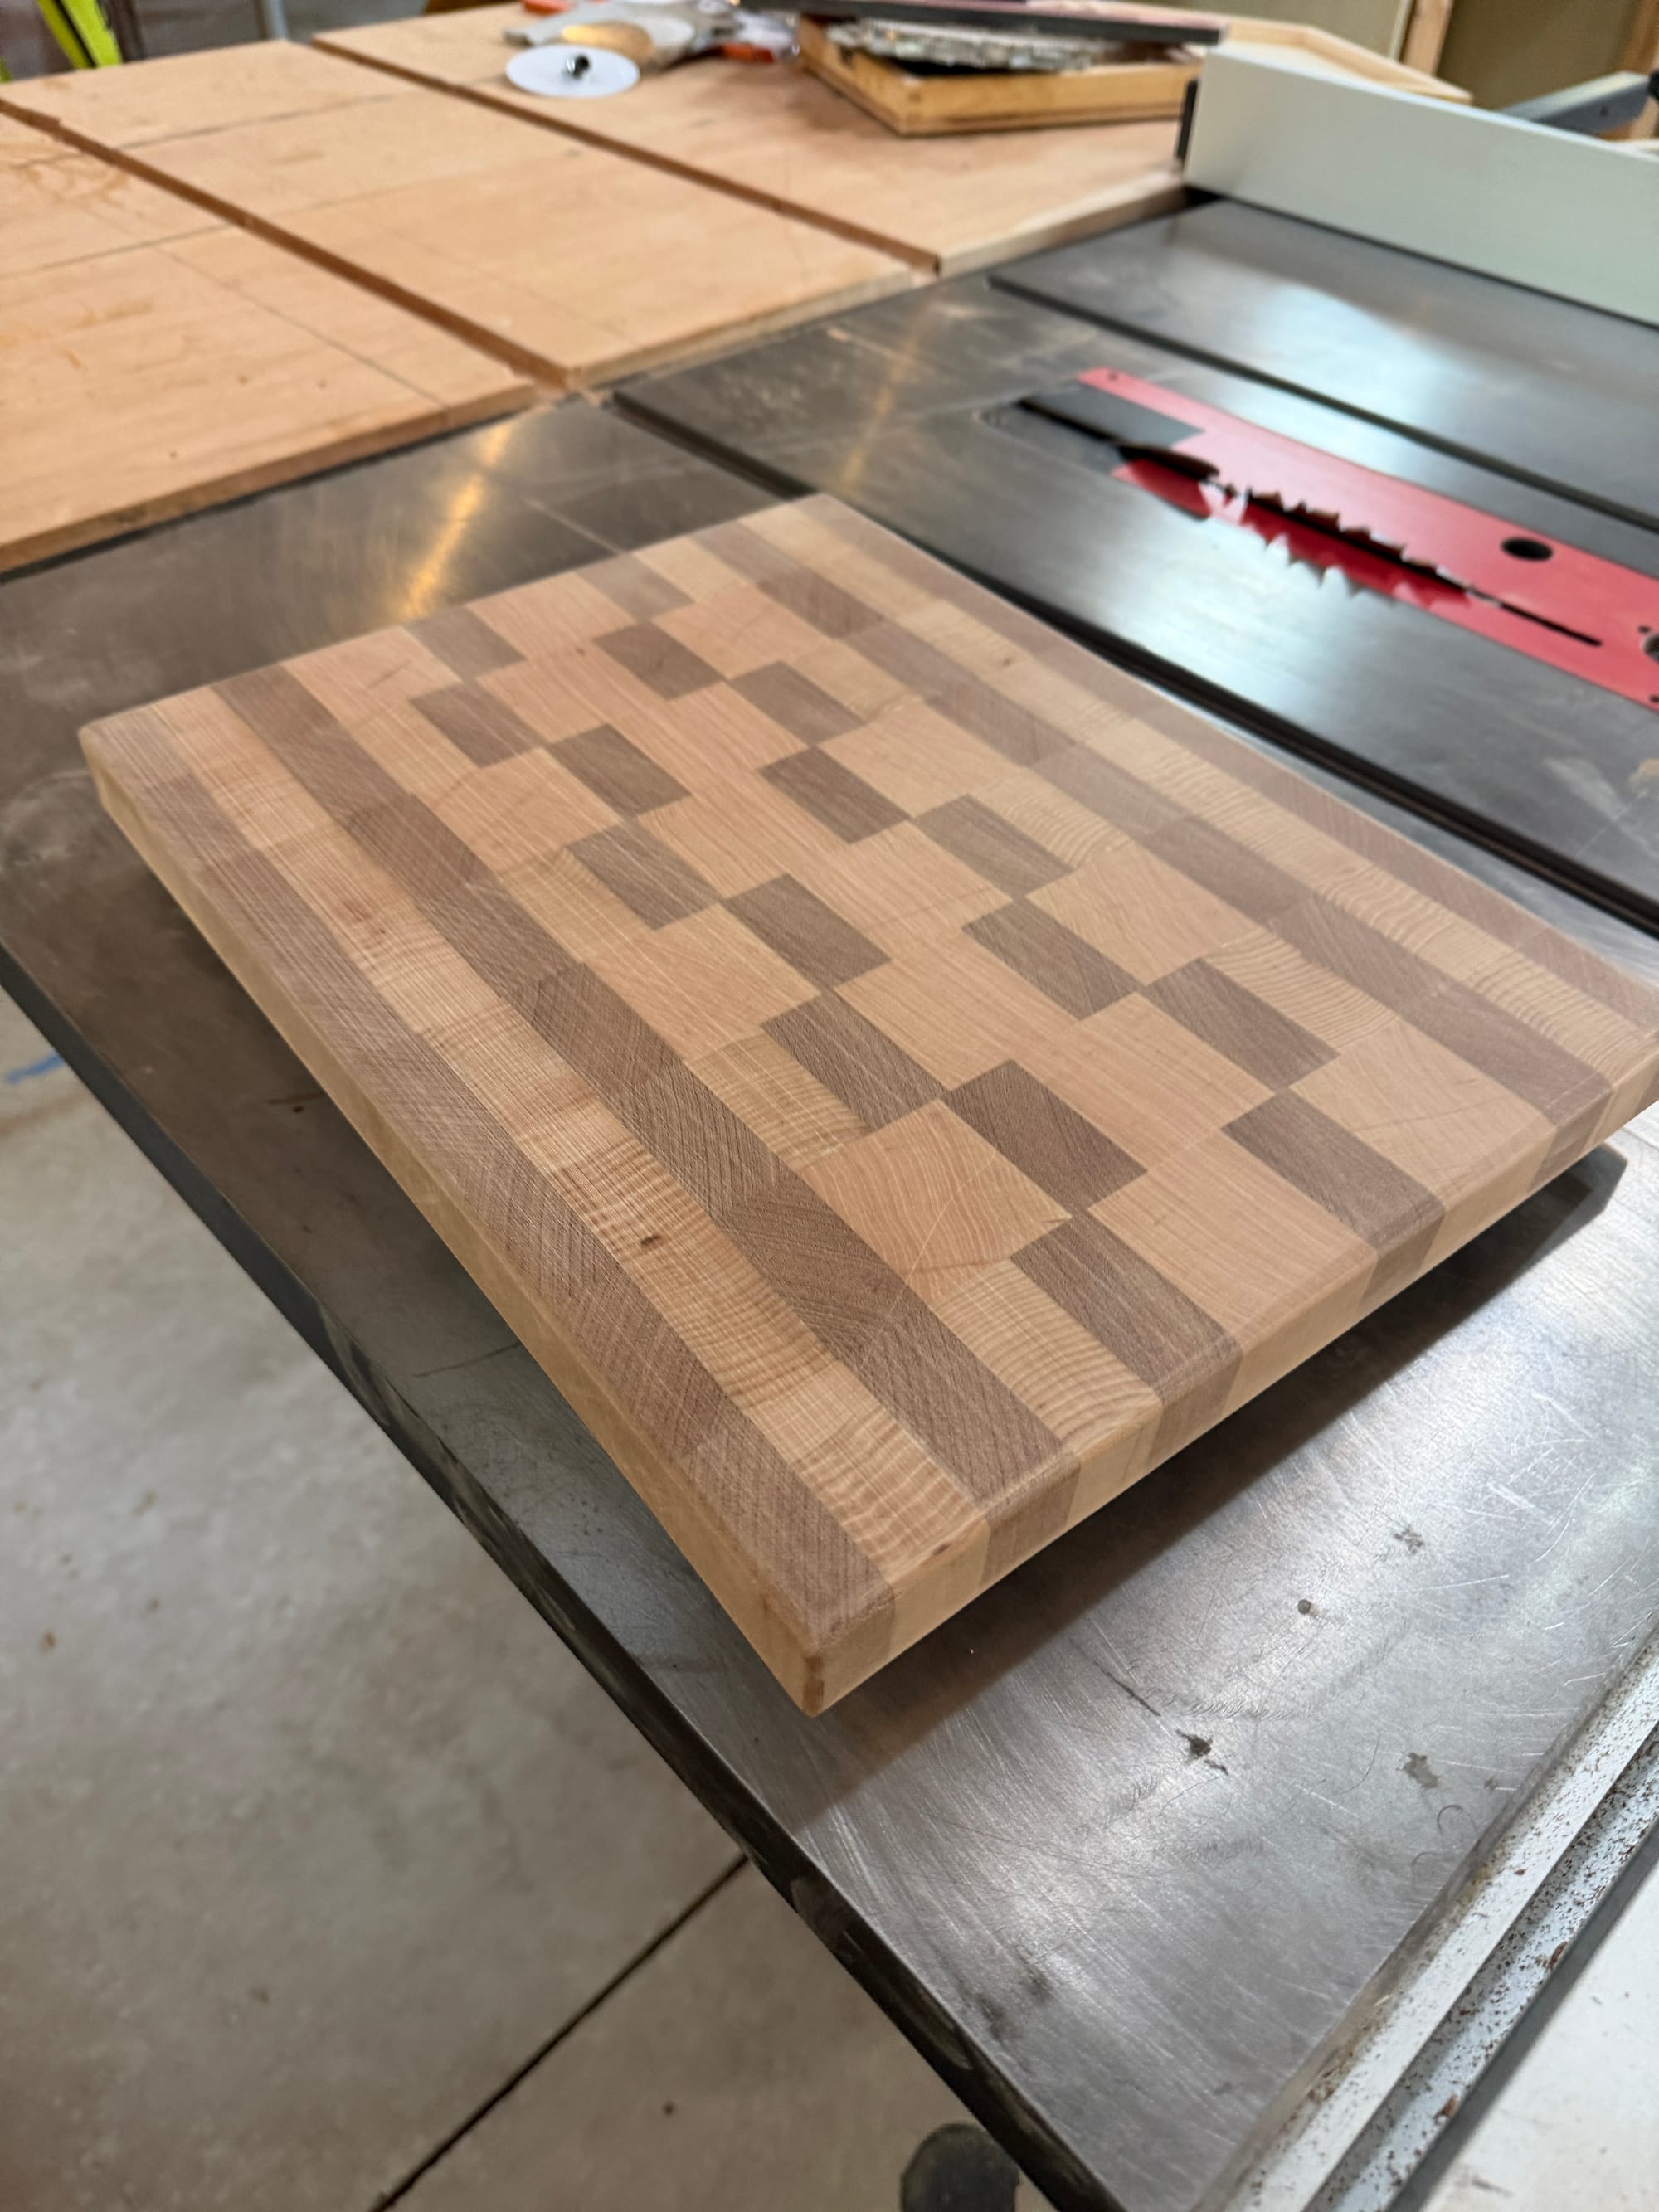
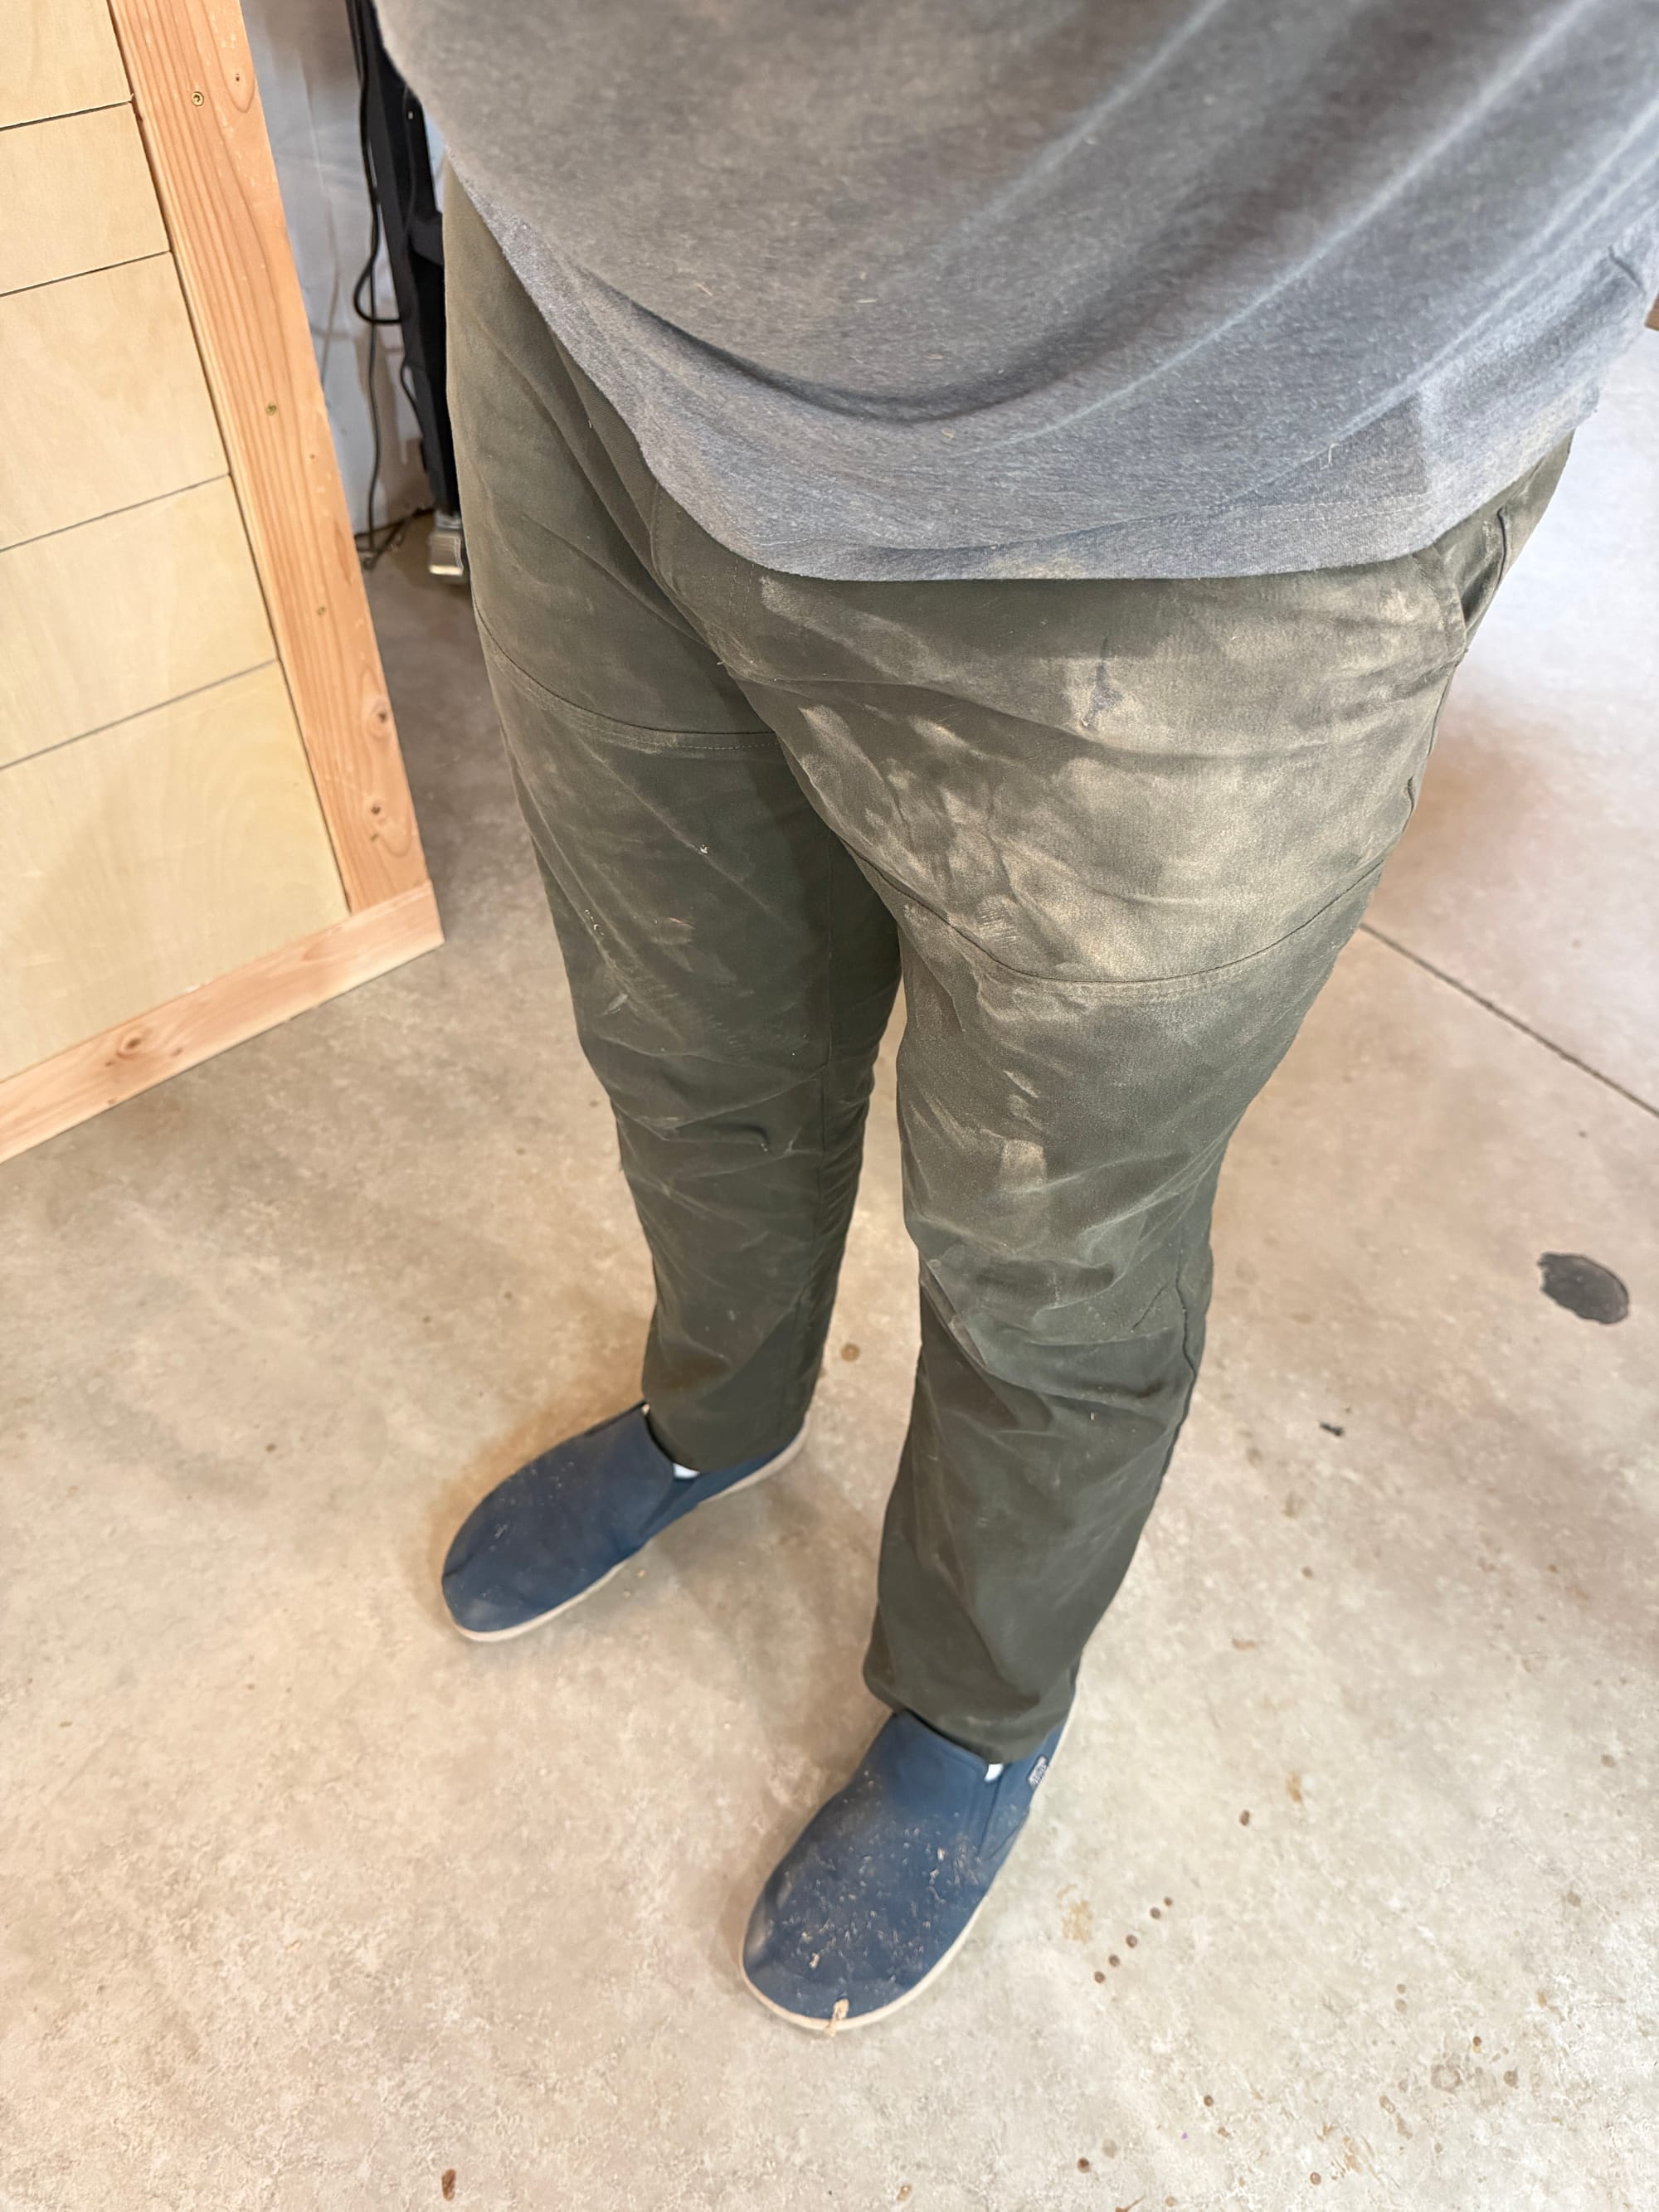
The cutting board when it's all sanded up and the aftermath of what my clothes look like after a couple hours of sanding
The last thing you need to do is "pop the grain" by spraying your board with water, letting it dry out for a few hours, then coming back to a board that will feel rough to the touch. Doing this exposes your board's wood fibers and lets them swell from the water, but then you hit it with 220 and 320 grit sandpaper as a final pass, to make everything smooth again. This step is important because you want the board to stay smooth under real-world use, which includes washing it daily.
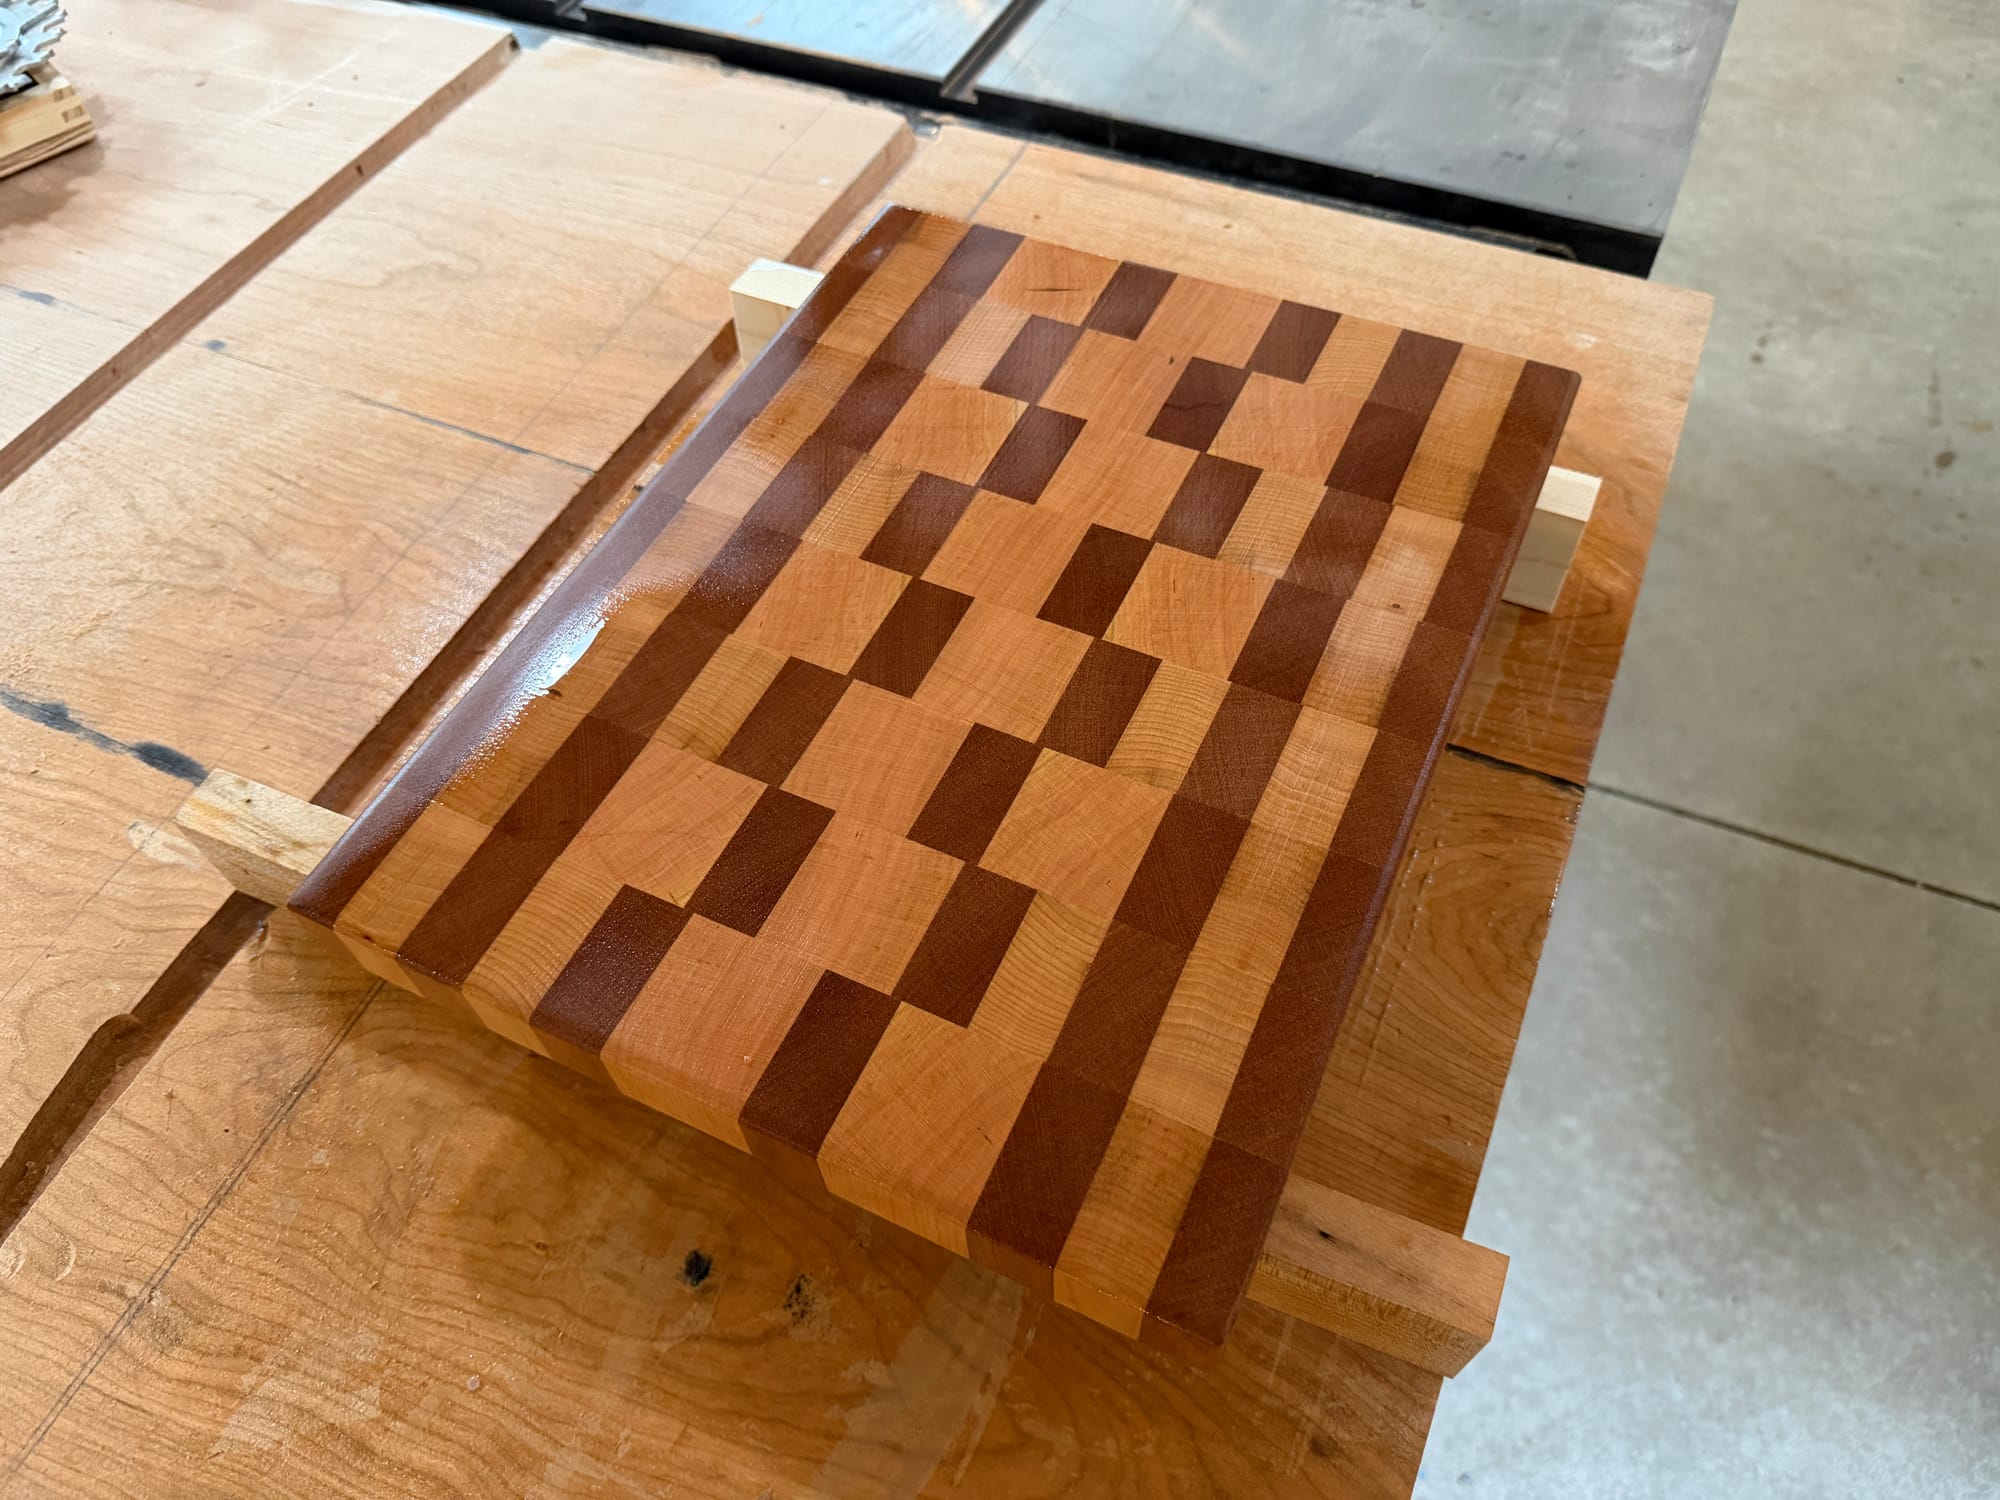
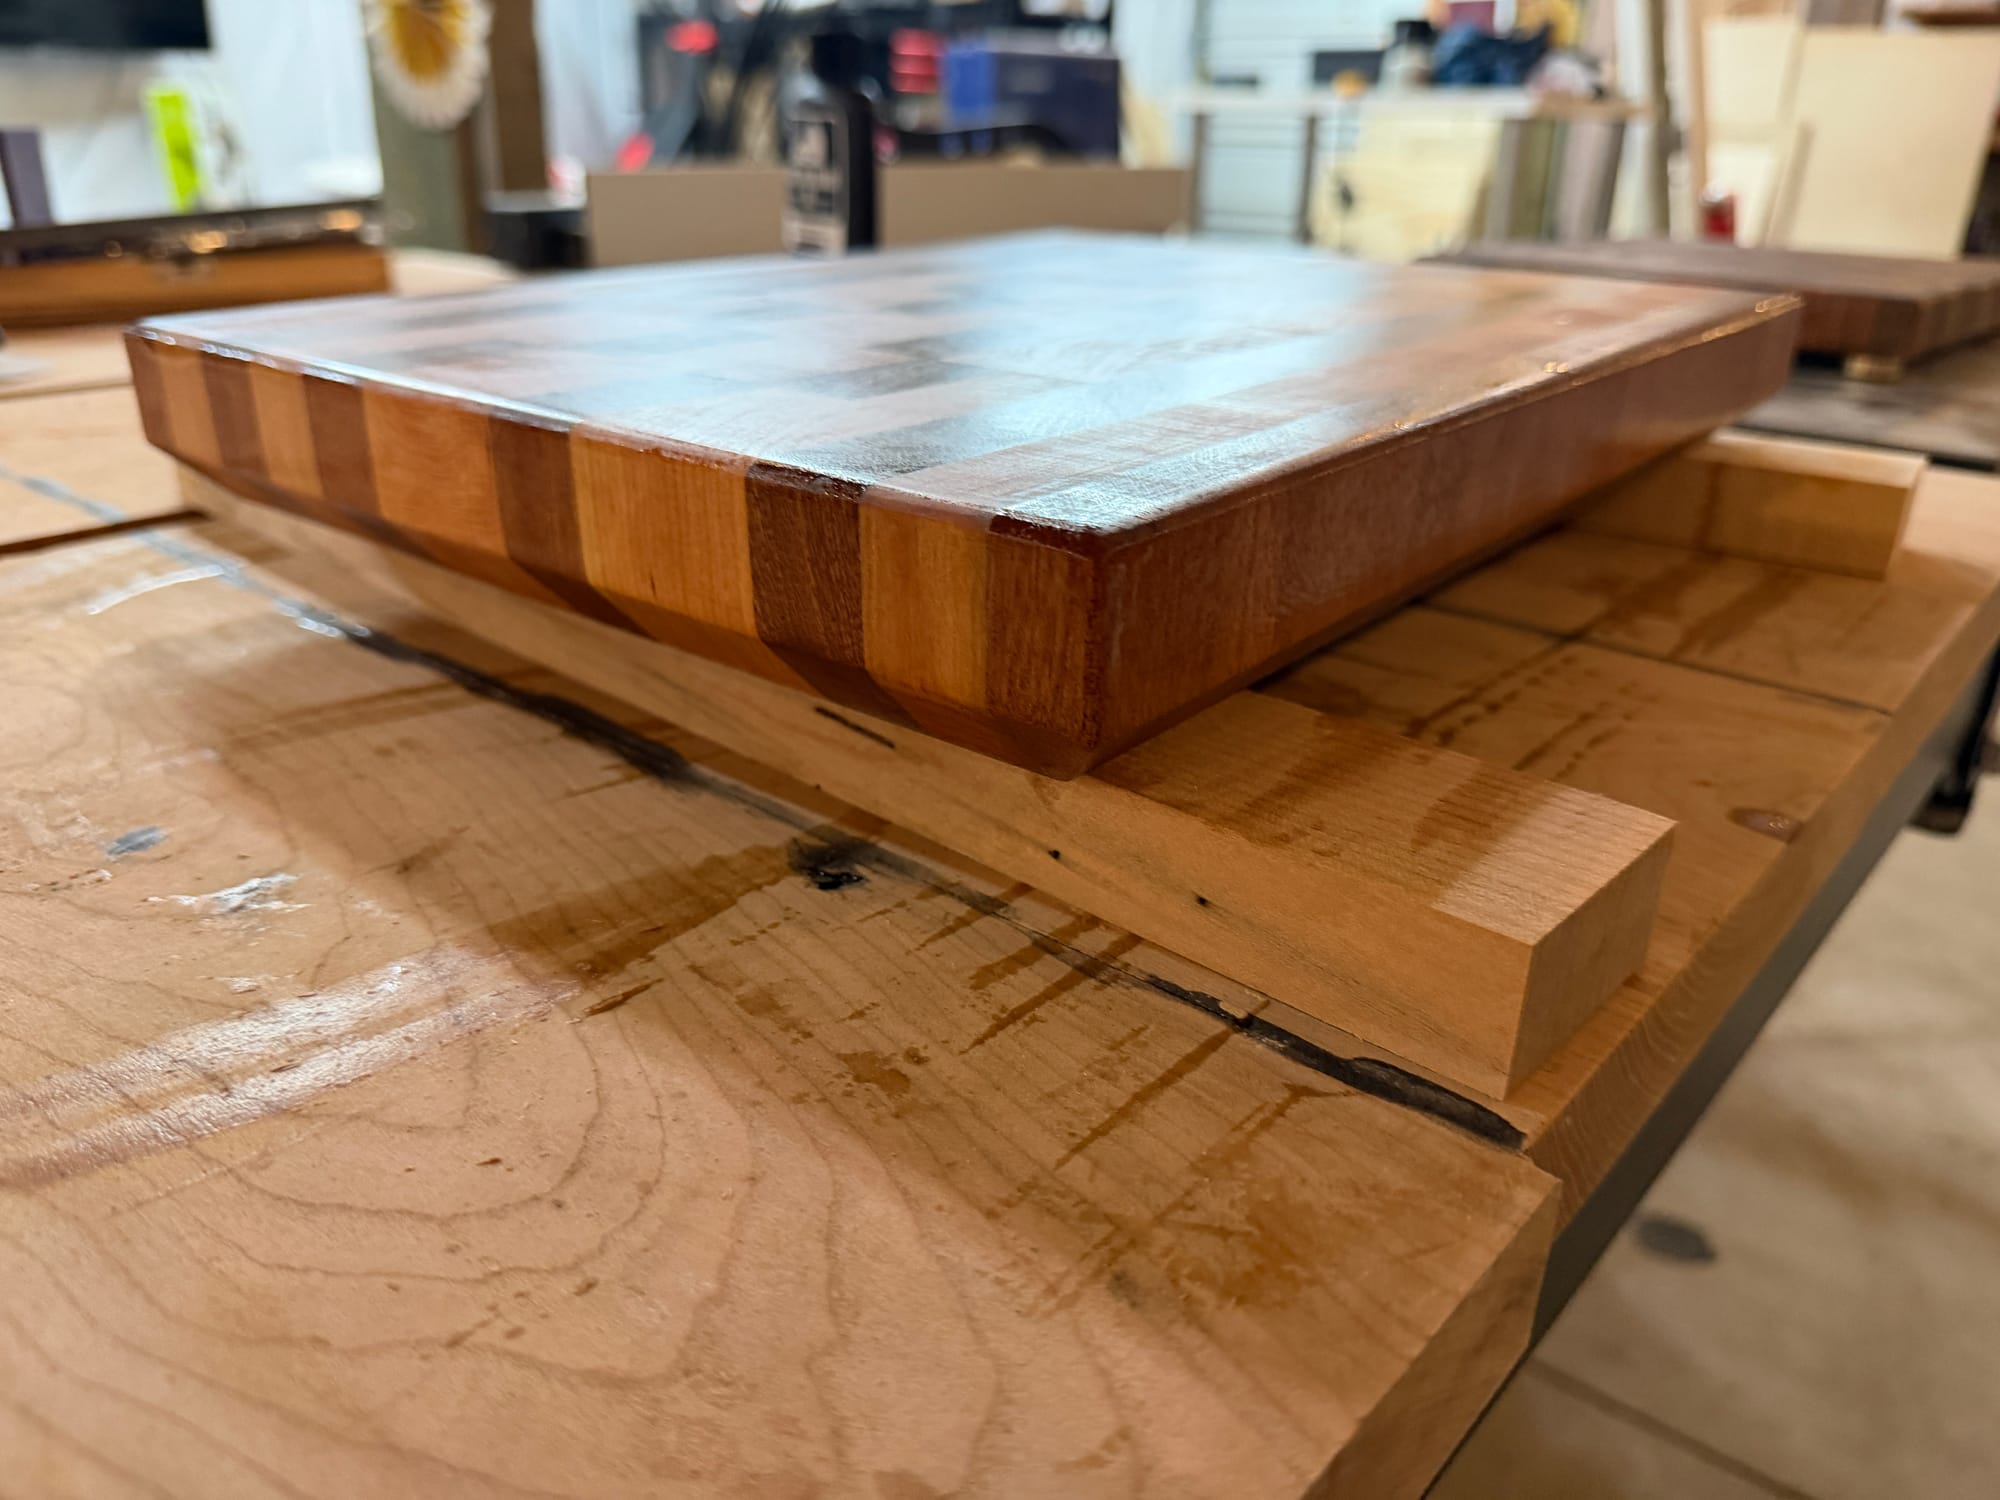
Popping the grain with water gives you a first glimpse of what a final finish might look like
Final steps
The last thing to do is put a food-safe finish on it then attach some feet if you want it to be really stable on a countertop. I tend to use an oil mixture called Walrus Oil, which you wipe on, leave overnight, then buff off the excess. The wood will stay sealed for about six months. If the board ever looks dried out, you can give it another light coat of Walrus Oil, or you can use food-safe beeswax to lock in an oil finish longer.
Then I put some feet on it, and I really like the look of brass feet that have a rubber o-ring underneath to grip a countertop. The shiny brass really pops against dark brown walnut wood.
A detail I added to the wedding gift board was finding an Etsy seller with a laser engraver who could make a 1" brass coin with a custom design on it. I grabbed a SVG file of a tree, put in my friends' names and the date, and a week later for about $20 I had a custom medallion shipped to my door. I used a 1" forstner bit to drill a shallow hole in the bottom of the board, then used epoxy superglue to drop it in forever.
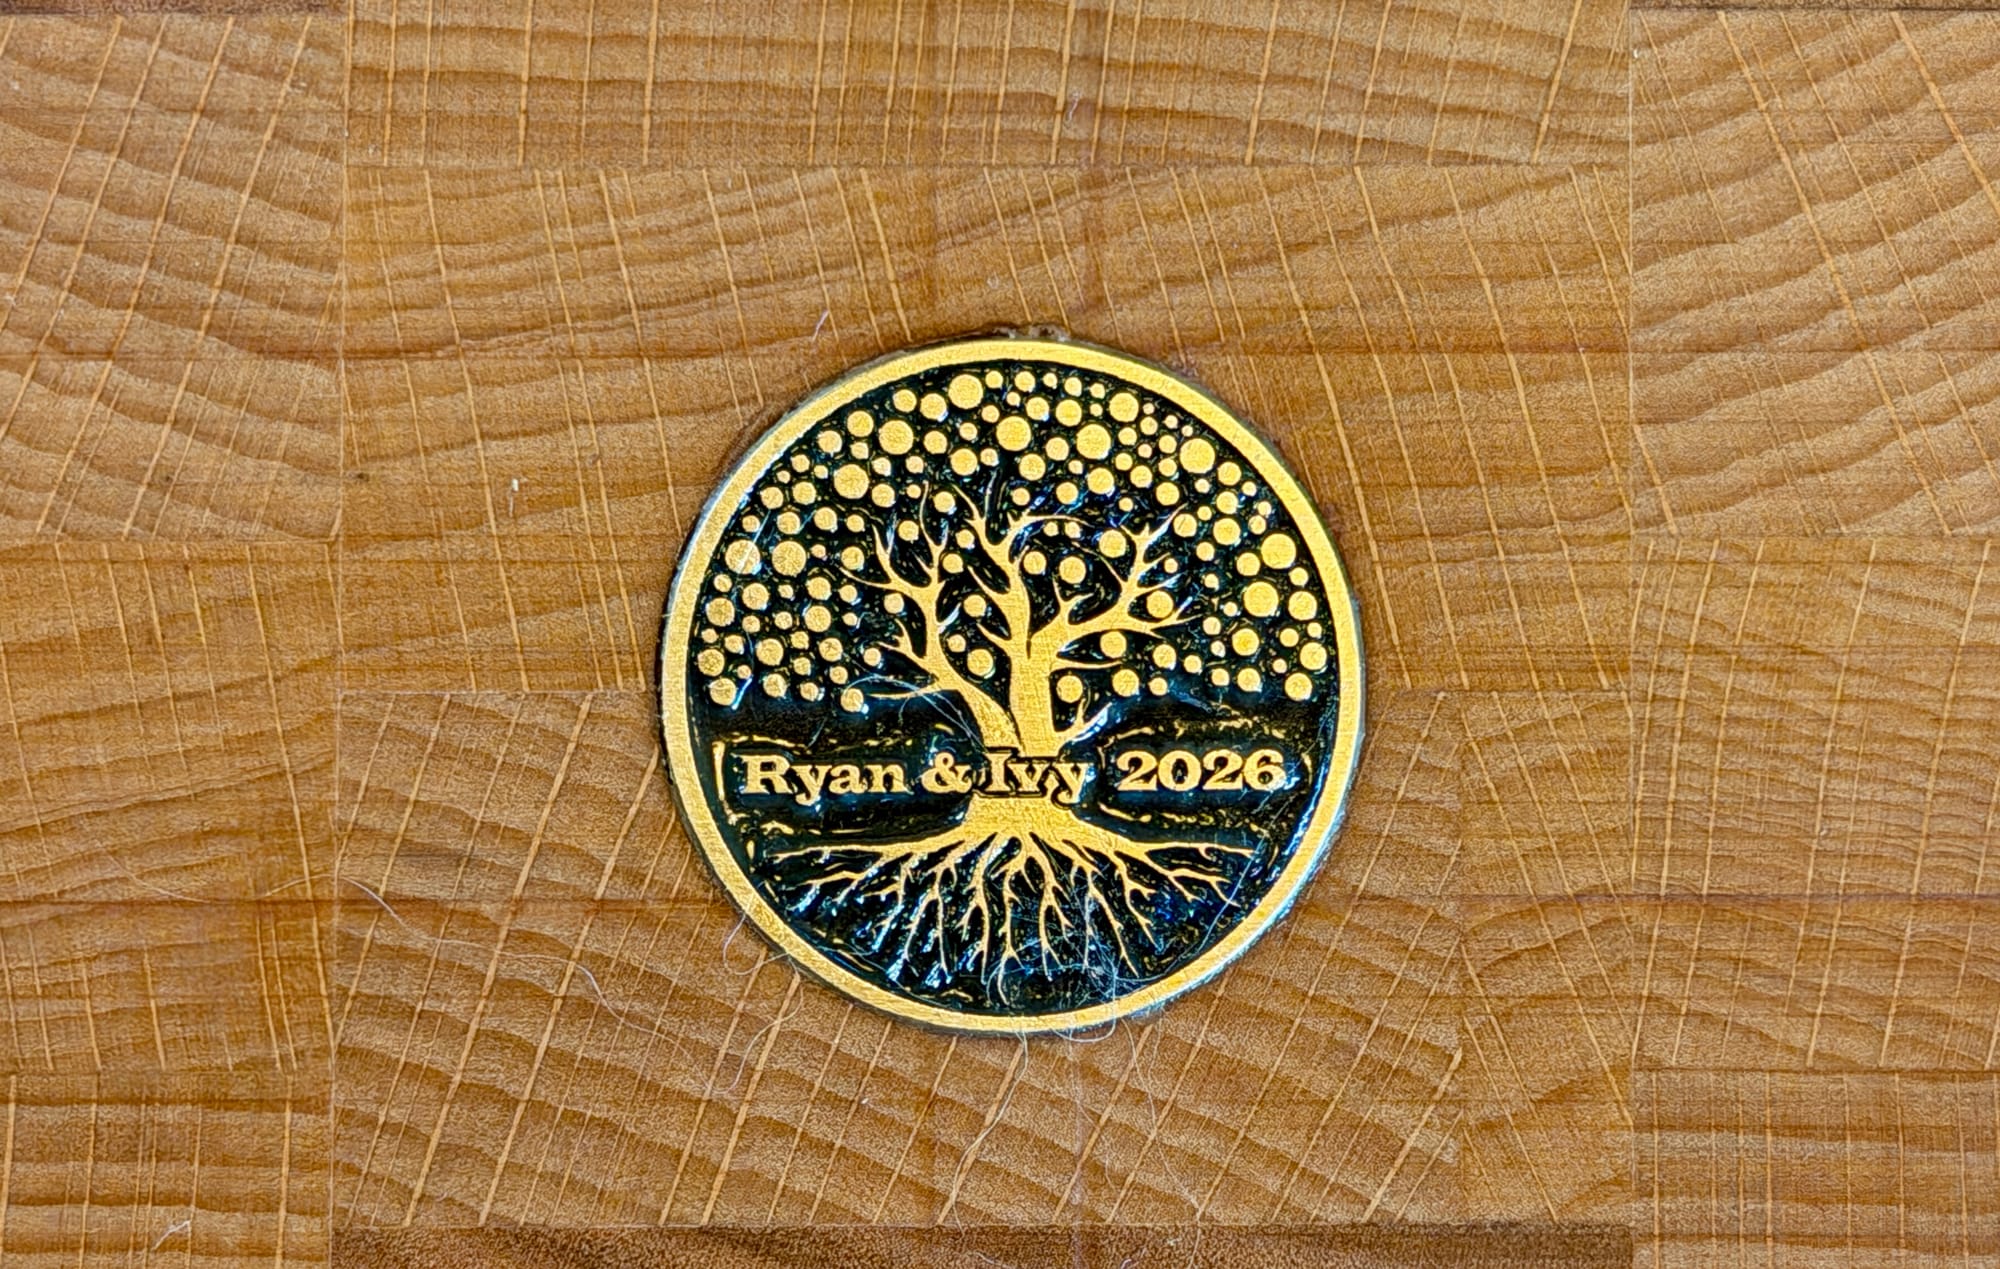
Lessons learned, going forward
I've made half a dozen boards now and I really enjoy using the first one I made in my own kitchen. Here it is with a fresh coat of oil after six months of daily use.
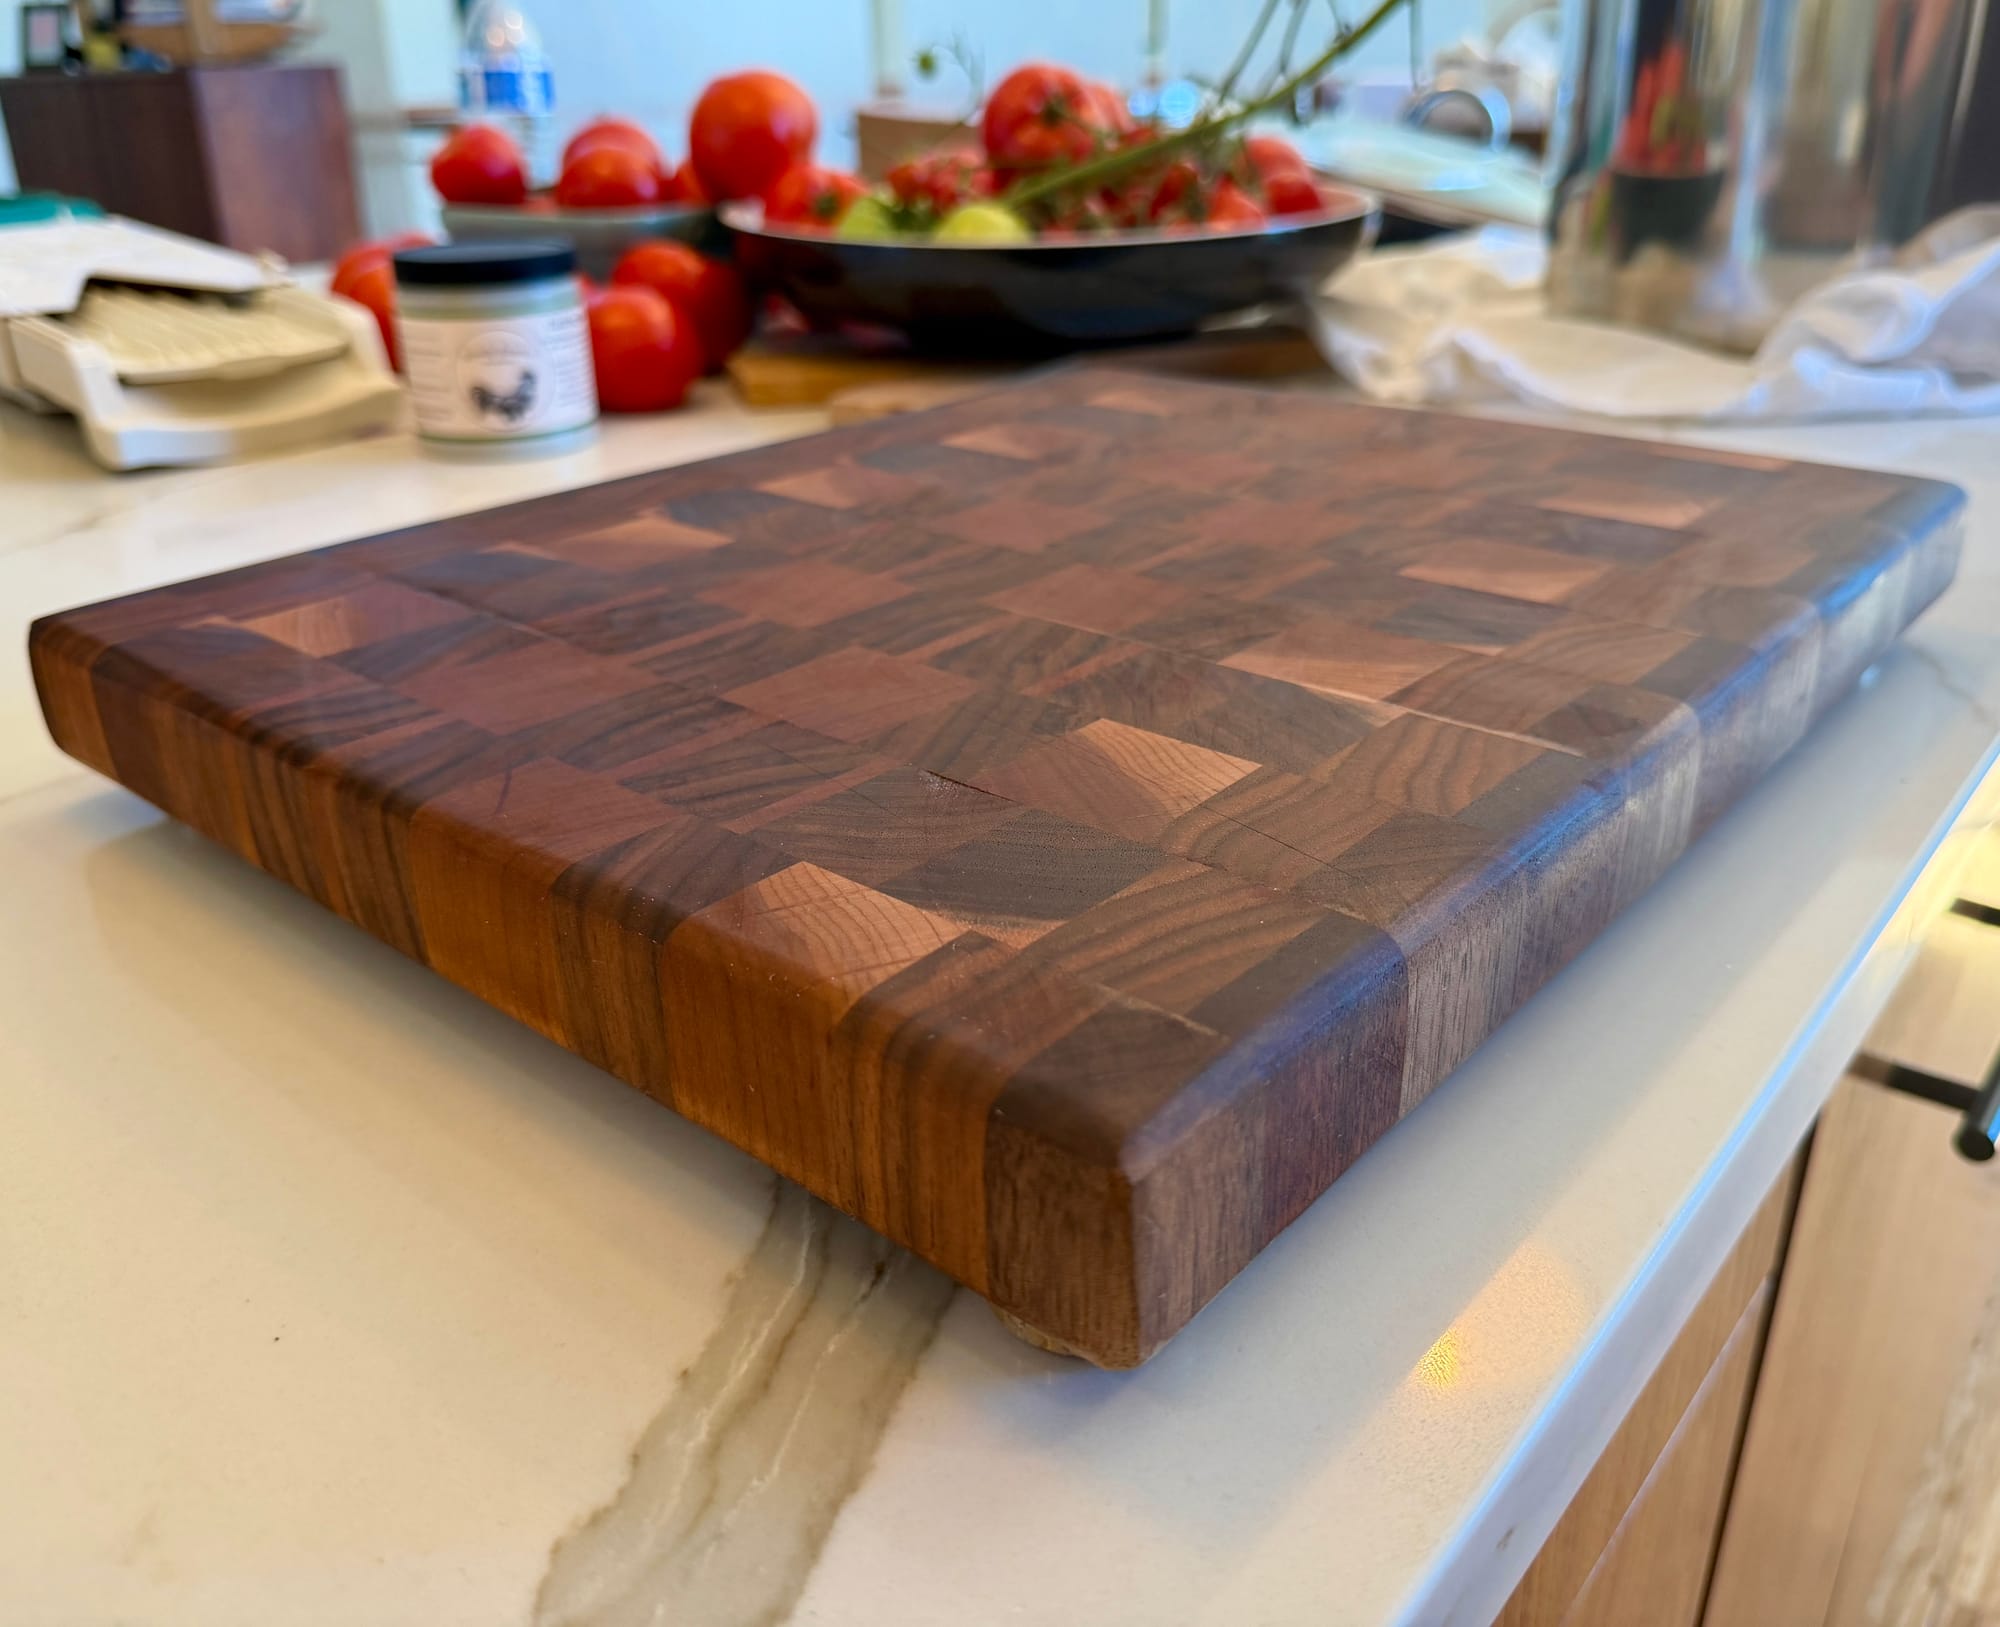
I made a few boards with checkerboard patterns, but in the future I want to try making some with more variety. I plan to do chevron patterned boards next. For that design, when I cut down the wide boards initially, I'll cut a 65º angle on the strips before the first glue-up to get the intended design later on.
Final thoughts
Making your own cutting board isn't too difficult, and doesn't require a bunch of expensive tools, but having power tools does make the process faster and easier. Cutting boards mostly just require time, since the cutting and assembly is quick but each glue up adds a whole day of drying time and your final finish often needs an overnight to soak in as well. The actual woodworking part and sanding take just a handful of hours in total.
There's a reason why you see cutting boards for sale at every farmer's market these days, because it's easy enough for even beginners to do them well.
But when you make your own, you'll have something useful that you can customize however you like to prep food. You'll also have an endless stream of friends who come over and can't believe you actually made the thing you're using on the countertop.