Crater Lake rim ride
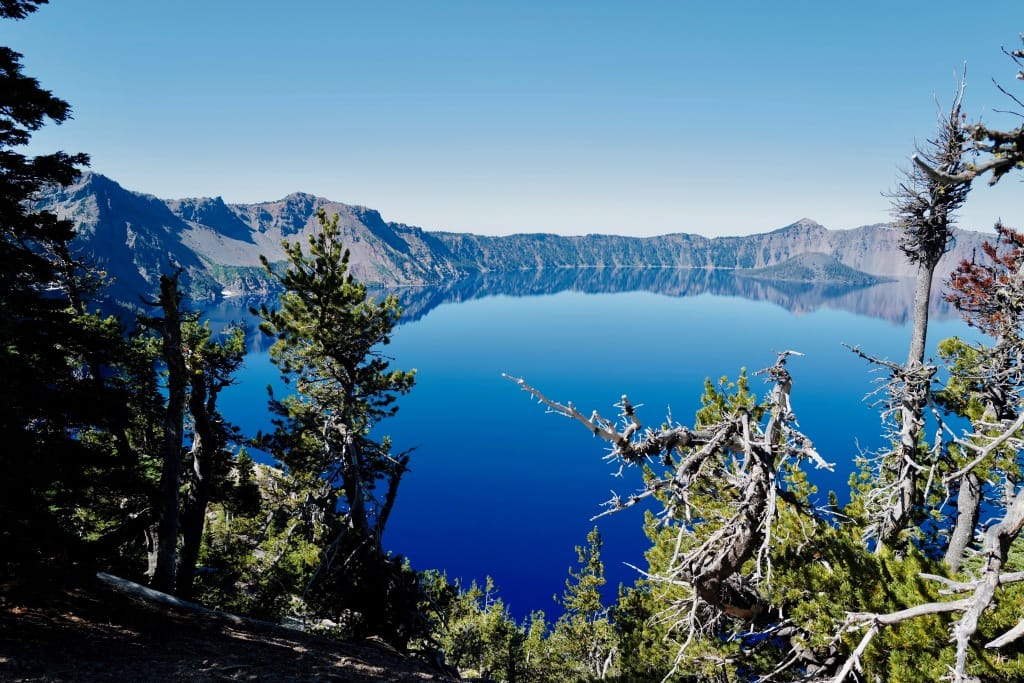
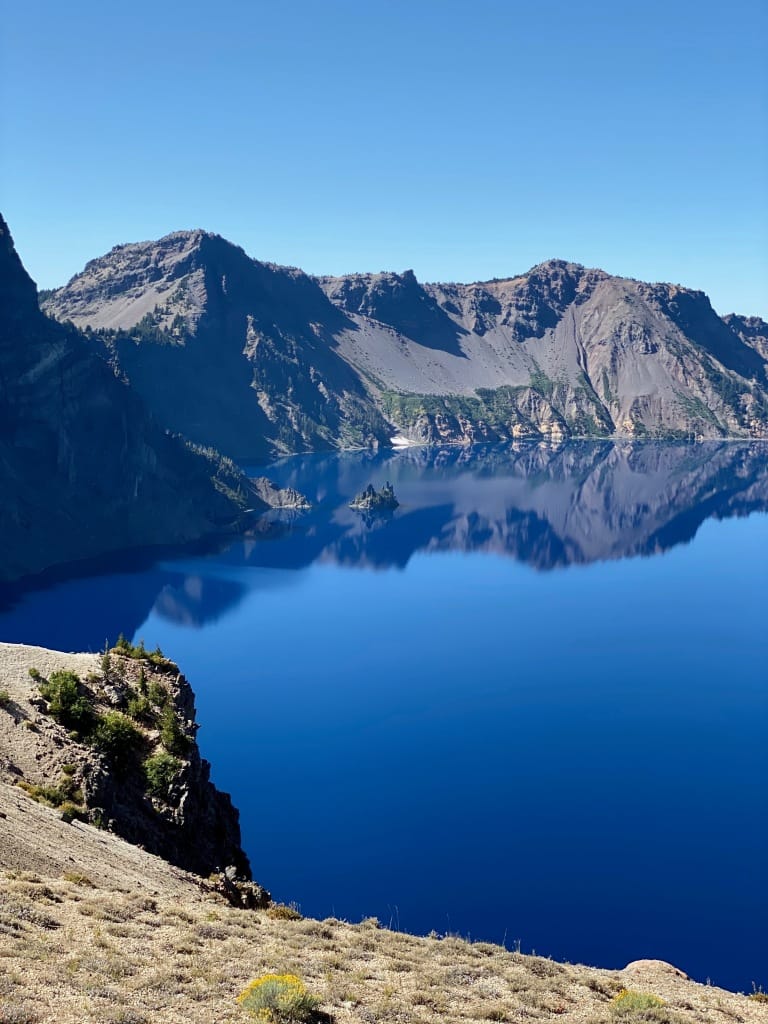
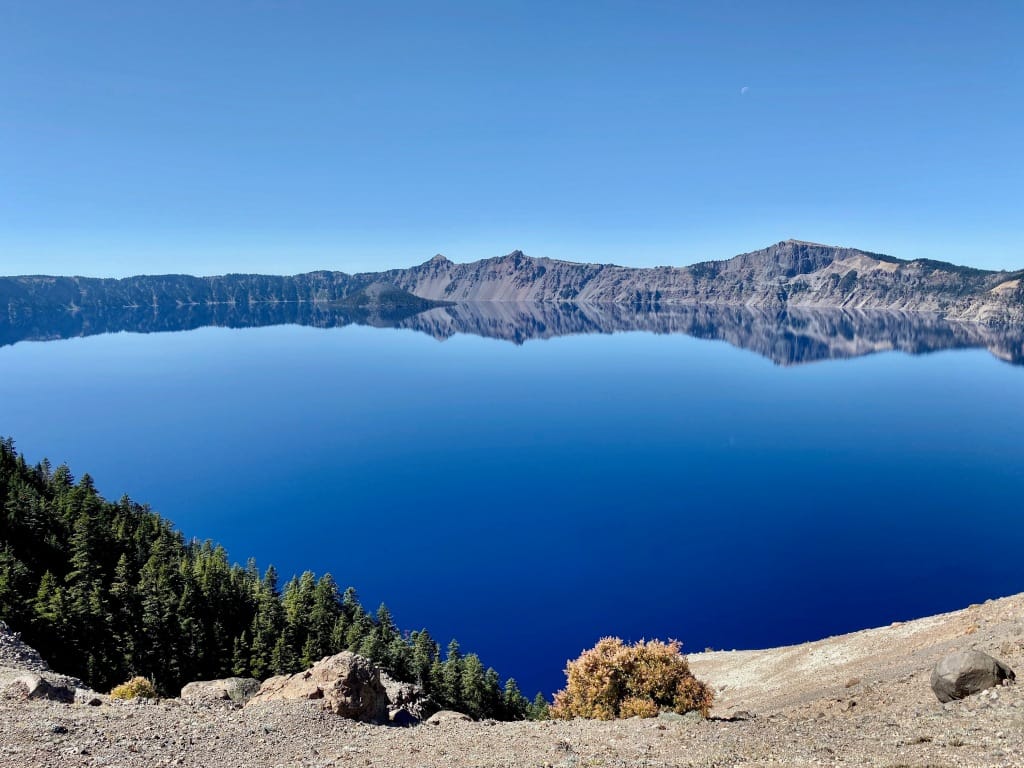
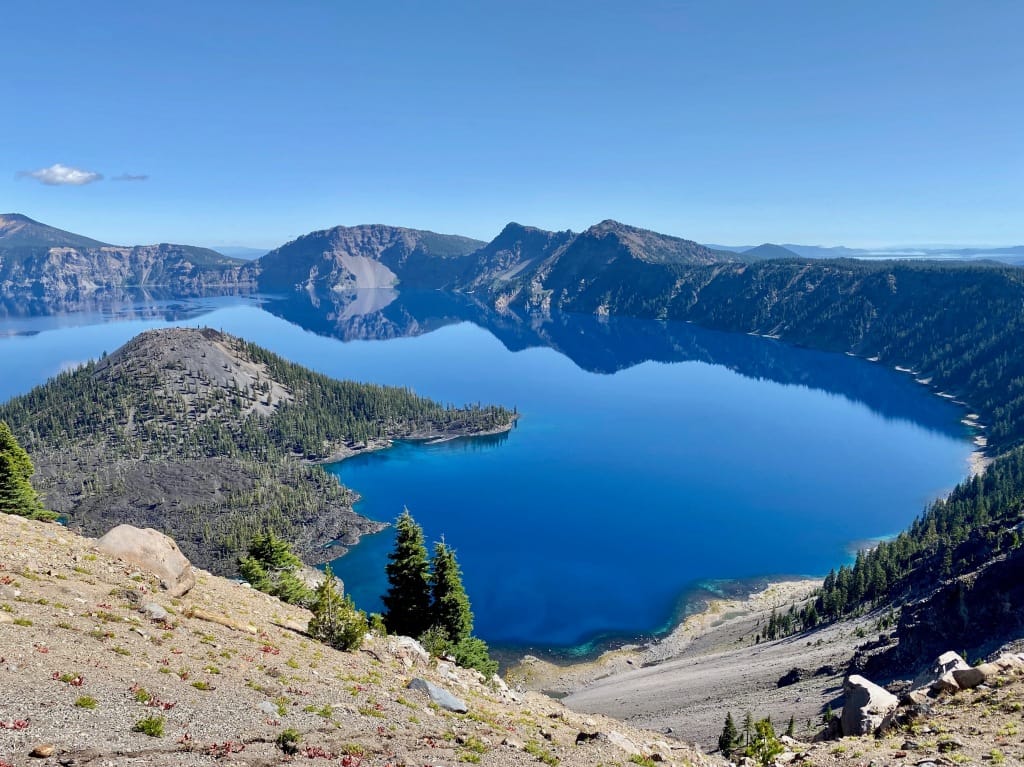
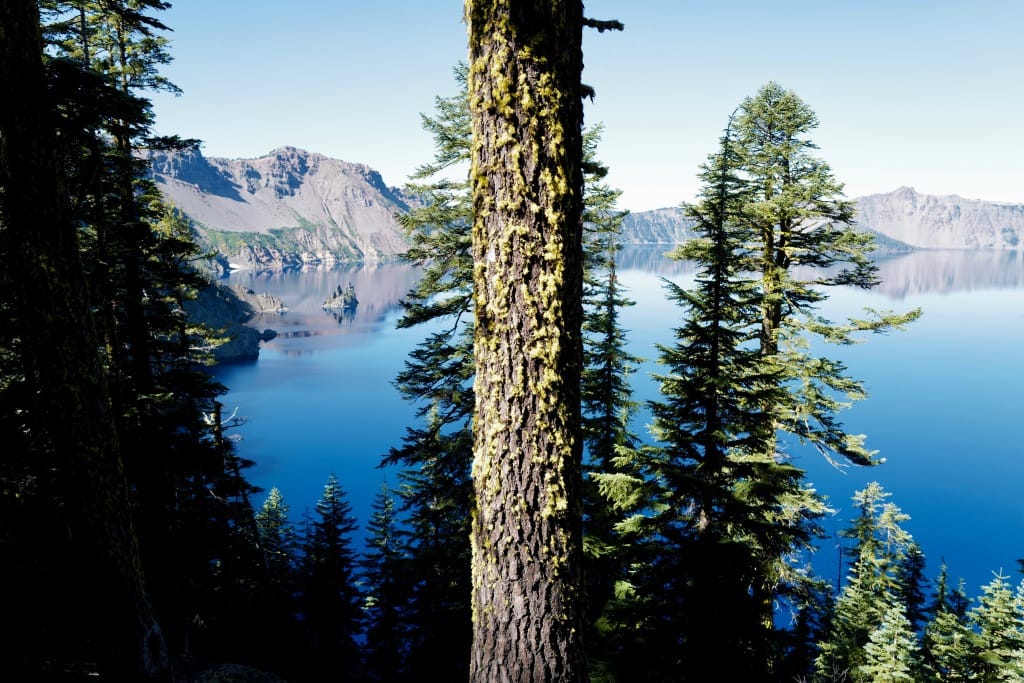
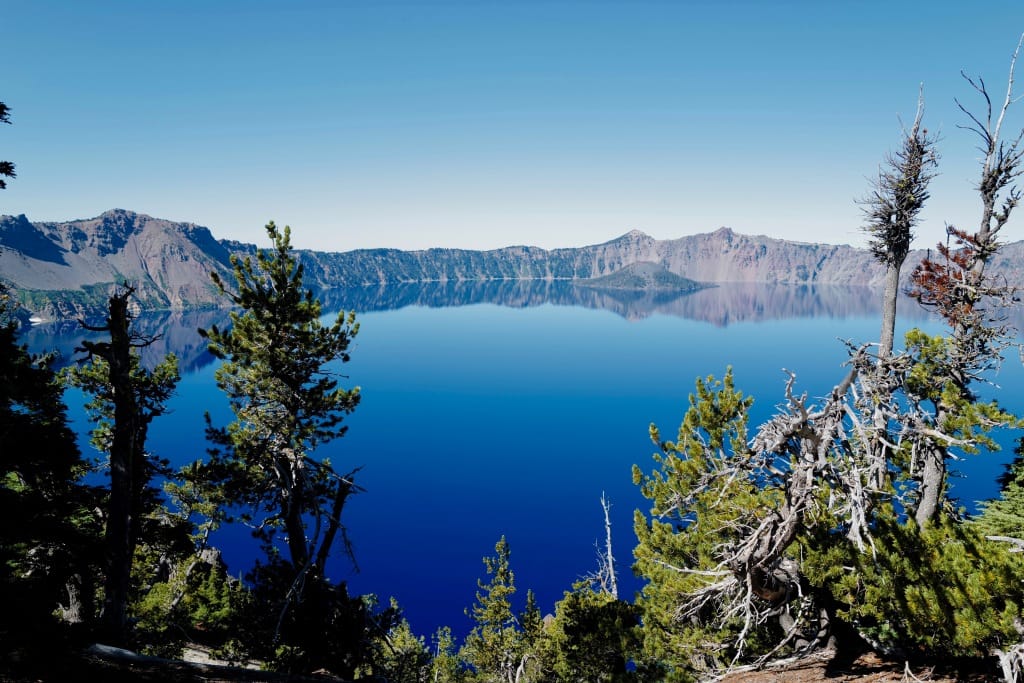
Crater Lake in southern Oregon is one of the most beautiful places on earth. It's the textbook example of a lake formed in the caldera of a former volcano and even though I studied this region extensively in college, I didn't get to actually visit it until a few years ago.
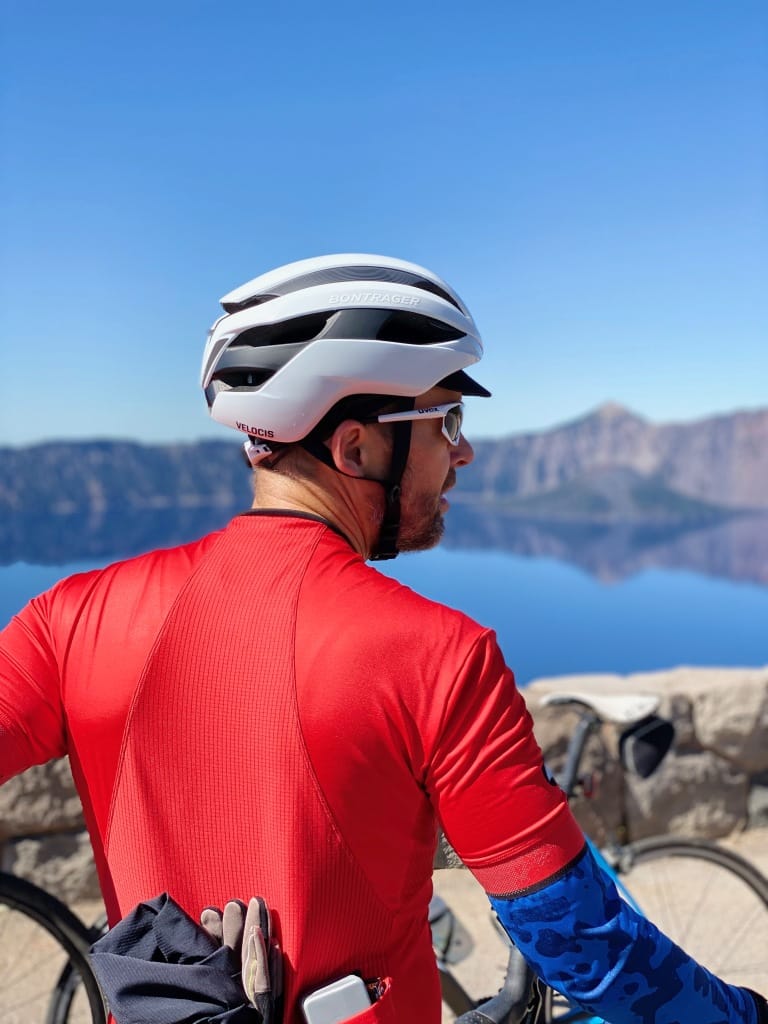
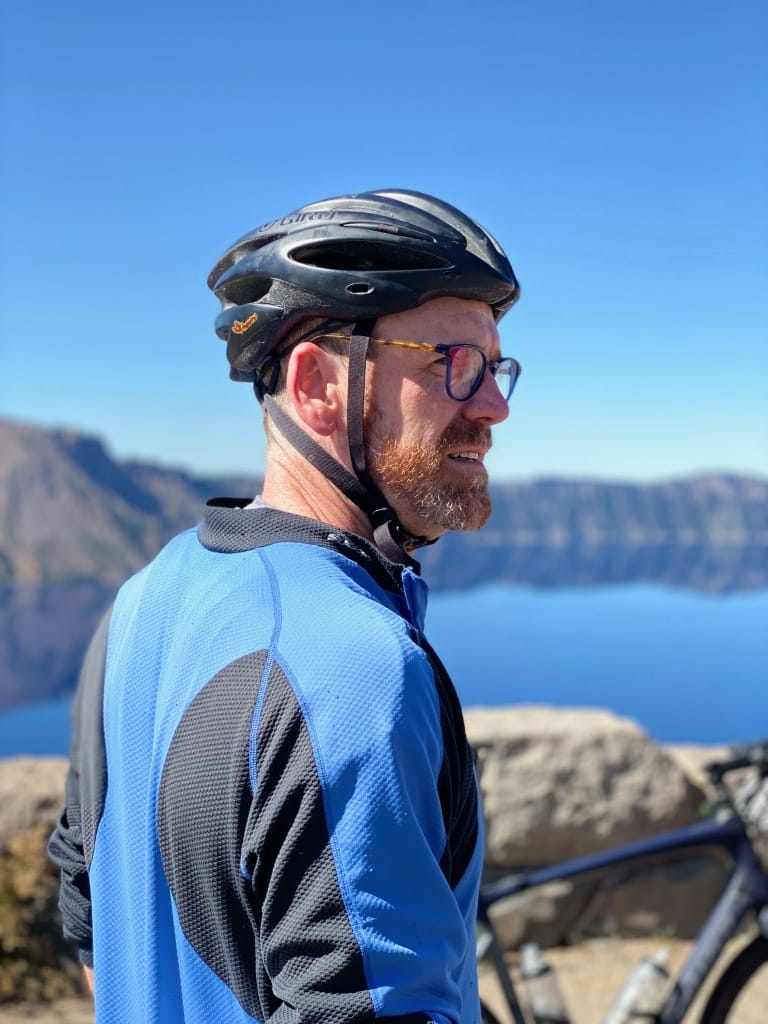
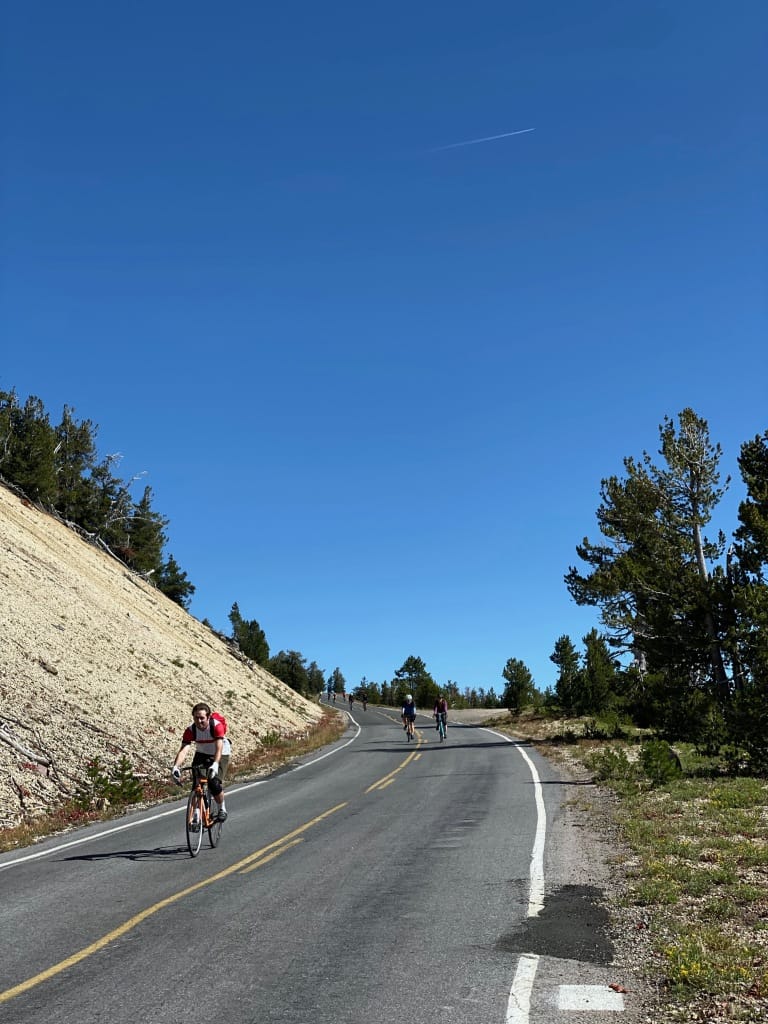
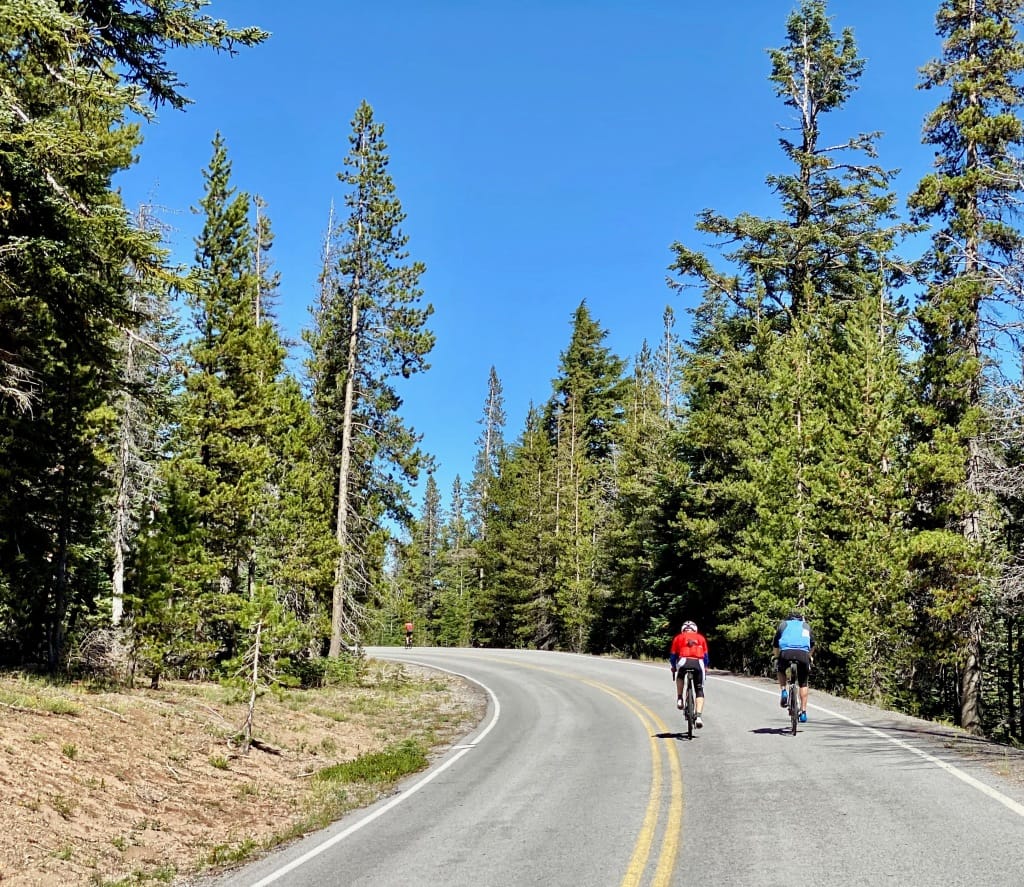
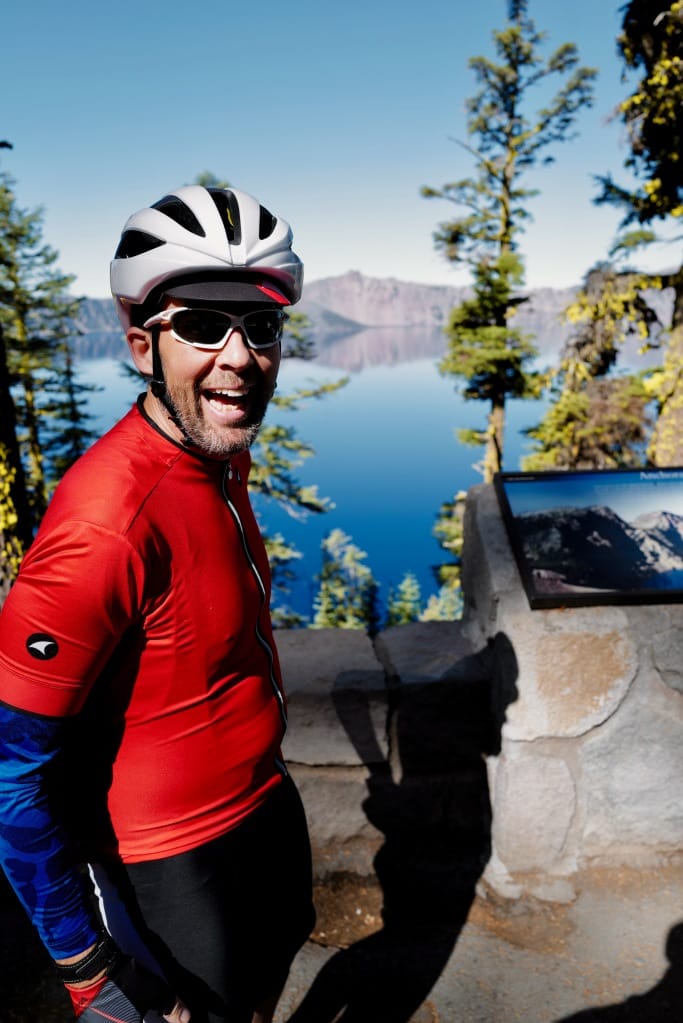
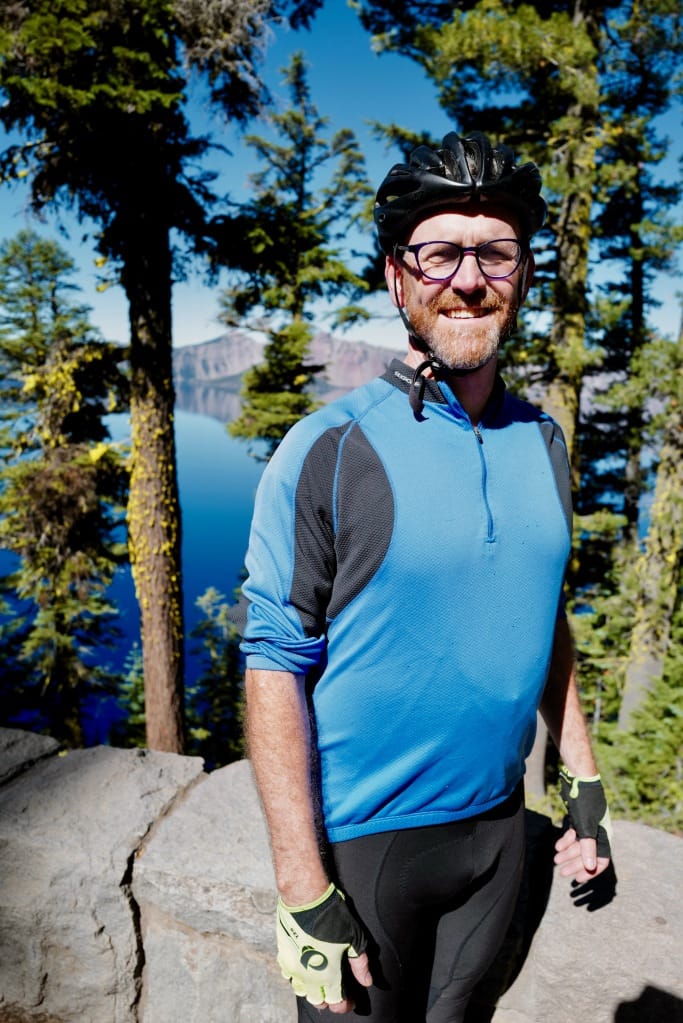
A couple weekends a year, they do something special for everyone: They close about 3/4 of the road to cars and let bike riders, walkers, runners, and rollerbladers ride the perimeter road. I've wanted to do this ride for years but it wasn't until this week when a friend suggested we do it for his birthday—I was totally in.
We had perfect weather and we had a blast. What follows is a list of stuff I learned from this first outing.
- Check the Ride the Rim site and the local weather often, and pre-register if you can, but if it's too late, it's fine to show up and just register on site.
- Remember to bring about $20 to donate (they suggest $10/rider) and the $25 it costs to get into the national park
- The north entrance doesn't have much parking, the south has loads more. I was glad we picked a start at the south parking lots
- If you're coming from Portland (about 5hrs drive) or San Francisco (about six hours drive), stay near Grants Pass, Rogue River, or Klamath Falls the night before. You'll be about a 60-90min drive from the start, and there are plenty of adequate hotels in all those places.
- Ride it counter-clockwise! The organizers set it all up to be a clockwise ride and that's probably fun if you use their shuttle to cut off the 9 miles of it shared with cars. If you do ride the entire loop clockwise from the south parking lot, you'll have huge climbs at the start and the end. If you go counter-clockwise from the south, most of your climbing will be in the morning when you have energy. You'll get to end the day with six miles of descending too.
- Stop at every rest stop. There's water and small light snacks. You should also pack energy bars or sandwiches because you'll be feeling tapped out around lunch time.
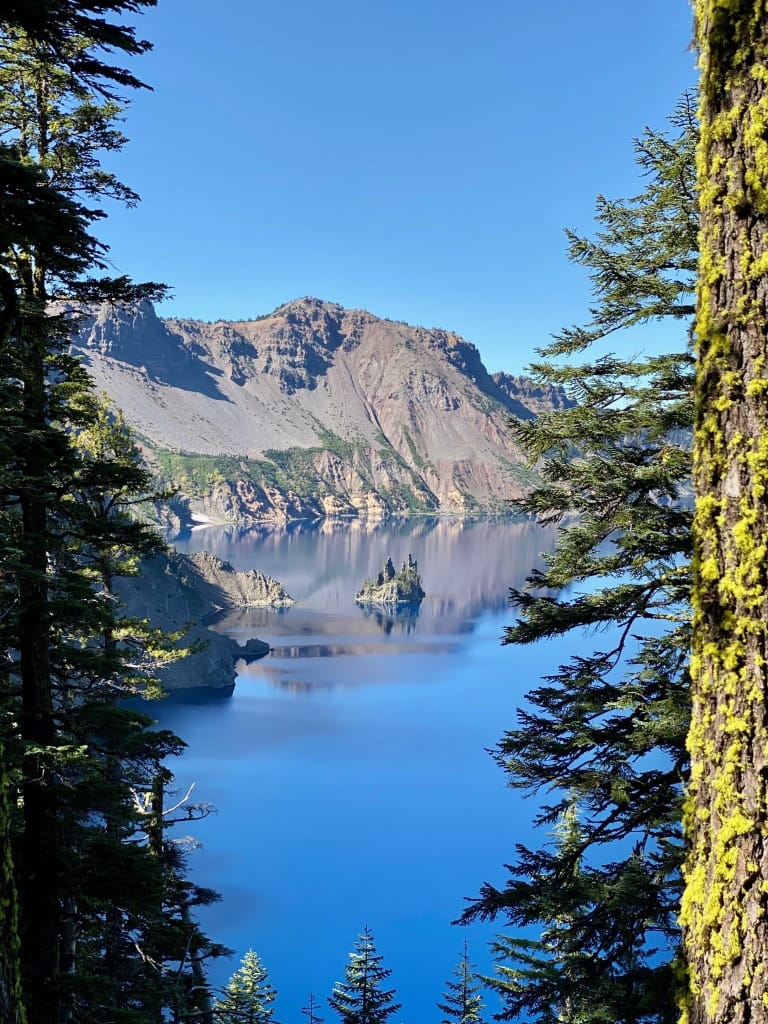
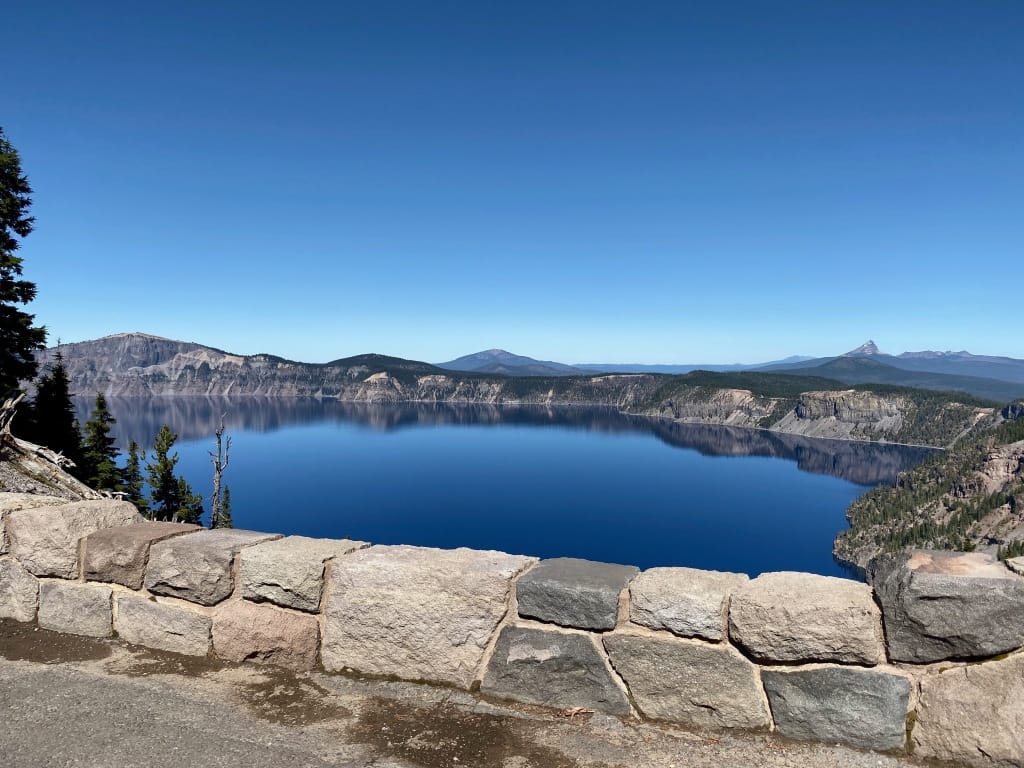
- Stop at every lake overlook. Some of them can't be reached easily by car. This may be your only chance to stand there and get a perfect photo.
- It's only 35 miles but it took us about 3 and a half hours of riding, about 5 hours of total time with all stops. Budget more time than you'd think for a normal 35mi ride.
- Nothing is flat. We were always climbing a 5% grade or descending one. There's almost no flat land around the entire rim road. It's kind of amazing how nothing up there is flat. It's a brutal ride, we climbed over 4,000 feet in the loop.
- It's not that bad to ride the section where cars are allowed if you're riding it counter-clockwise. After about 2 miles of slow climbing, you'll descend to the parking lot at speeds faster than a car for several miles.
- Bring plenty of cold weather gear. It'll be chilly in the mornings and no matter how much you sweat on the climbs, you can get cold on descents. Even on a mild sunny day without much wind, I put on a jacket for the longer downhills.
- Don't forget you're riding at 6,000-7,500 feet above sea level. I was surprised because I forgot to look this up ahead of time and our hotel the night before was around 1,500' in elevation. The rim road is akin to riding high up in the Rockies.
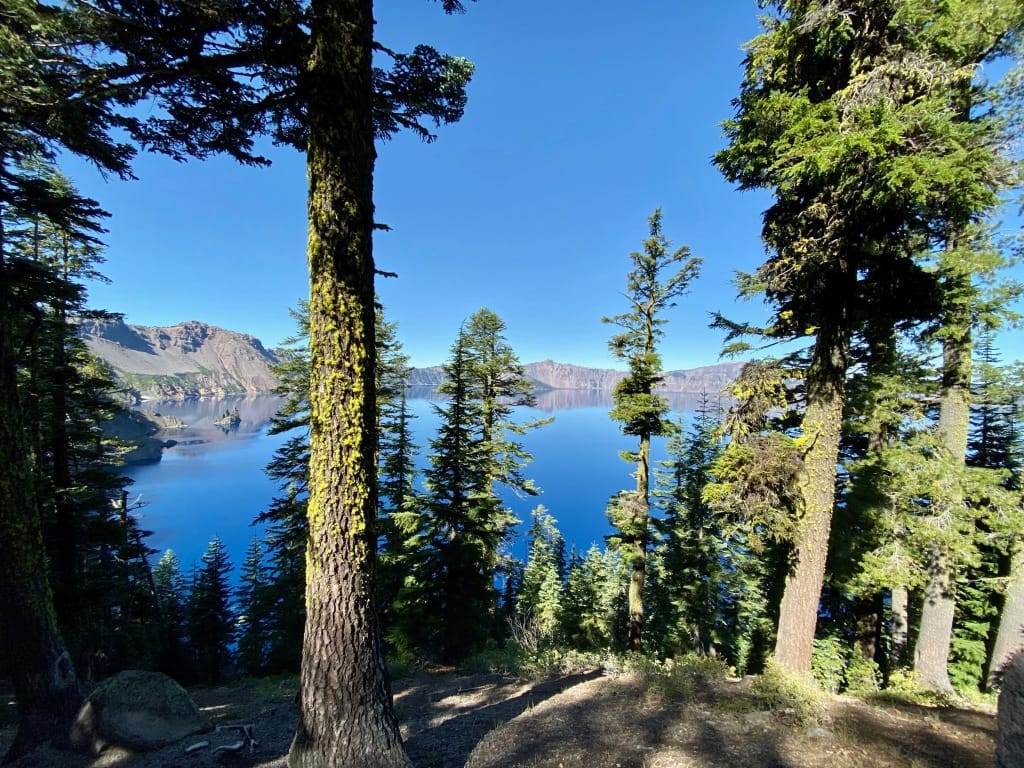
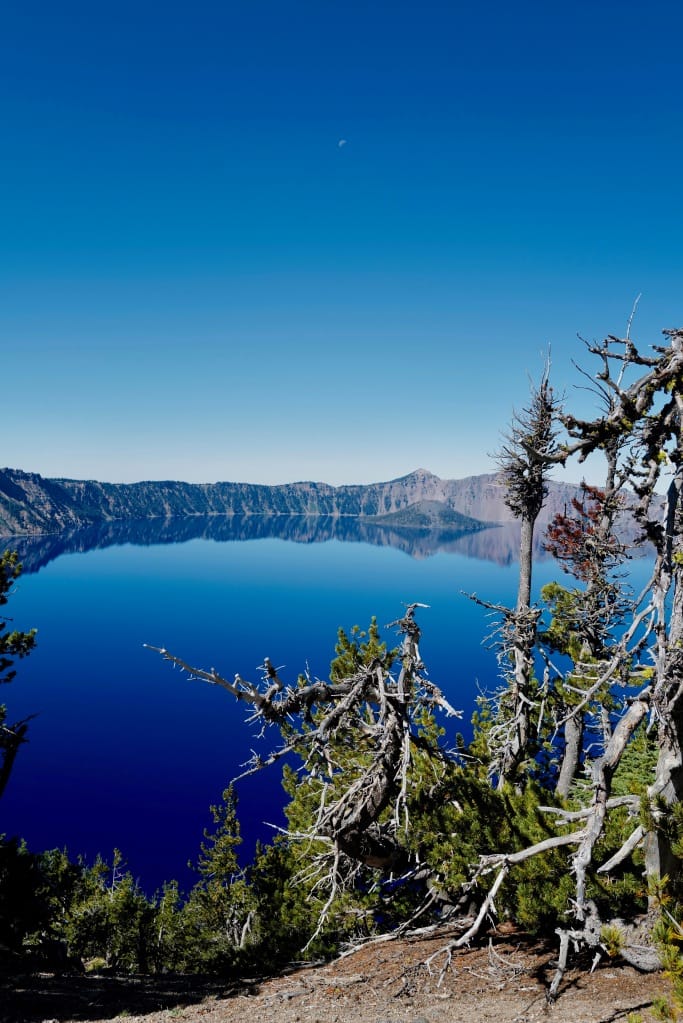
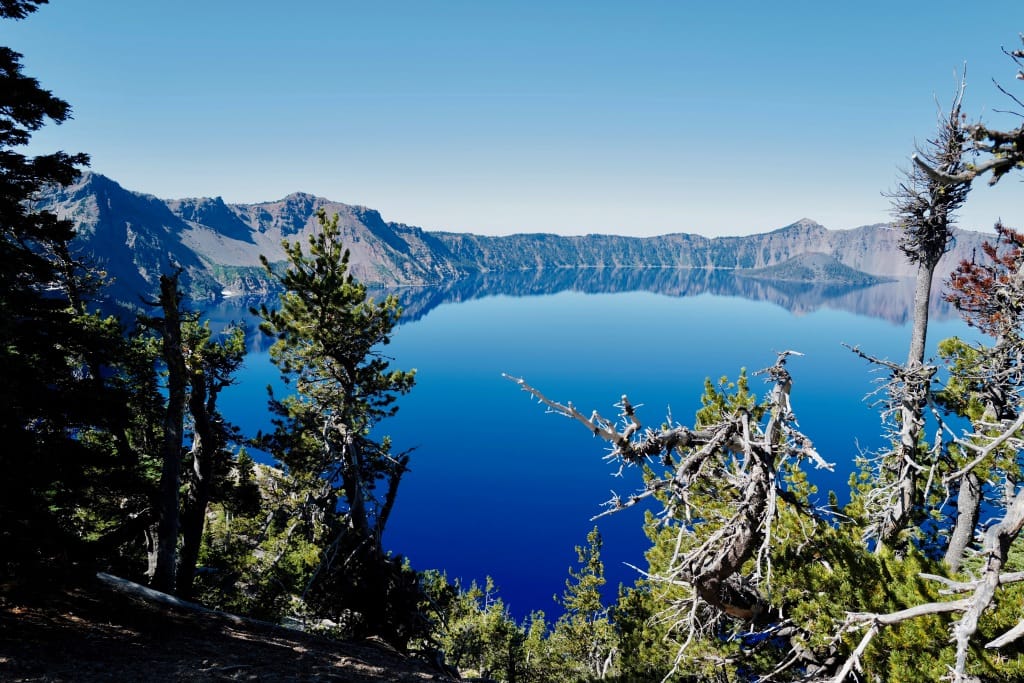
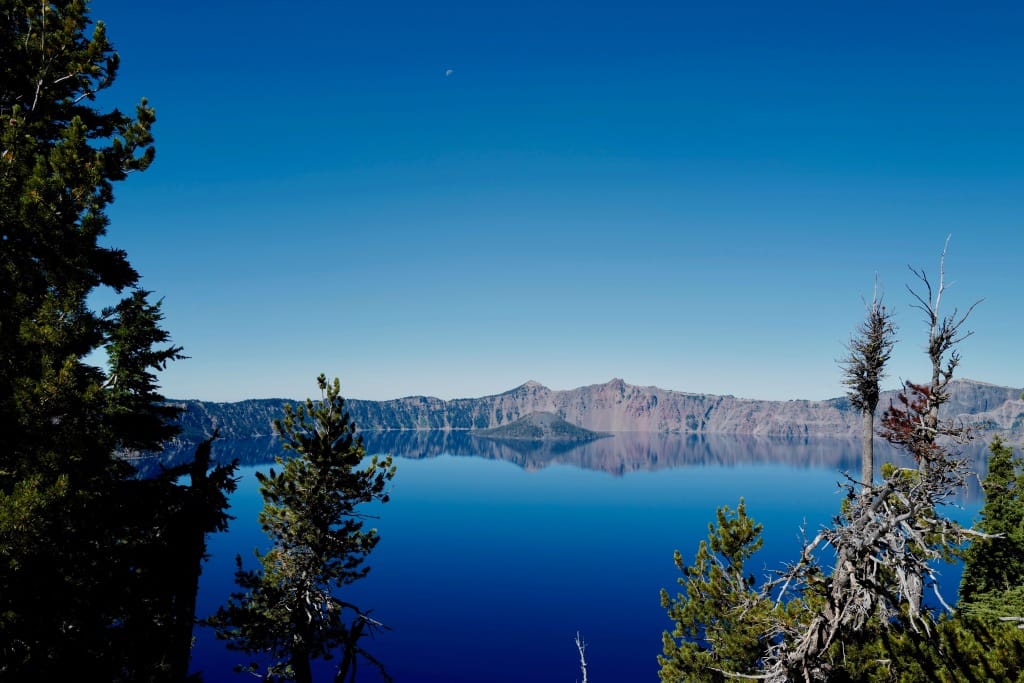
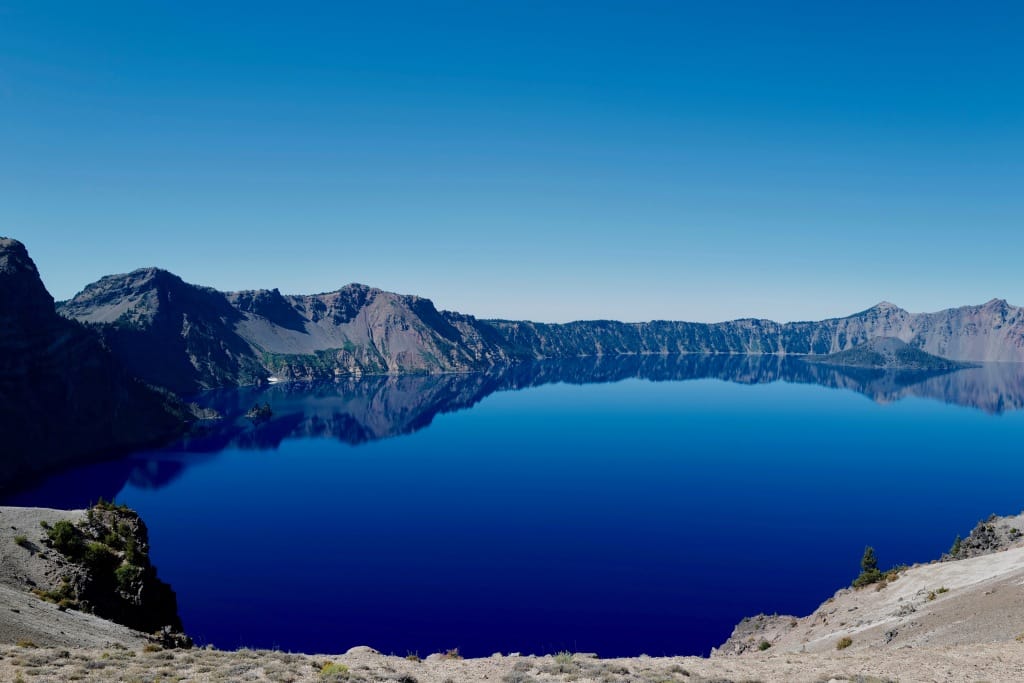
- The lake reflects the sky above so it looks best on a sunny day. You'll see a deep blue like you've never witnessed before and can't even adequately capture on film.

Subscribe to our newsletter.
Be the first to know - subscribe today


